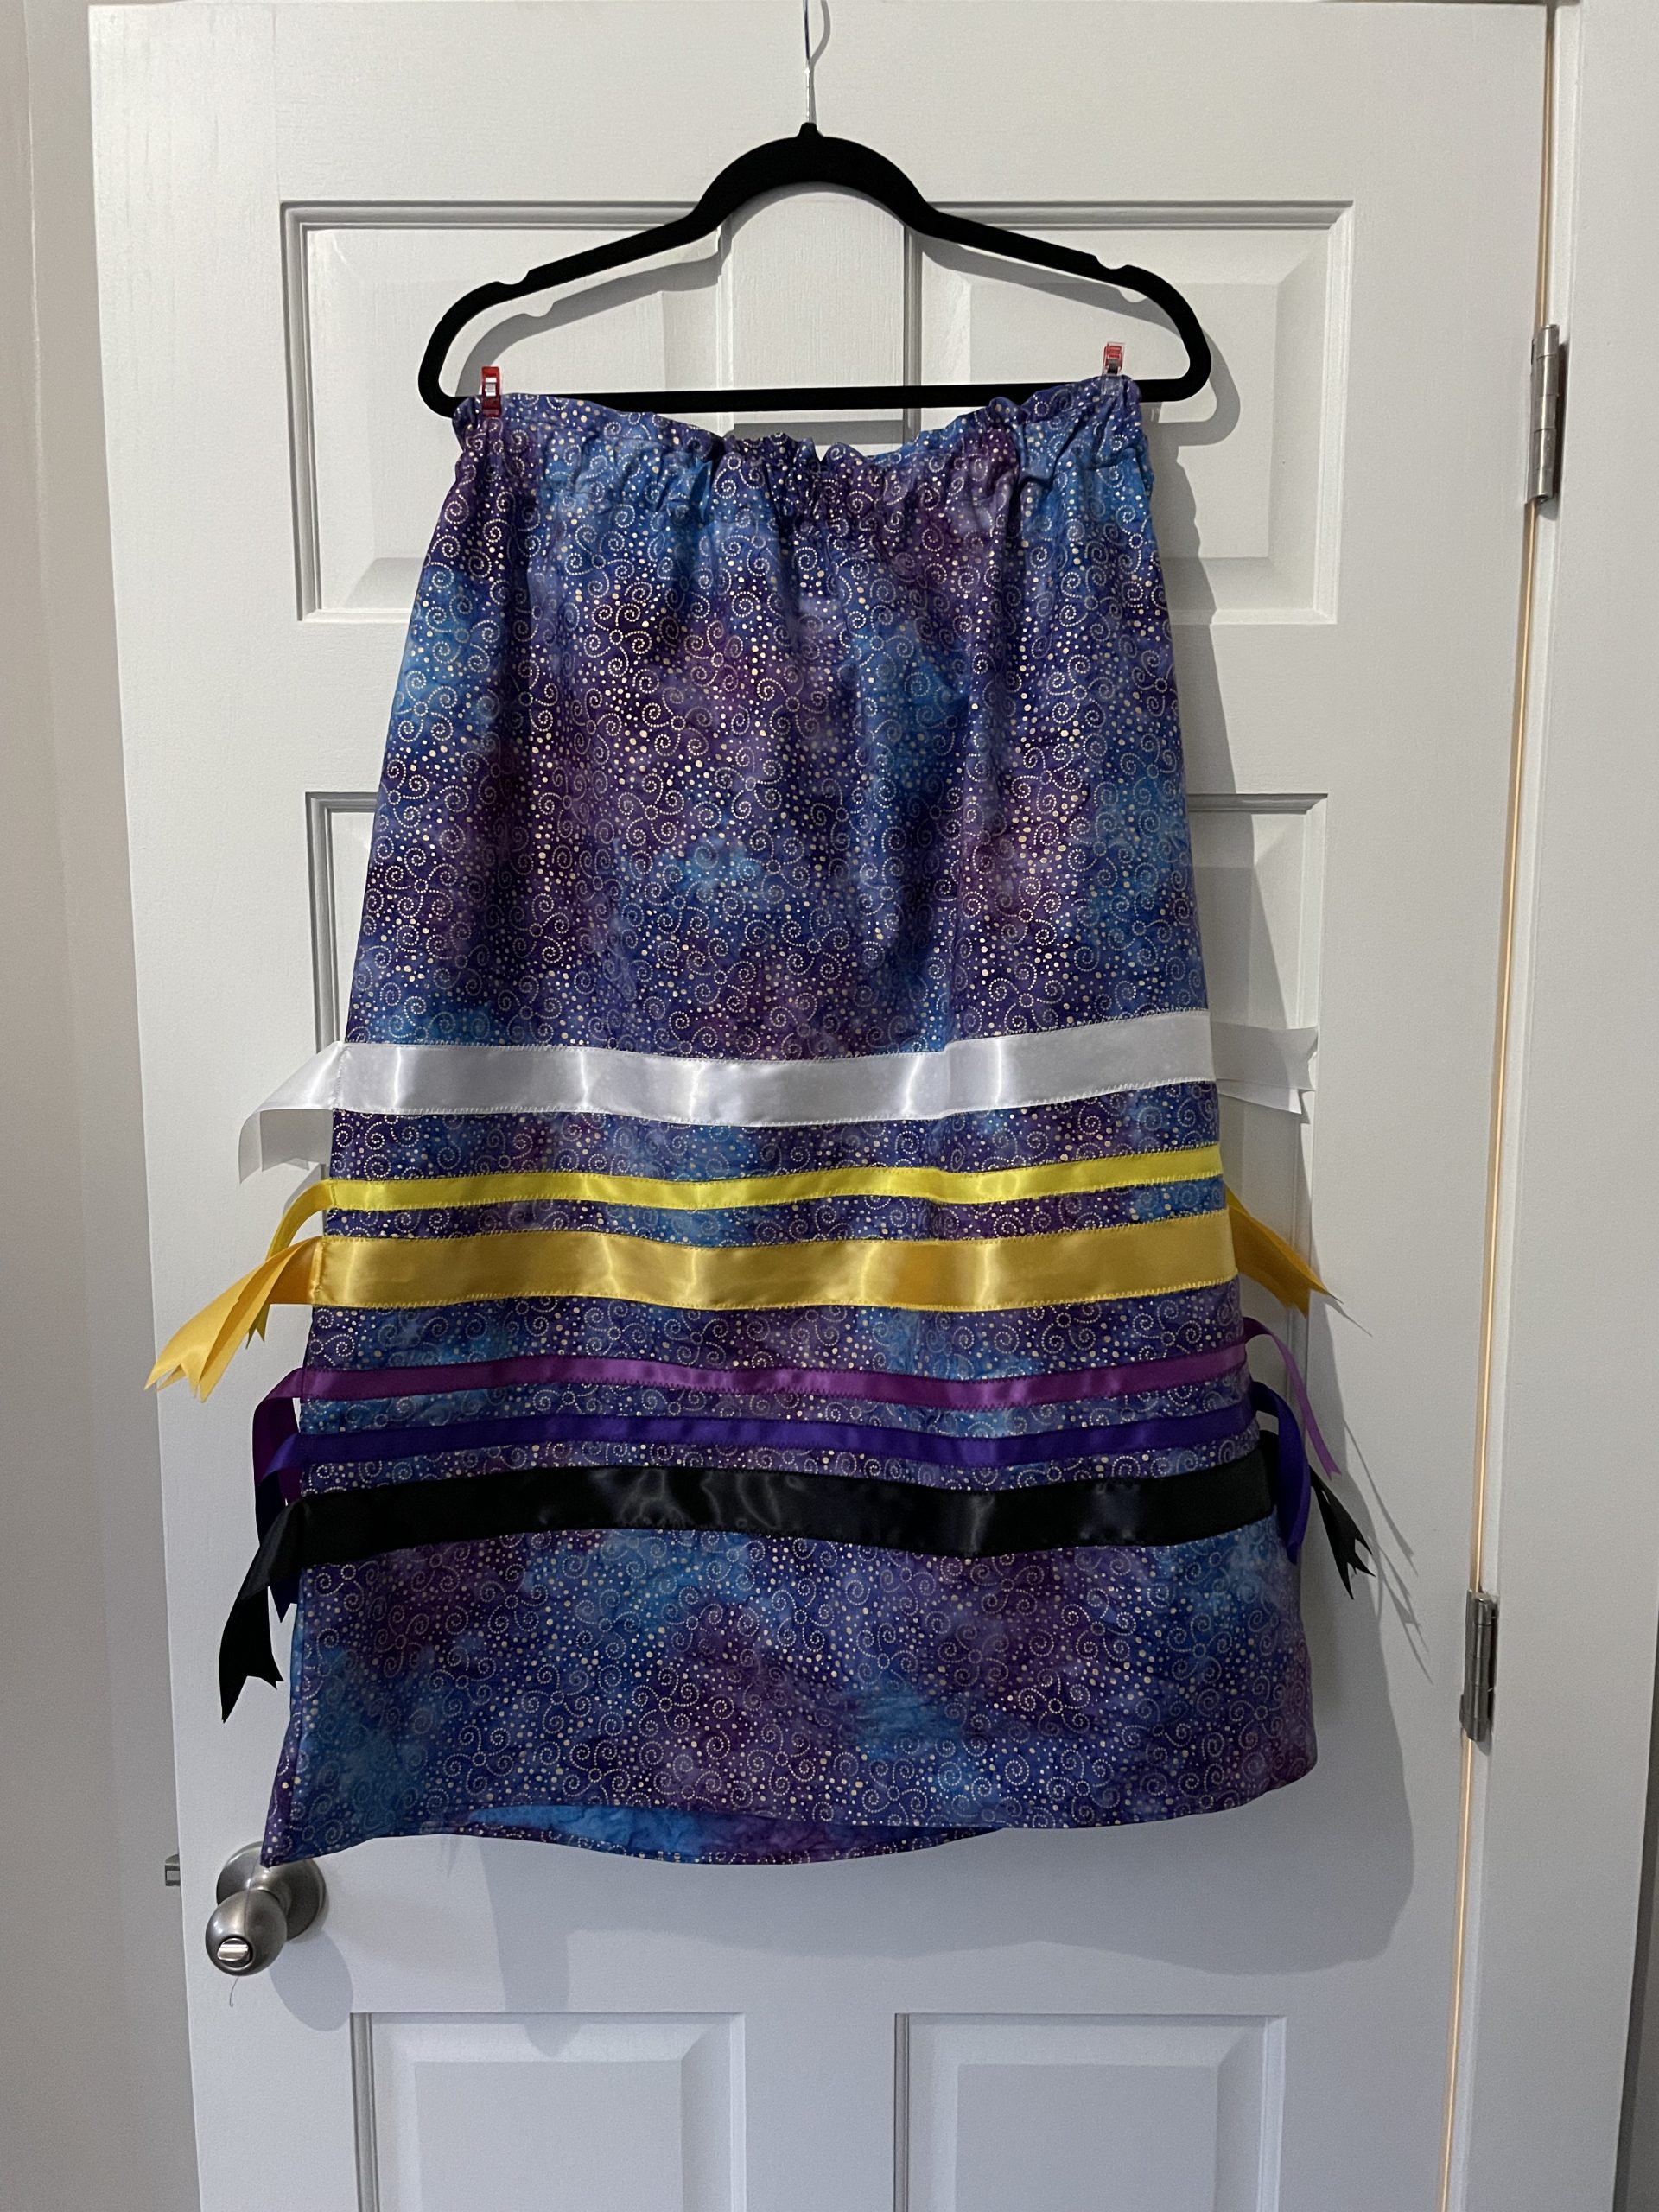
Because I forget things easily – after a lot of trial and error, I made my own personal guide to making ribbon skirts. This version has forked hanging ribbons, pockets, and a paperbag waist. Takes about 4 hours if you are out of sewing practice!


Supplies:
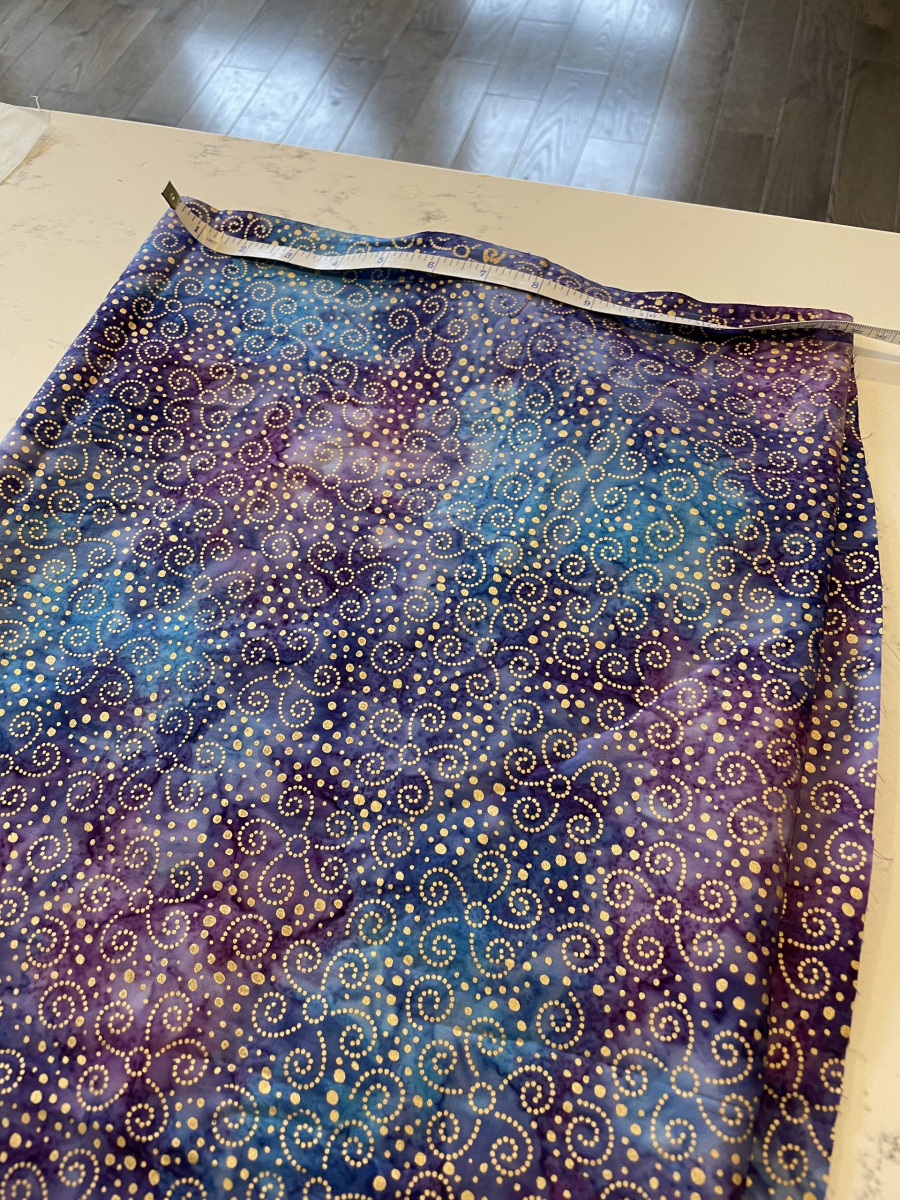
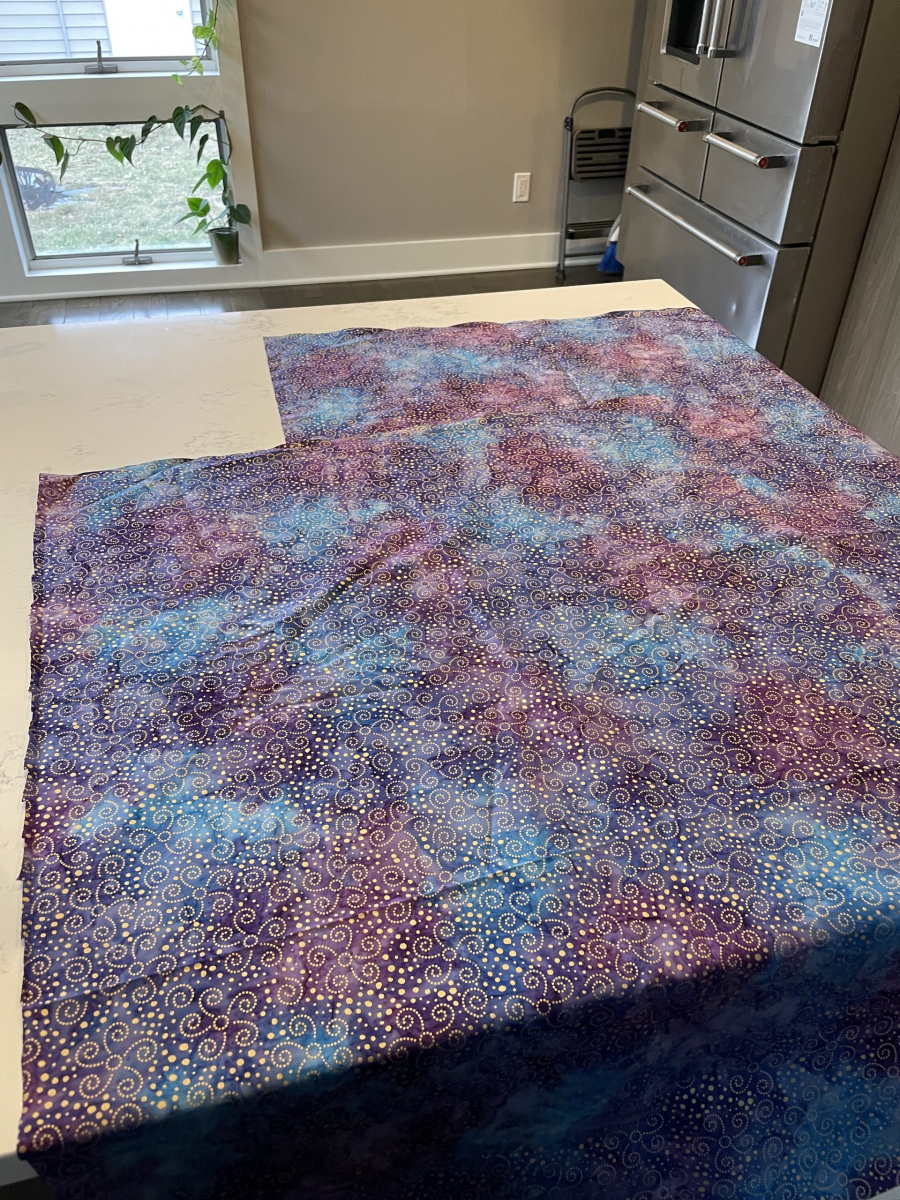
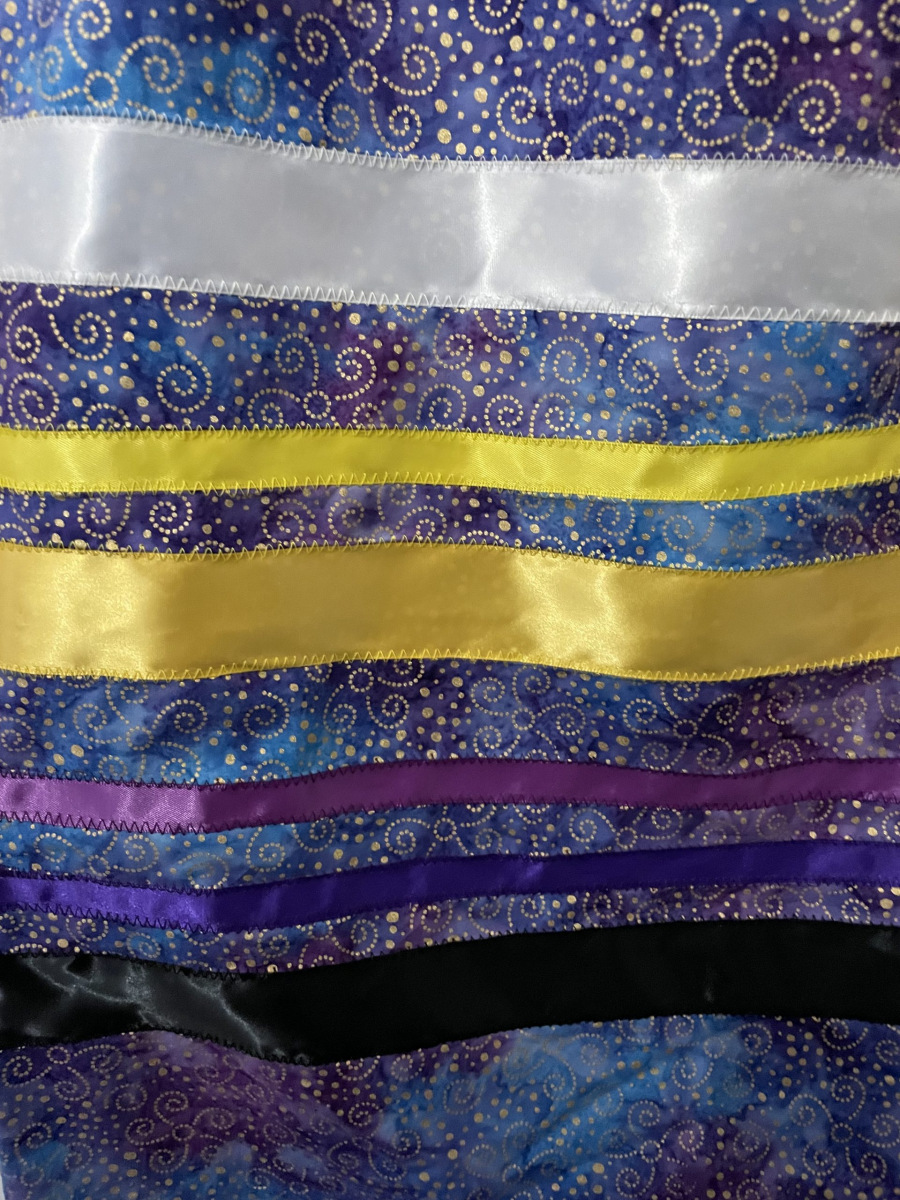
- Fabric – approx 2 yards of medium/heavy weight fabric. (Calico or bridal satin works best)
- Ribbons – satin 1.5 inch ribbons
- Thread matching each ribbon color
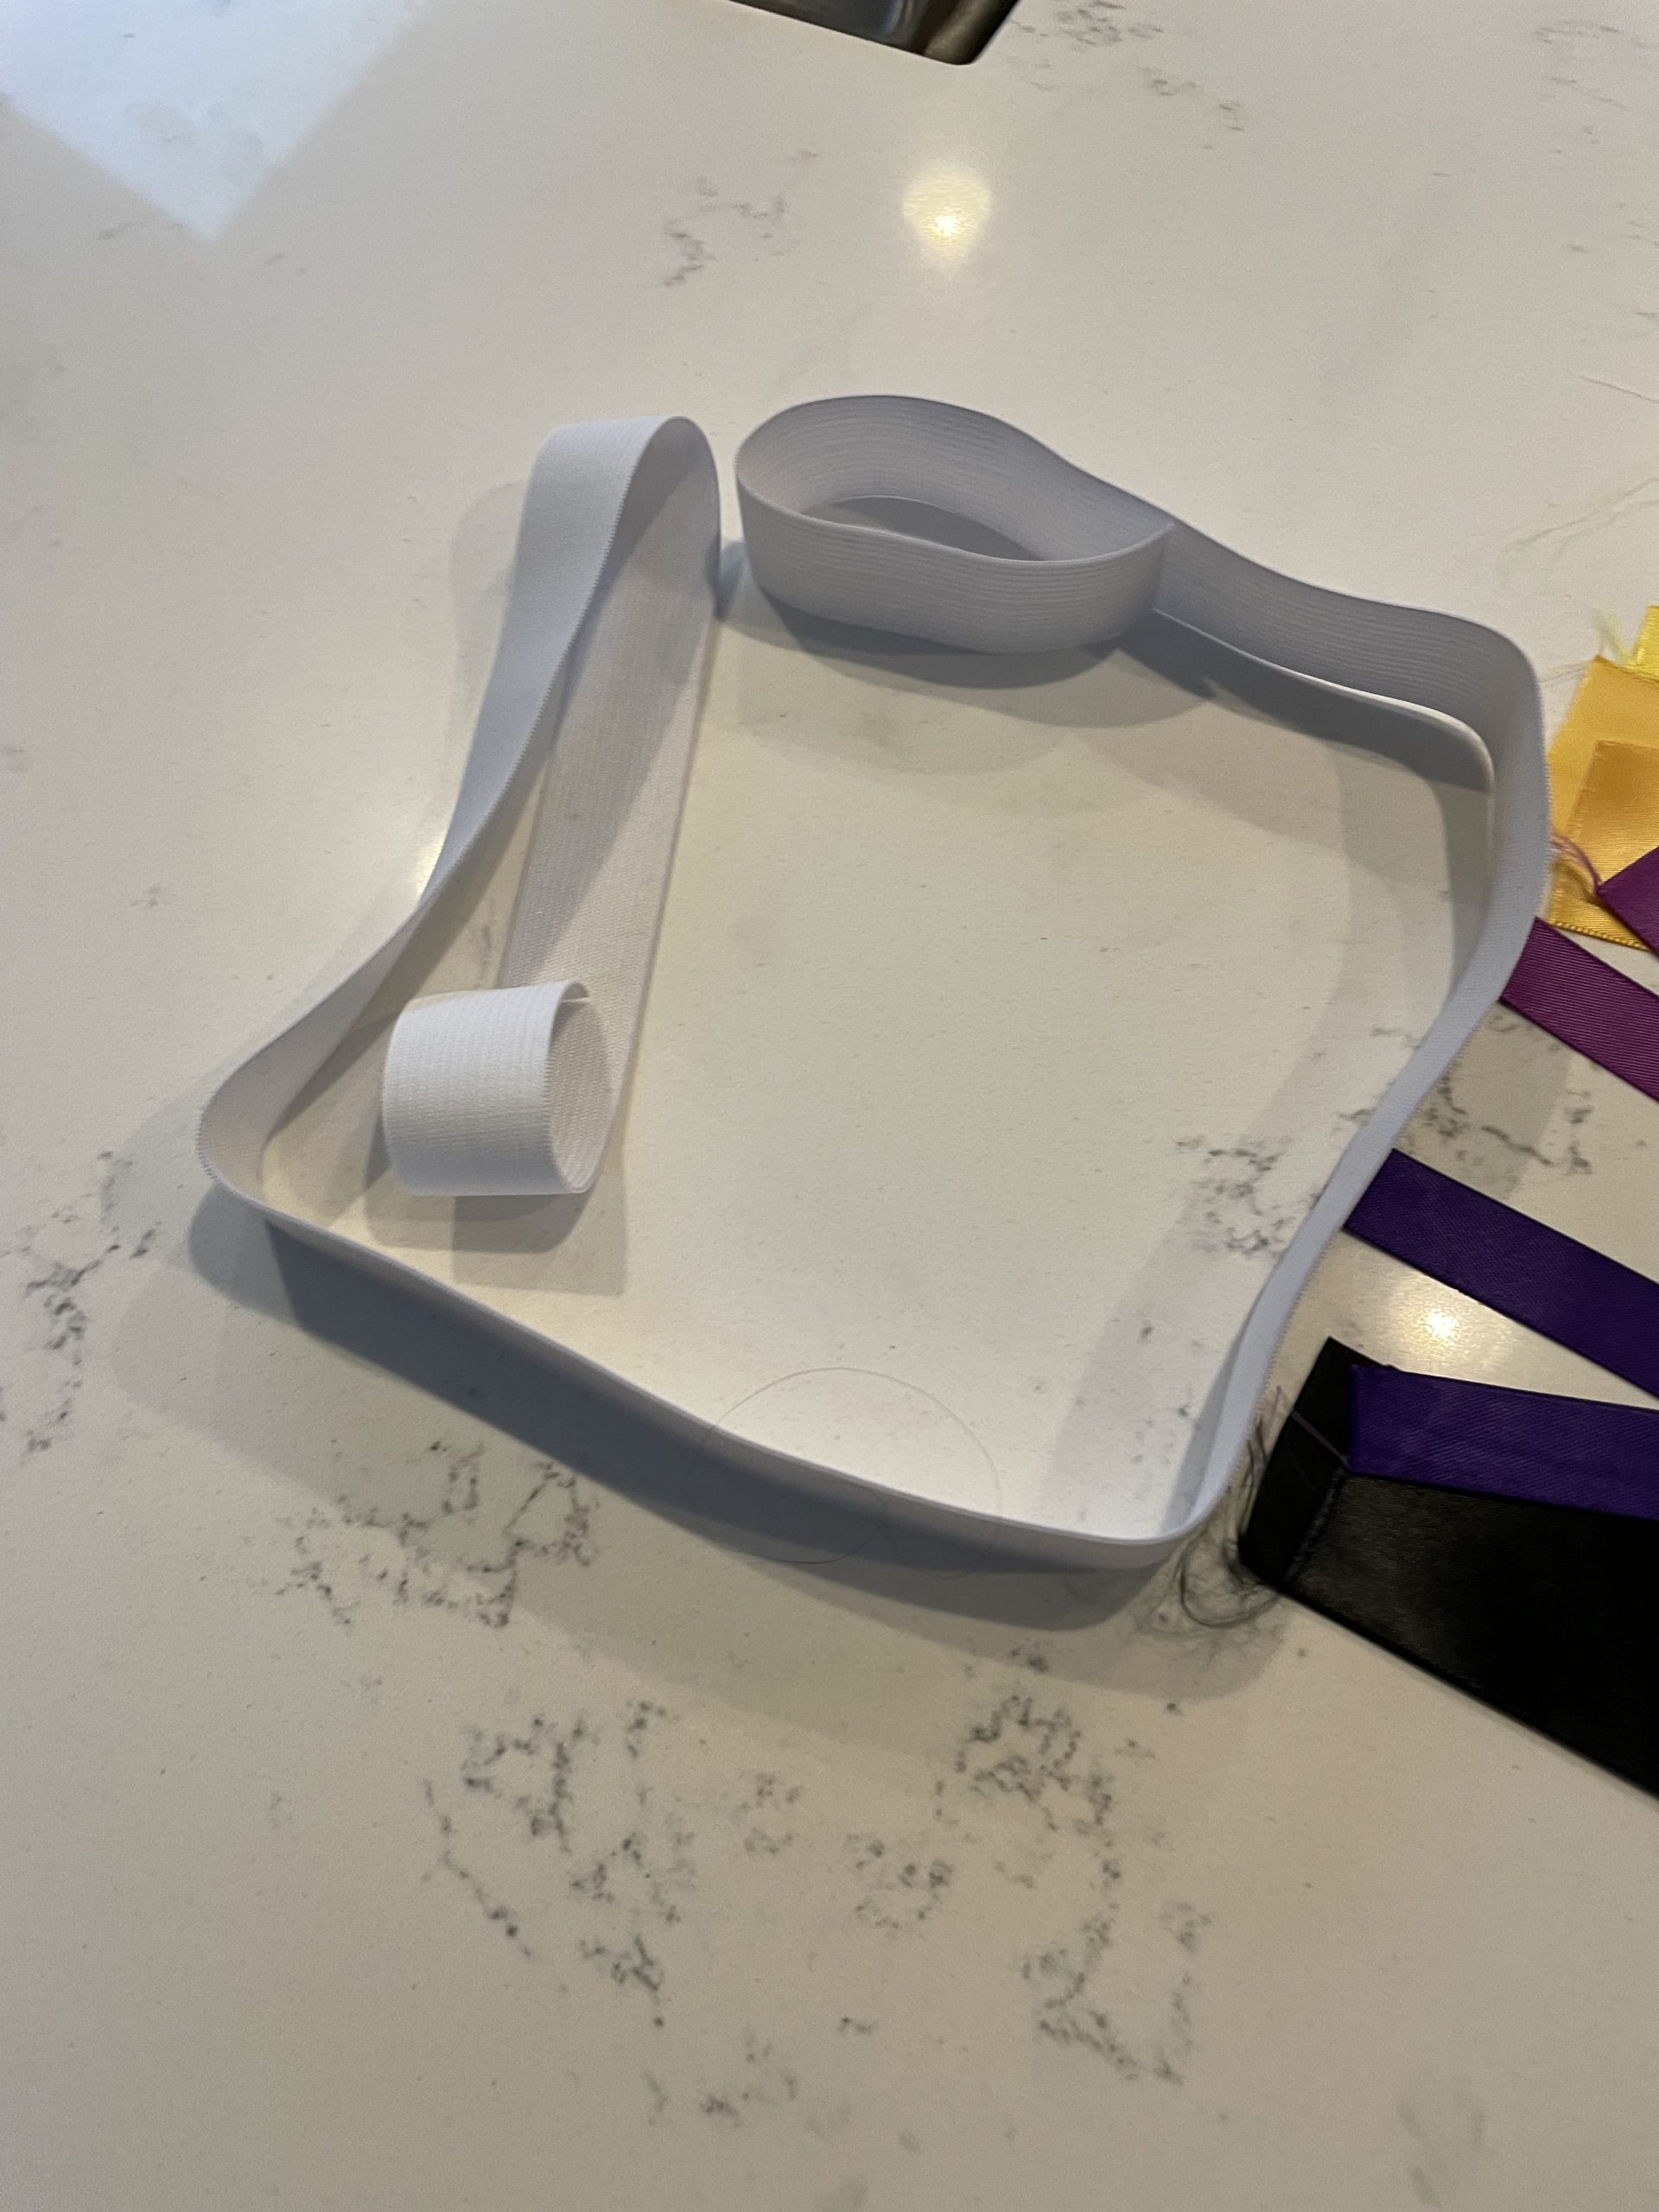
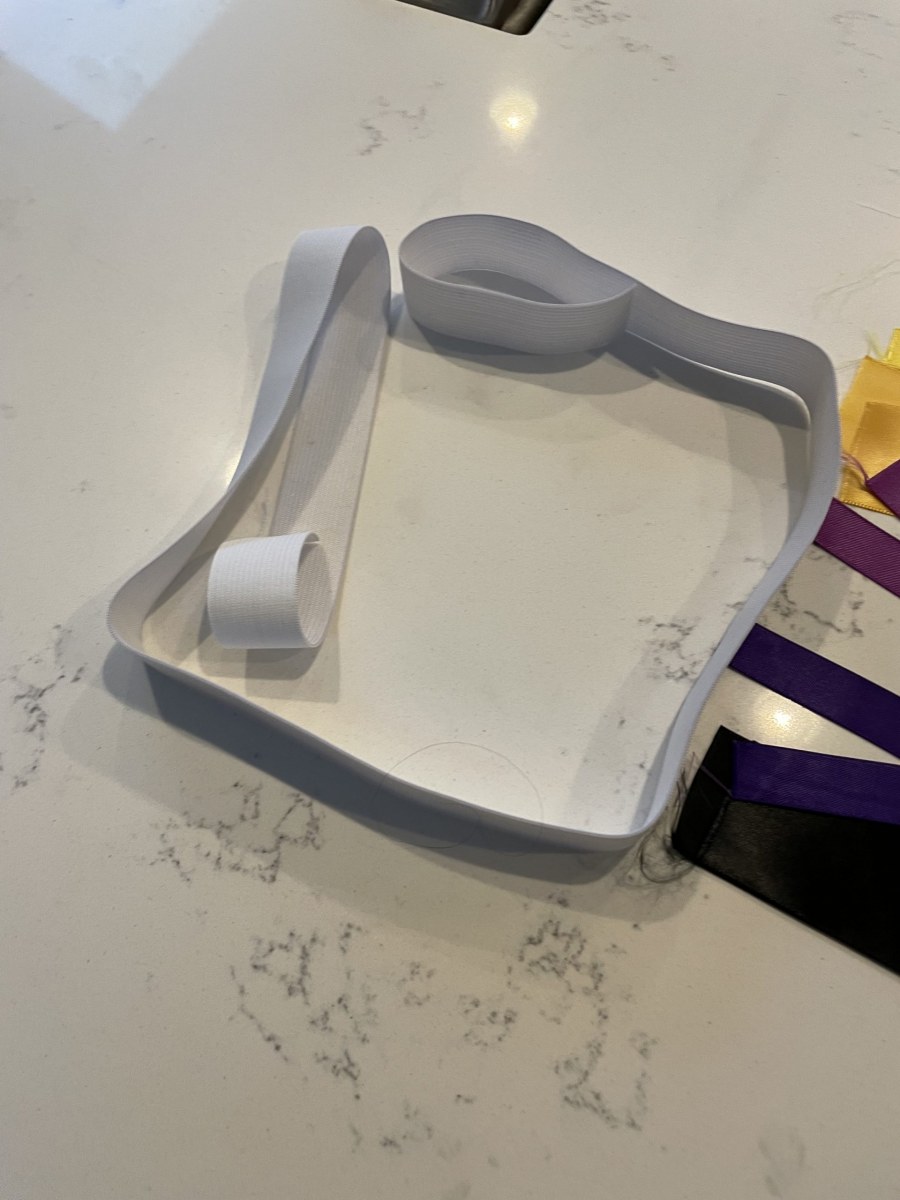
- Elastic – 1 inch knit elastic
- Tape measure
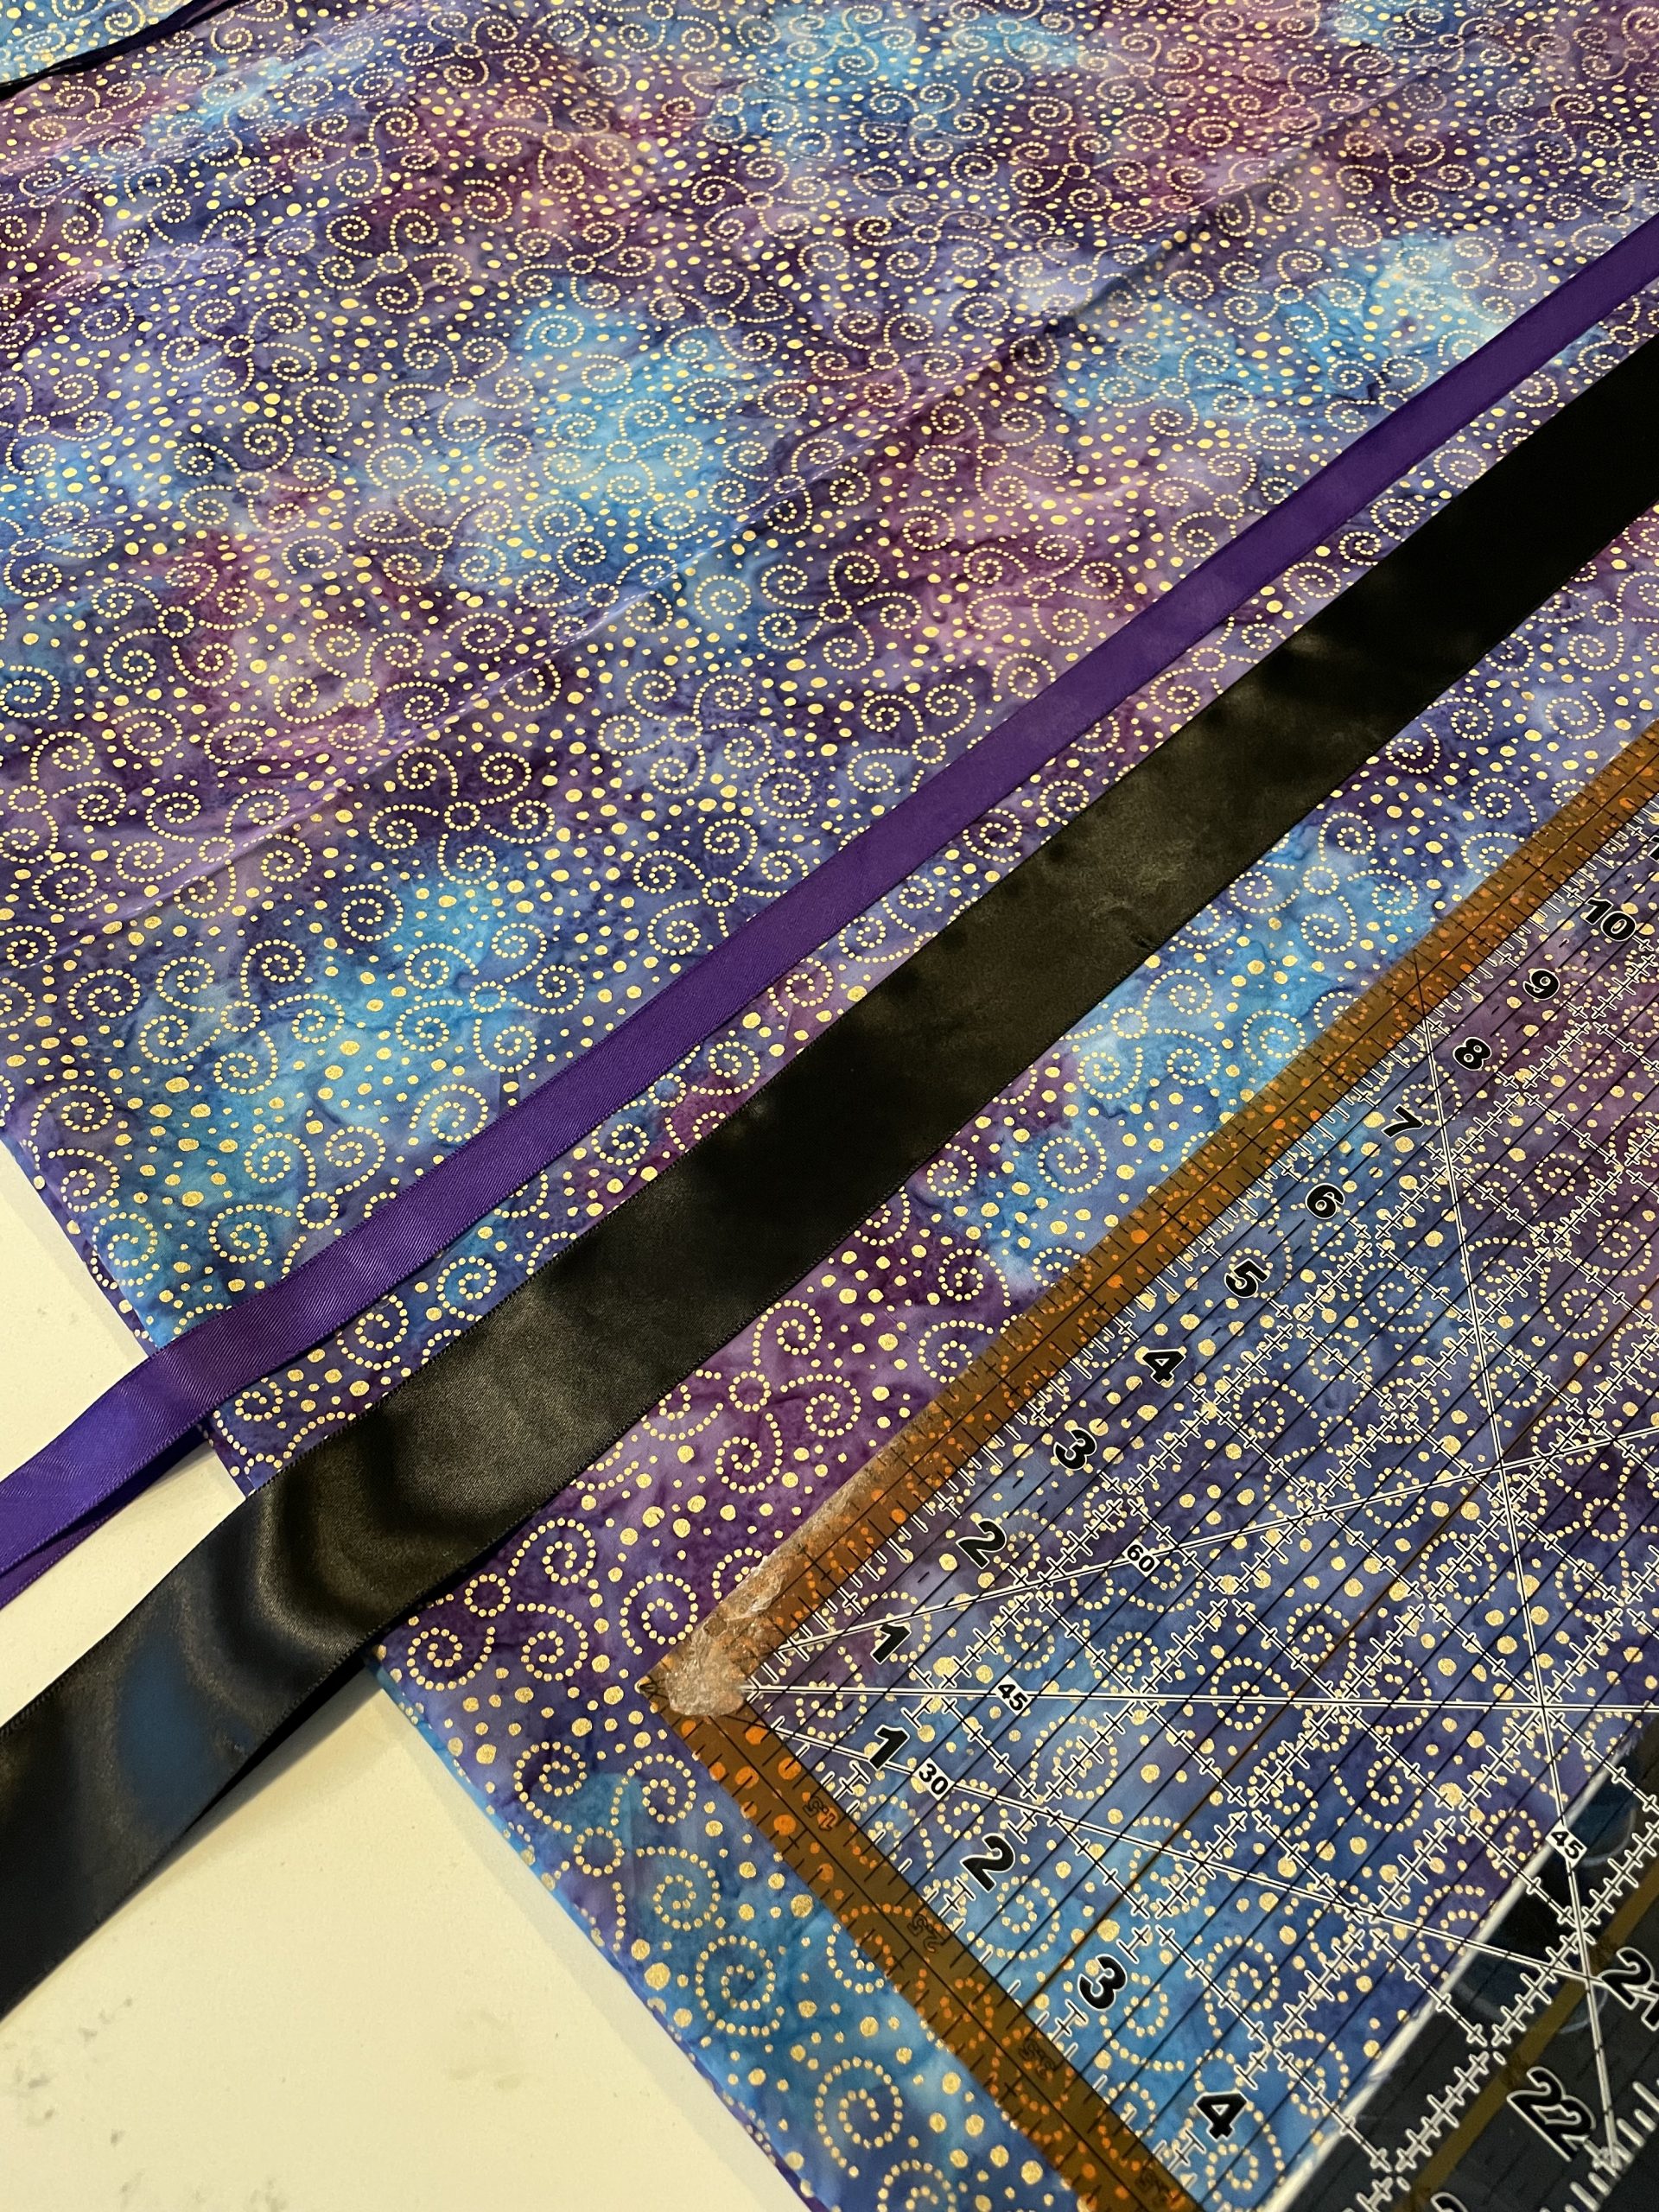
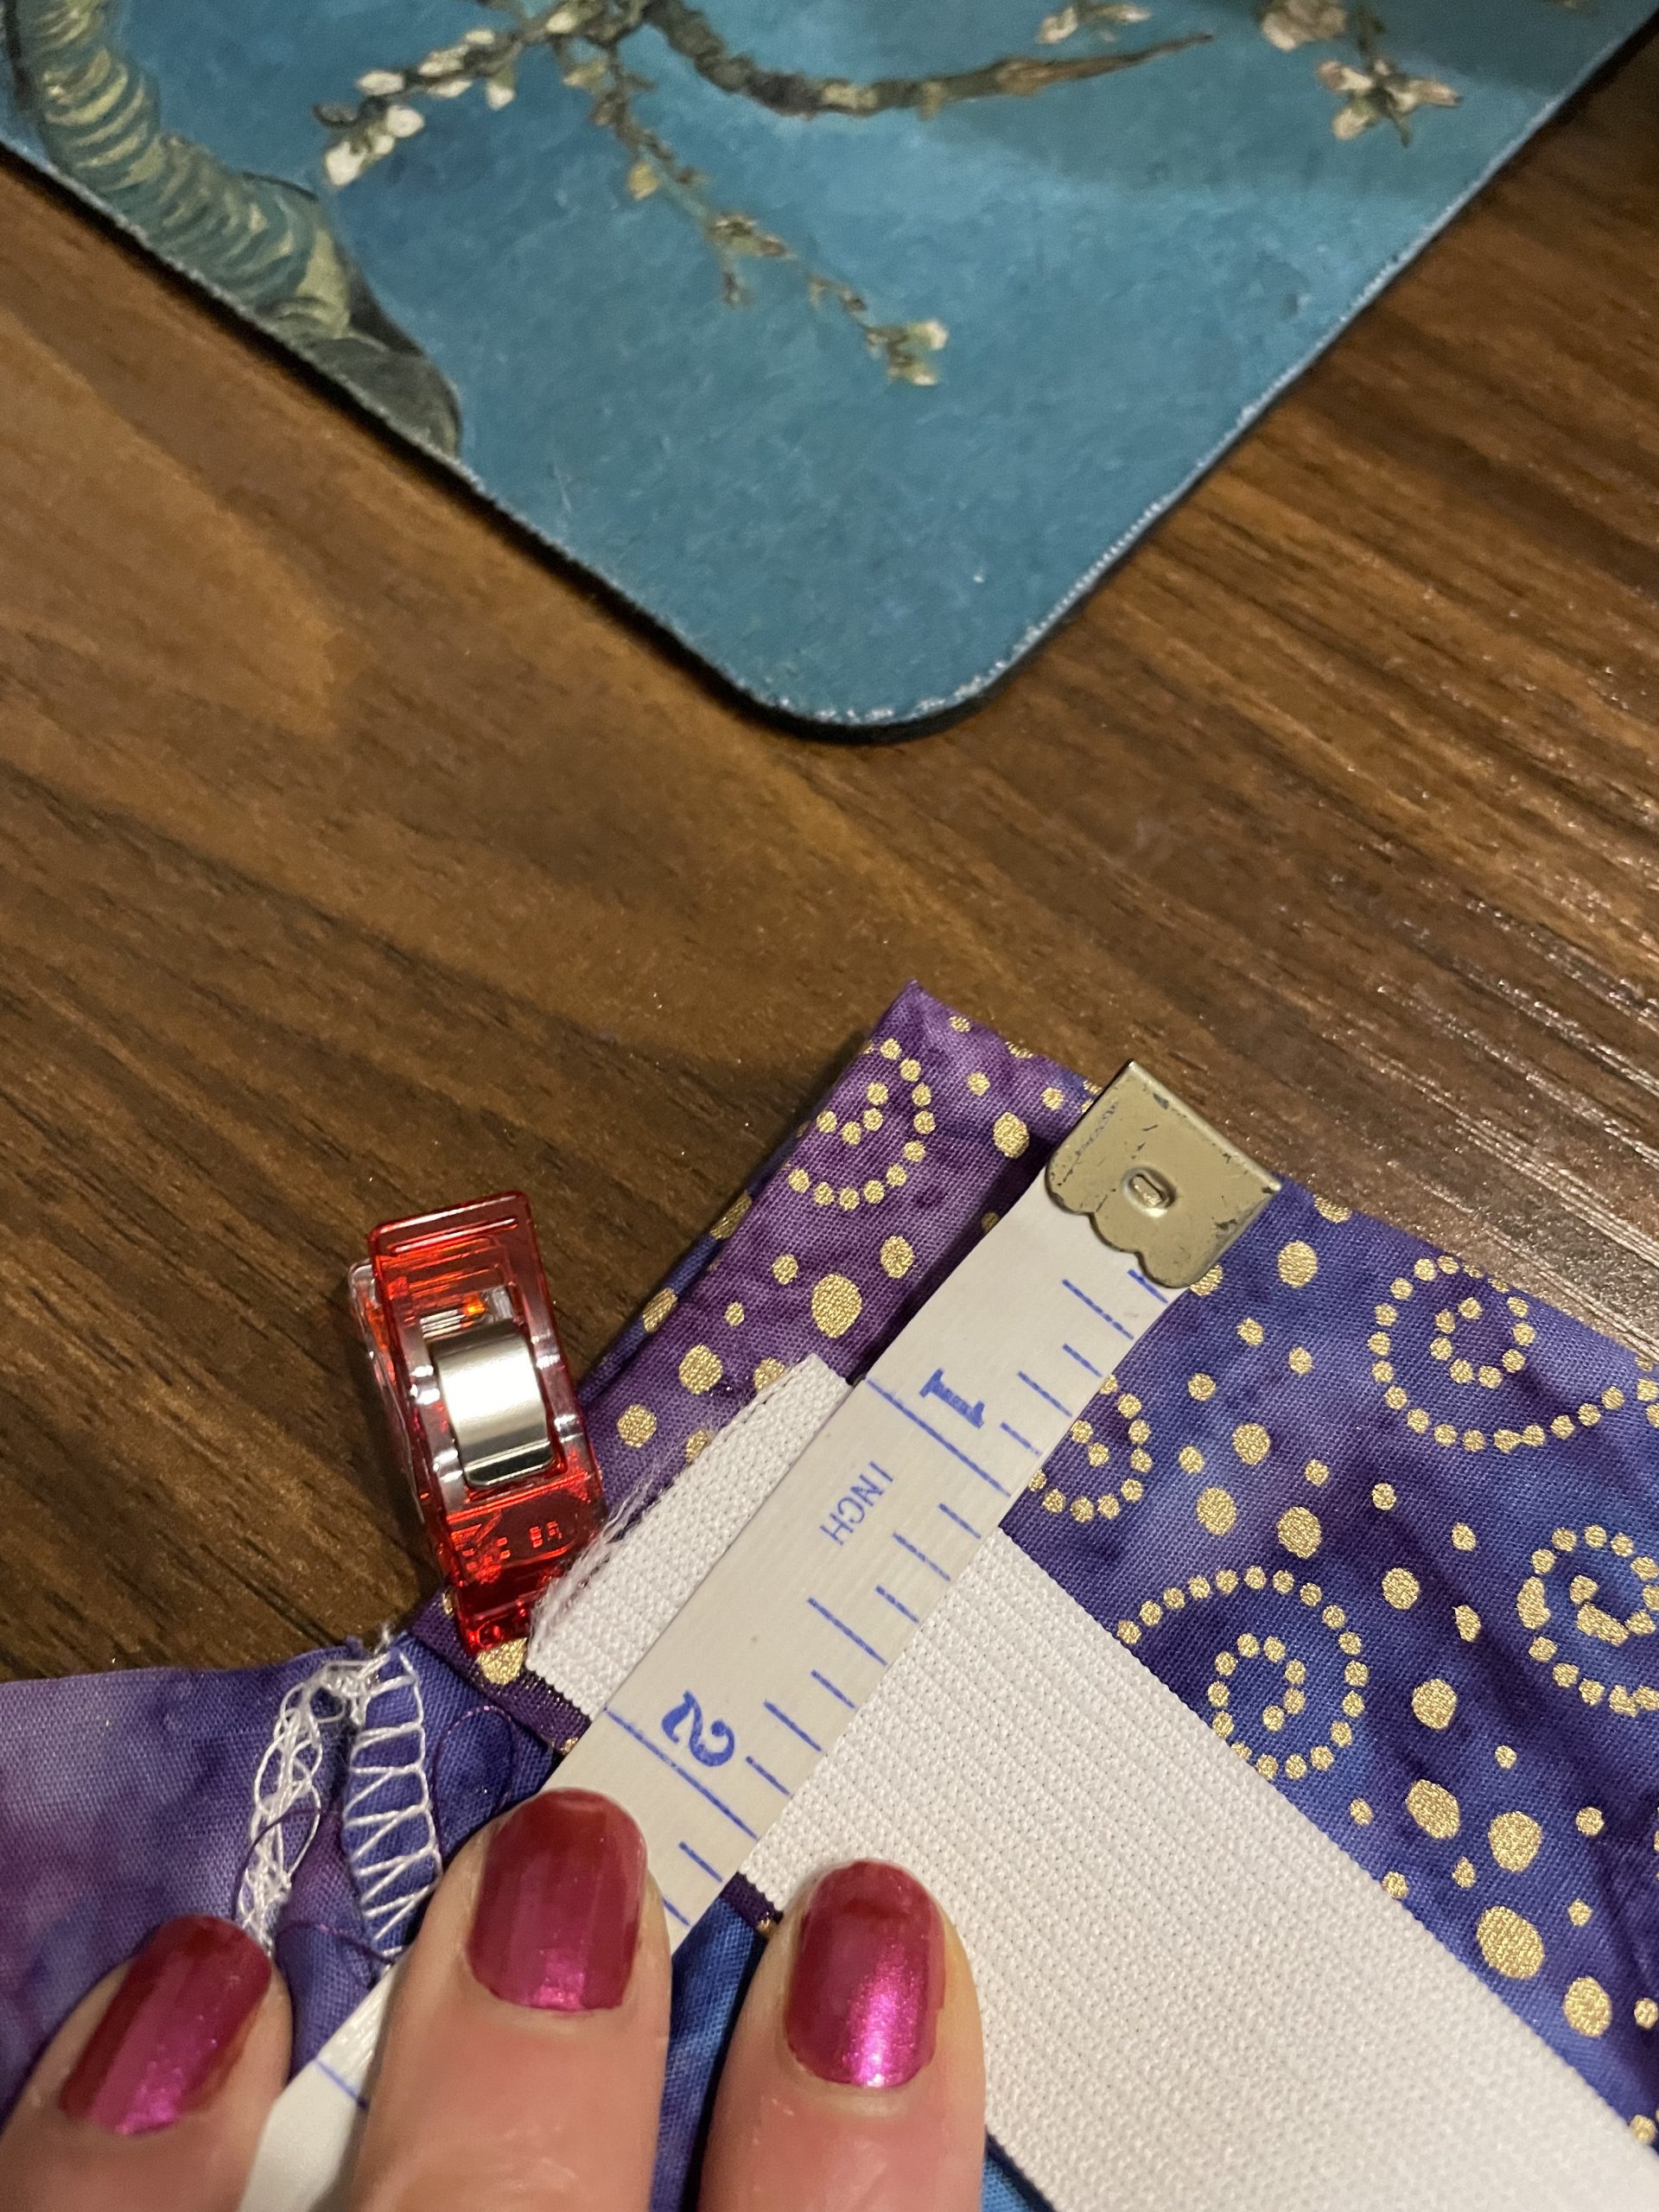
- Optional: quilting ruler to lay down ribbons
- Fabric scissors/Snips
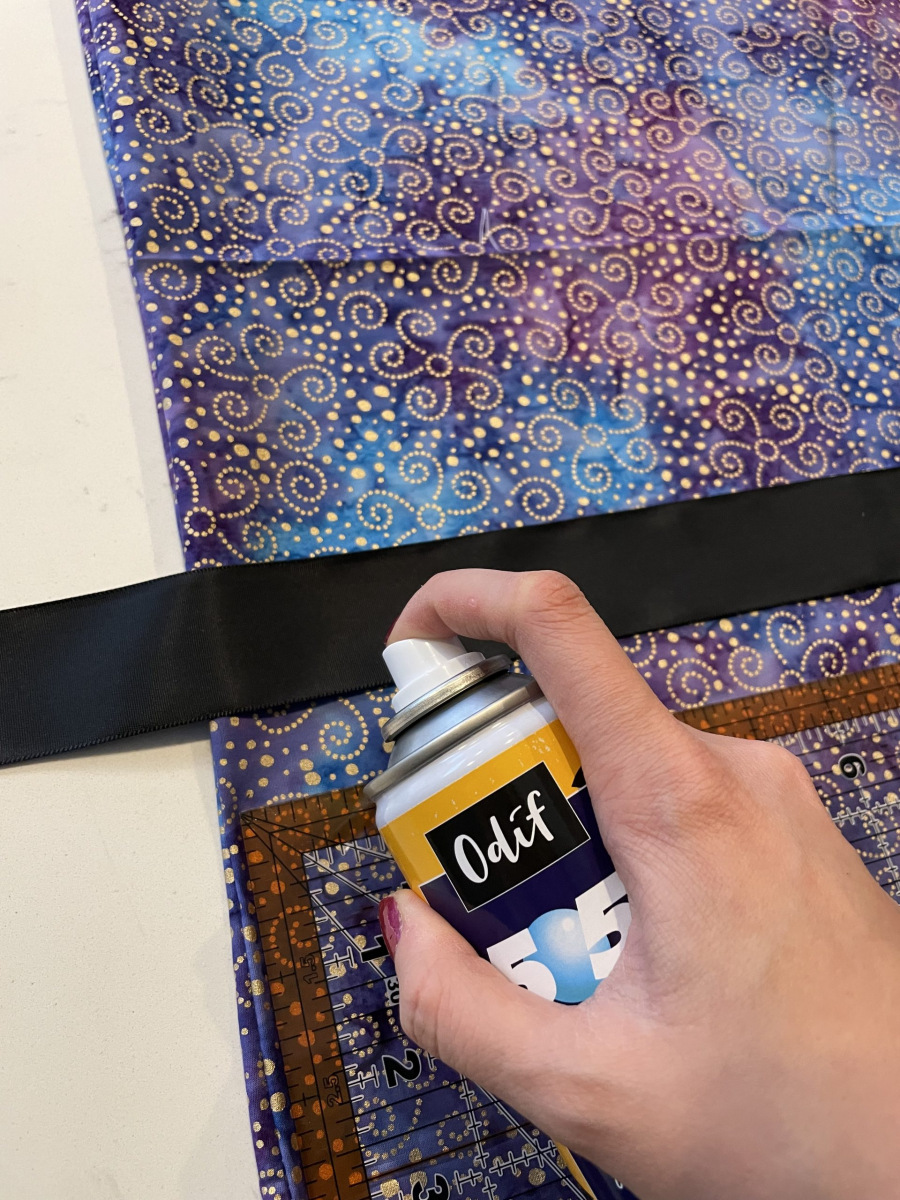
- 505 spray
- Sewing machine and needles (optional: serger)
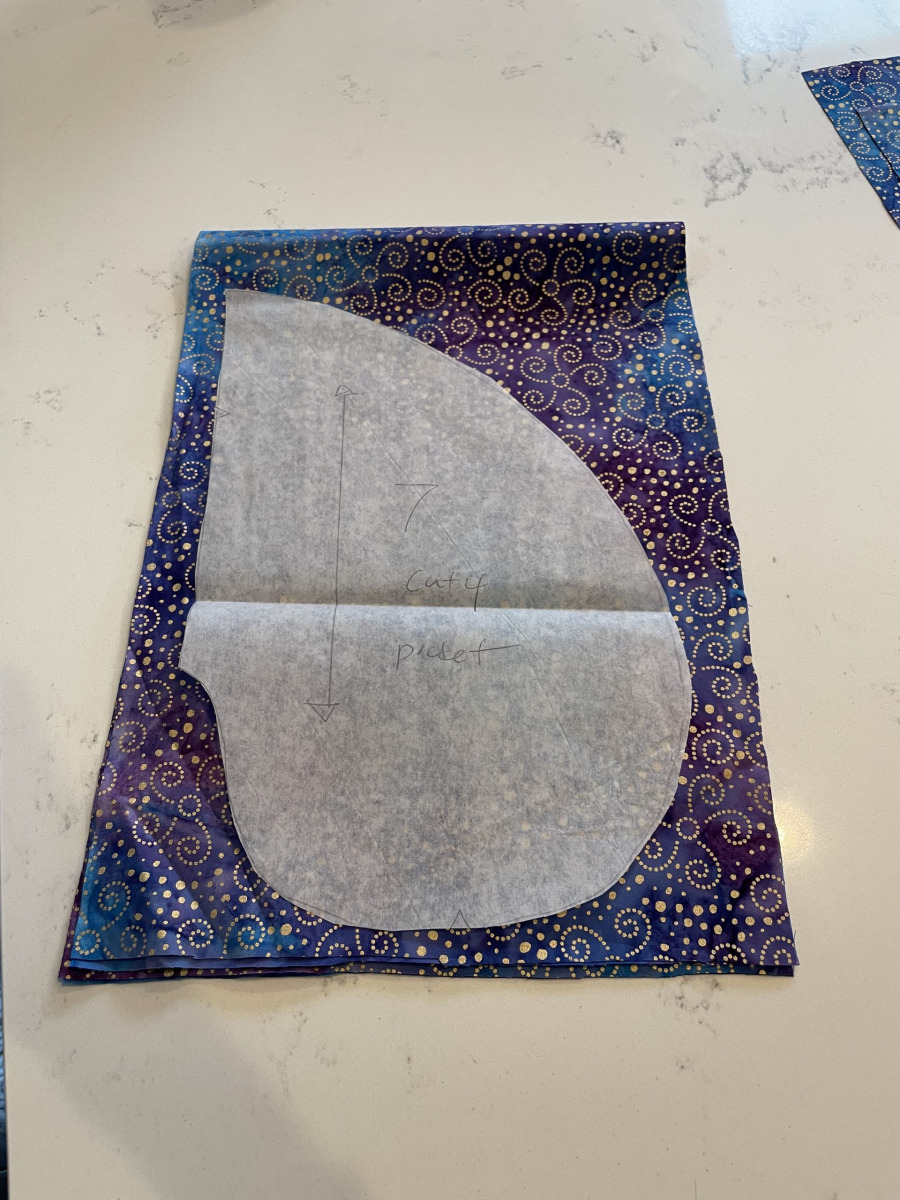
- Pocket shape to cut out
- Safety pin
Steps:
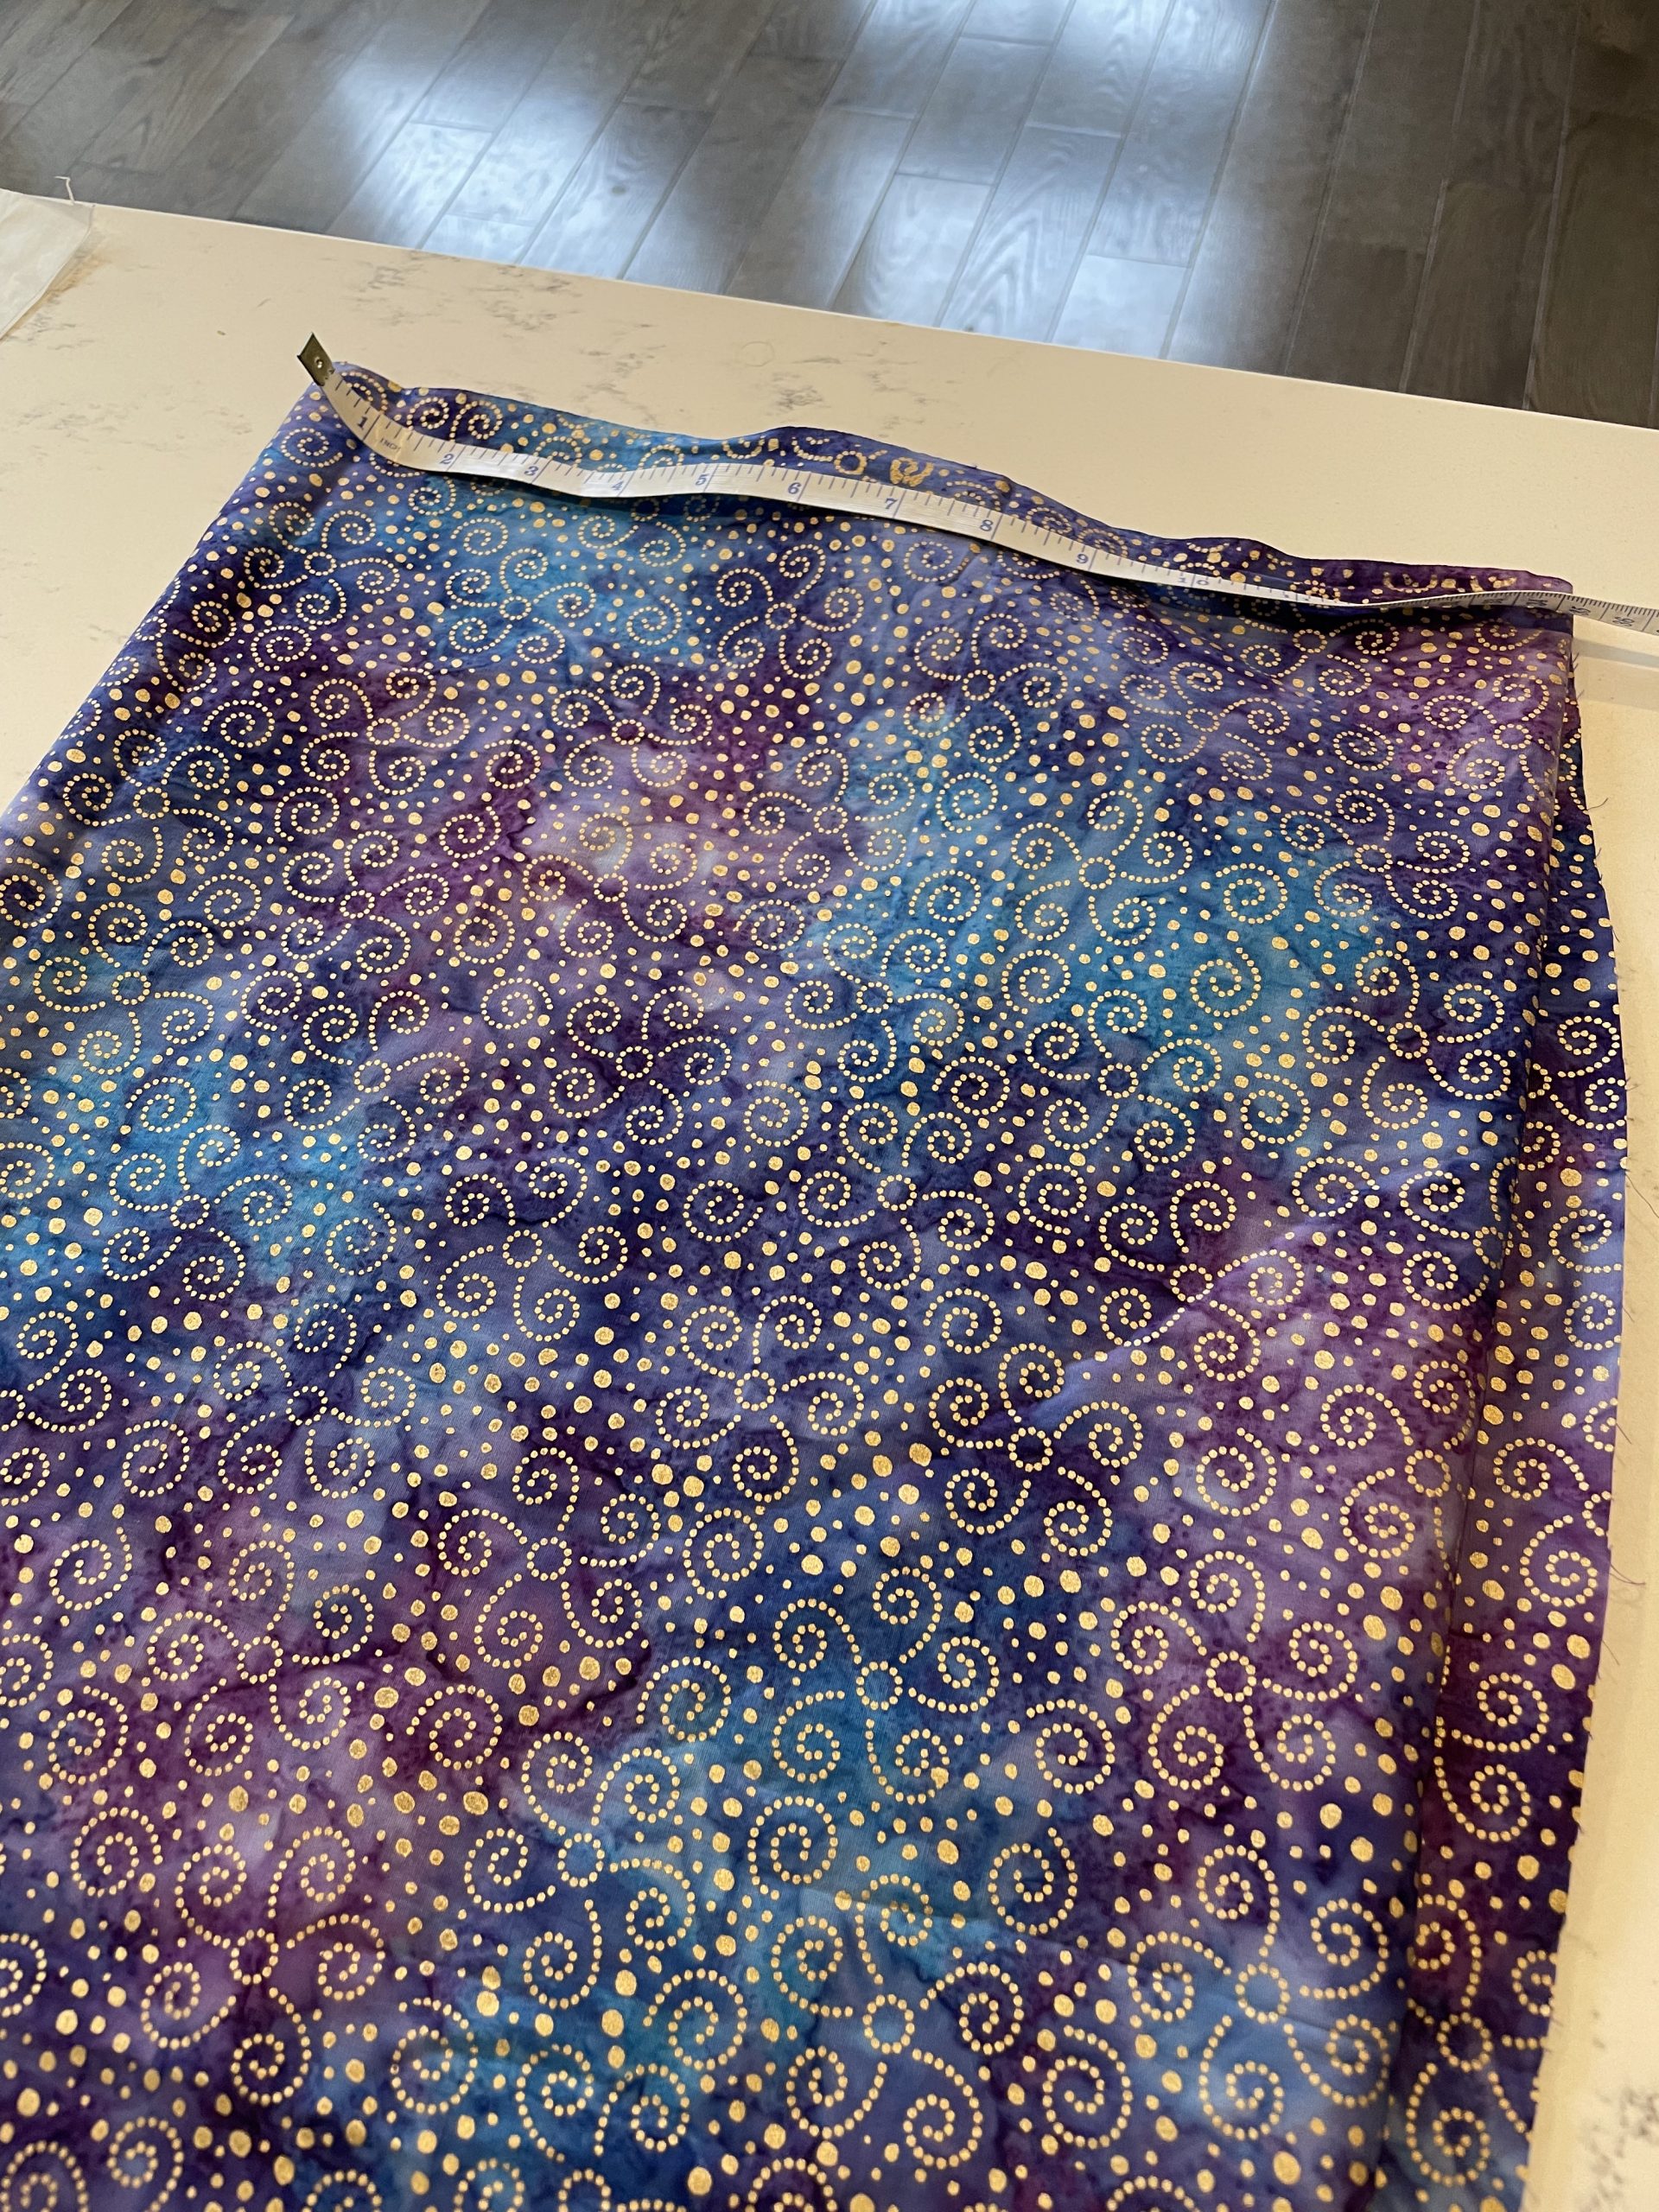
- Wash and iron fabric
- Prep supplies: e.g., make sure you have a new needle in the sewing machine!
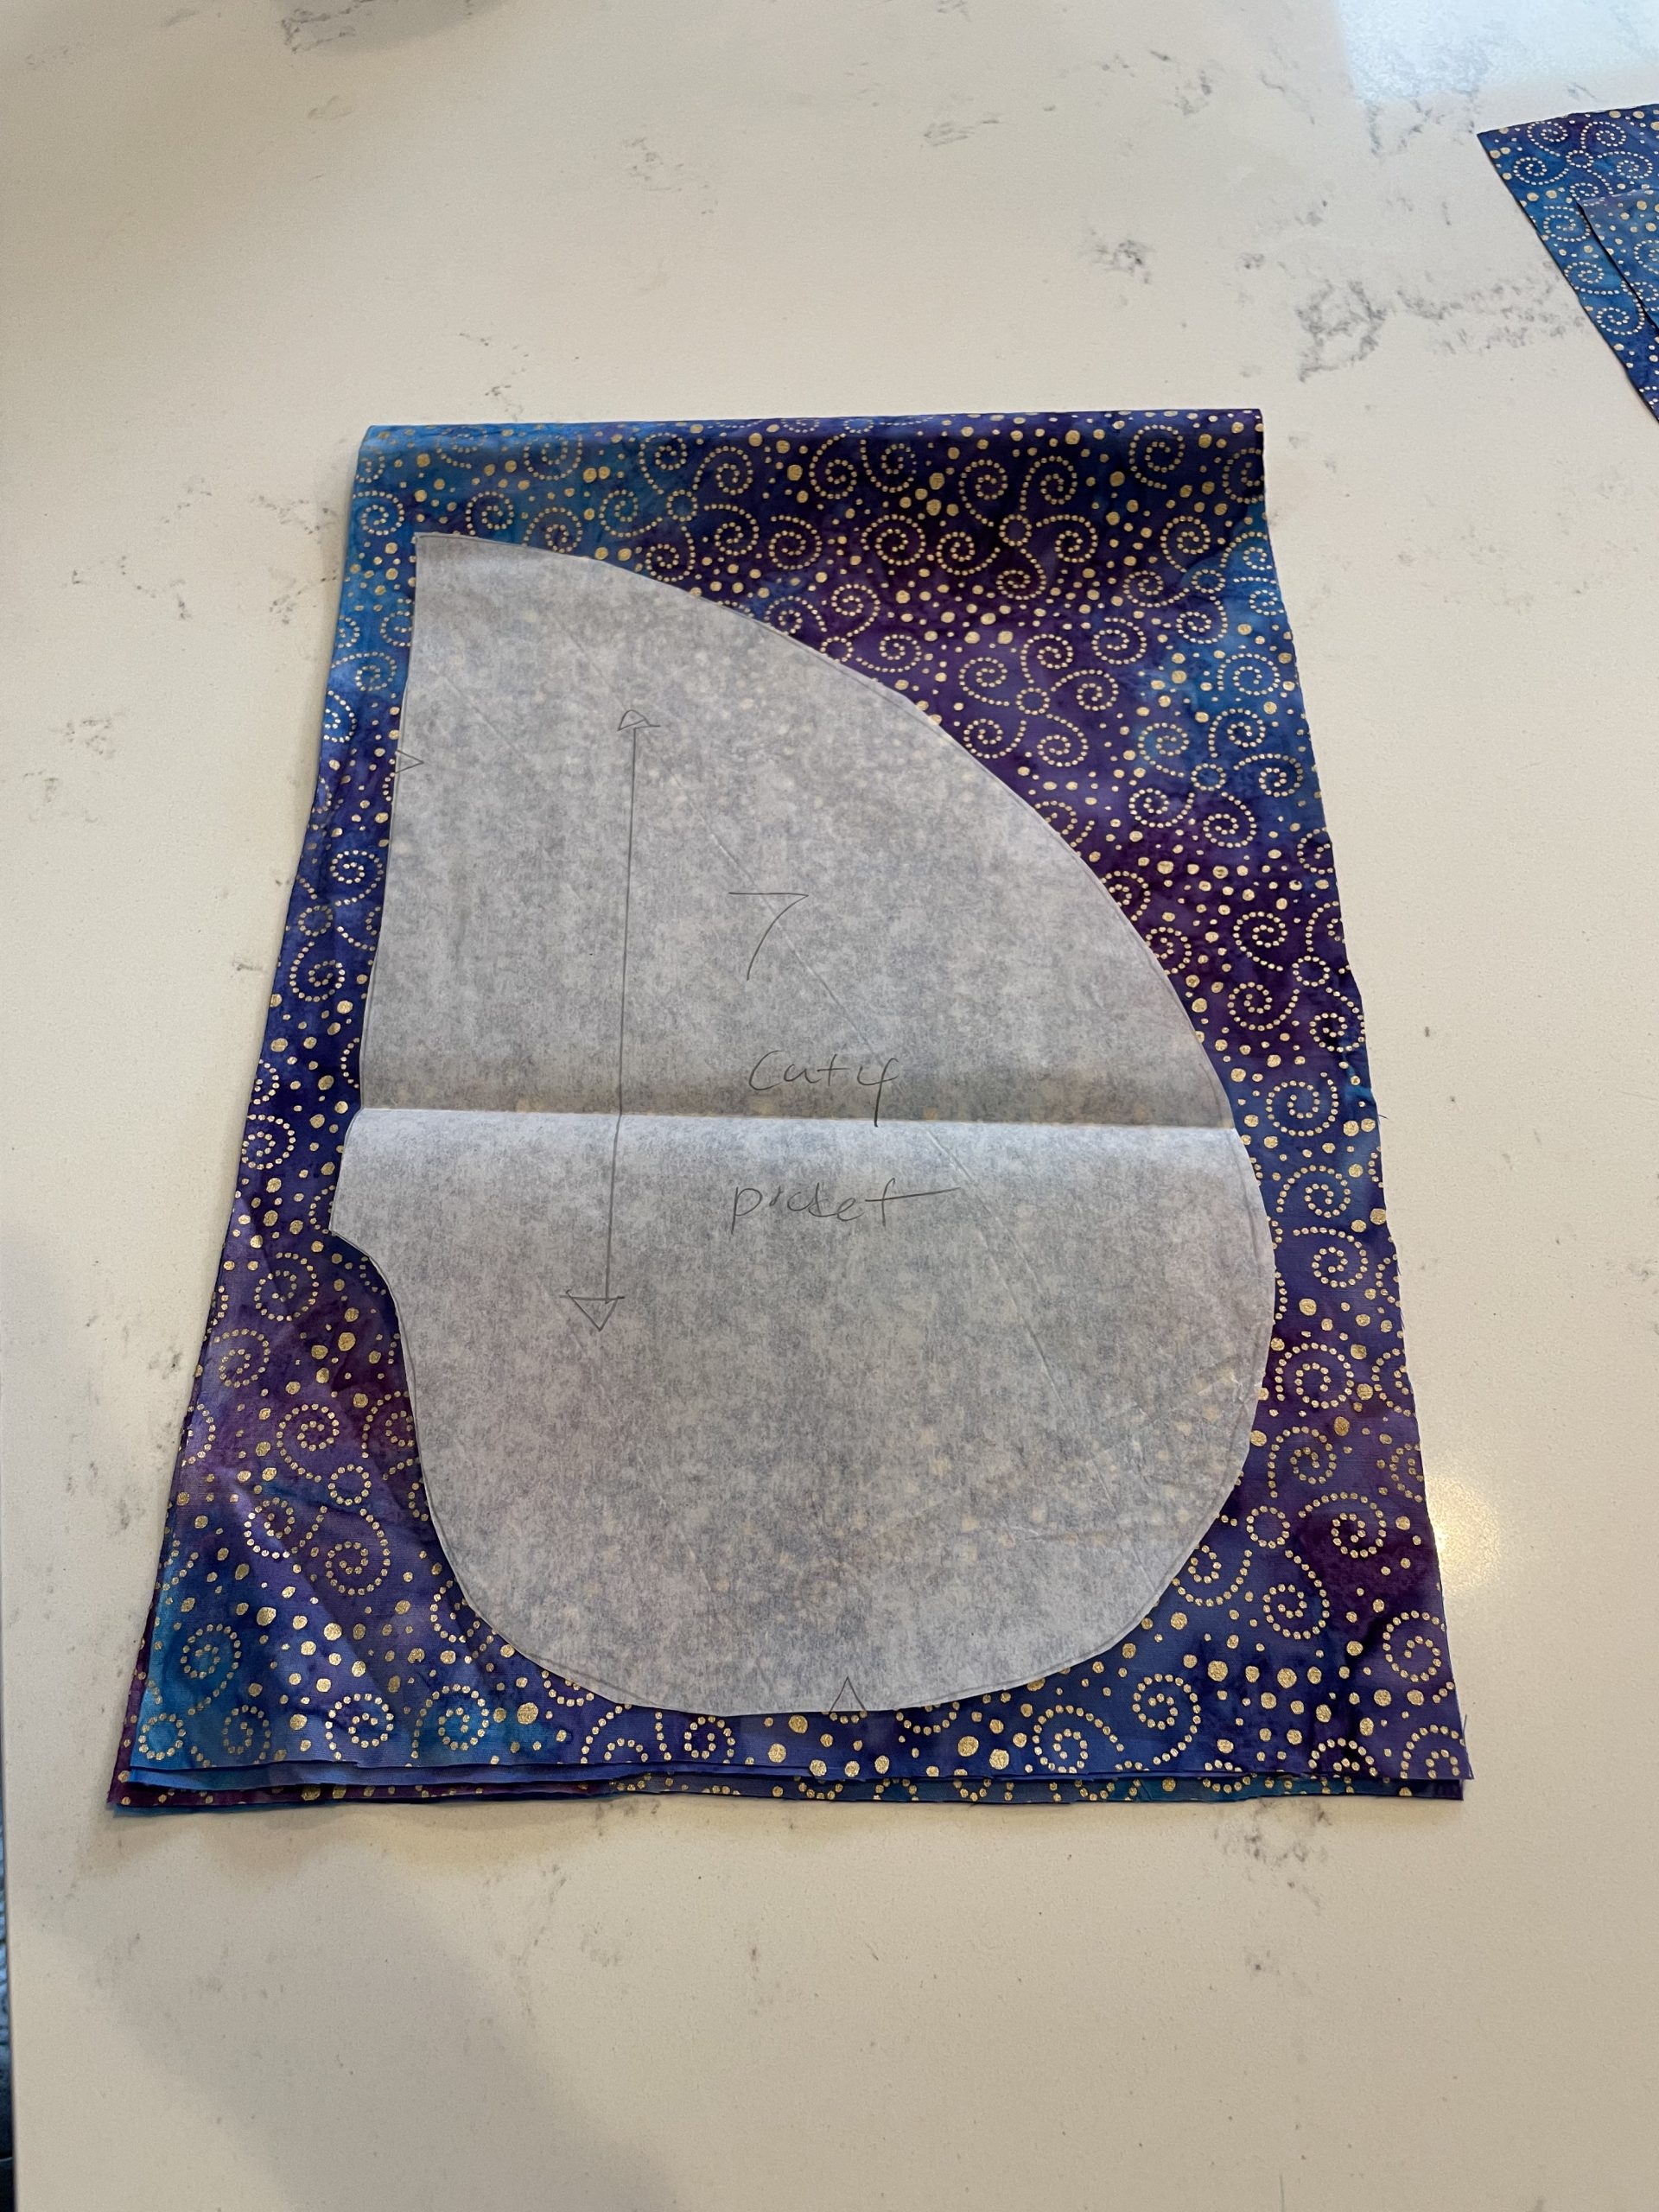
- Measure the widest part of your waist/hips. Take 1.5x that width and divide that number by 4. Double fold your fabric.
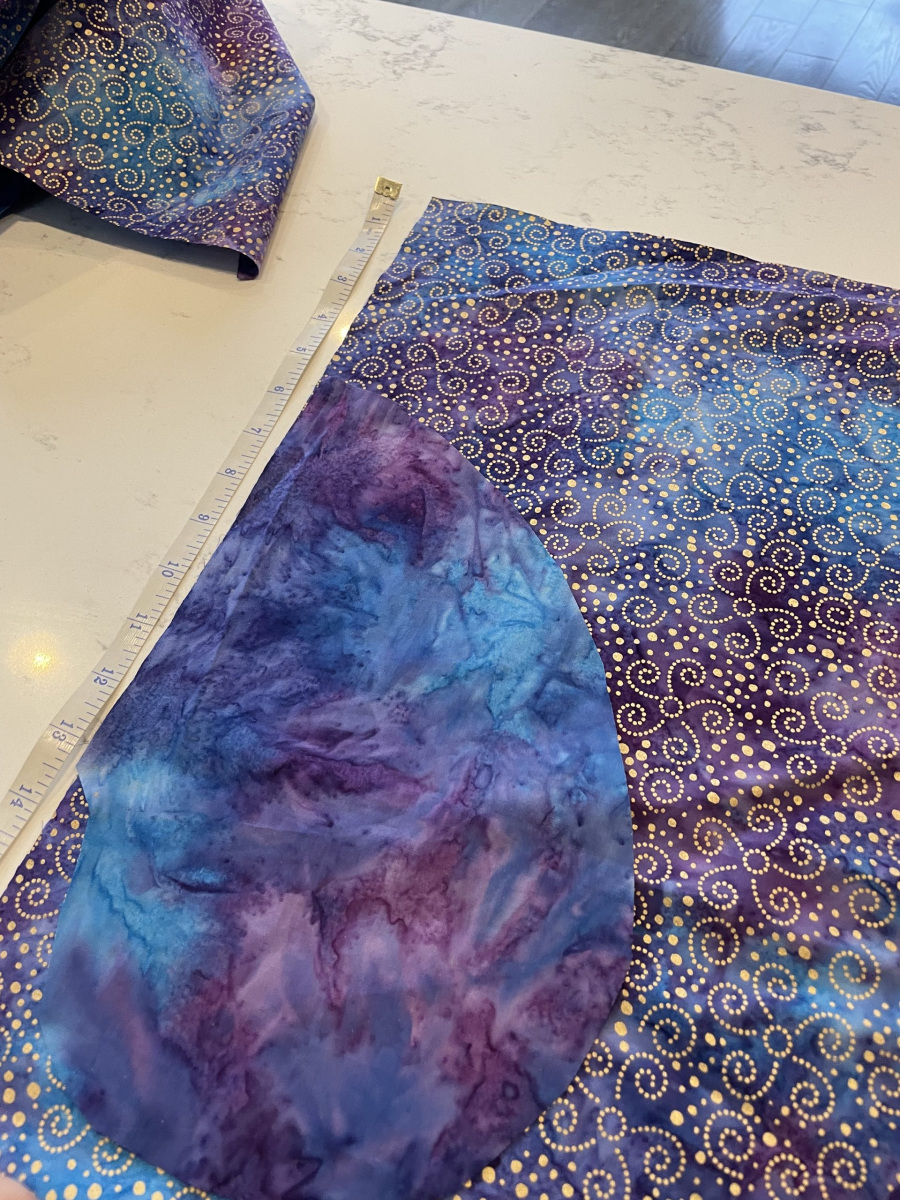
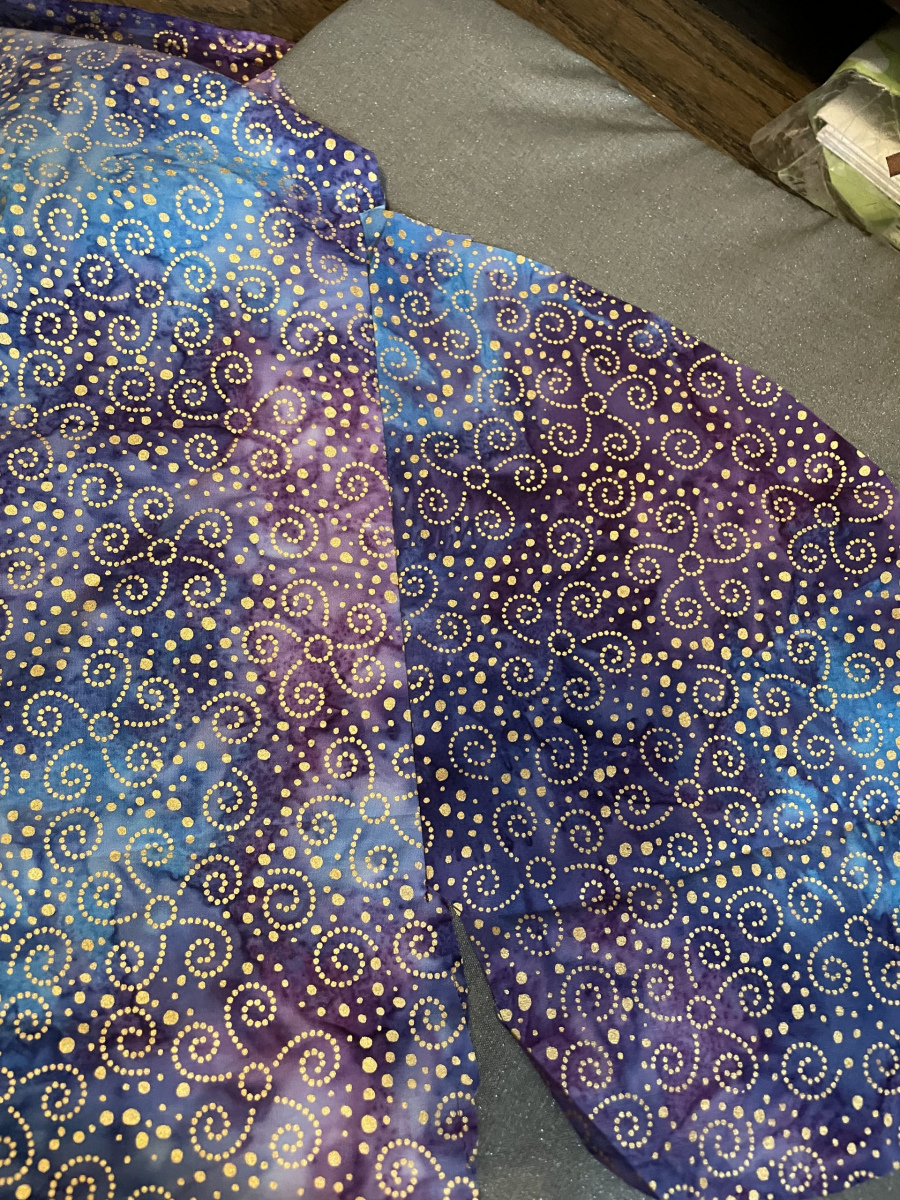
- Cut 1 along the double fold to get two panels. Optional: you can taper the top of the pieces to half the size of the waist plus 2 inches.
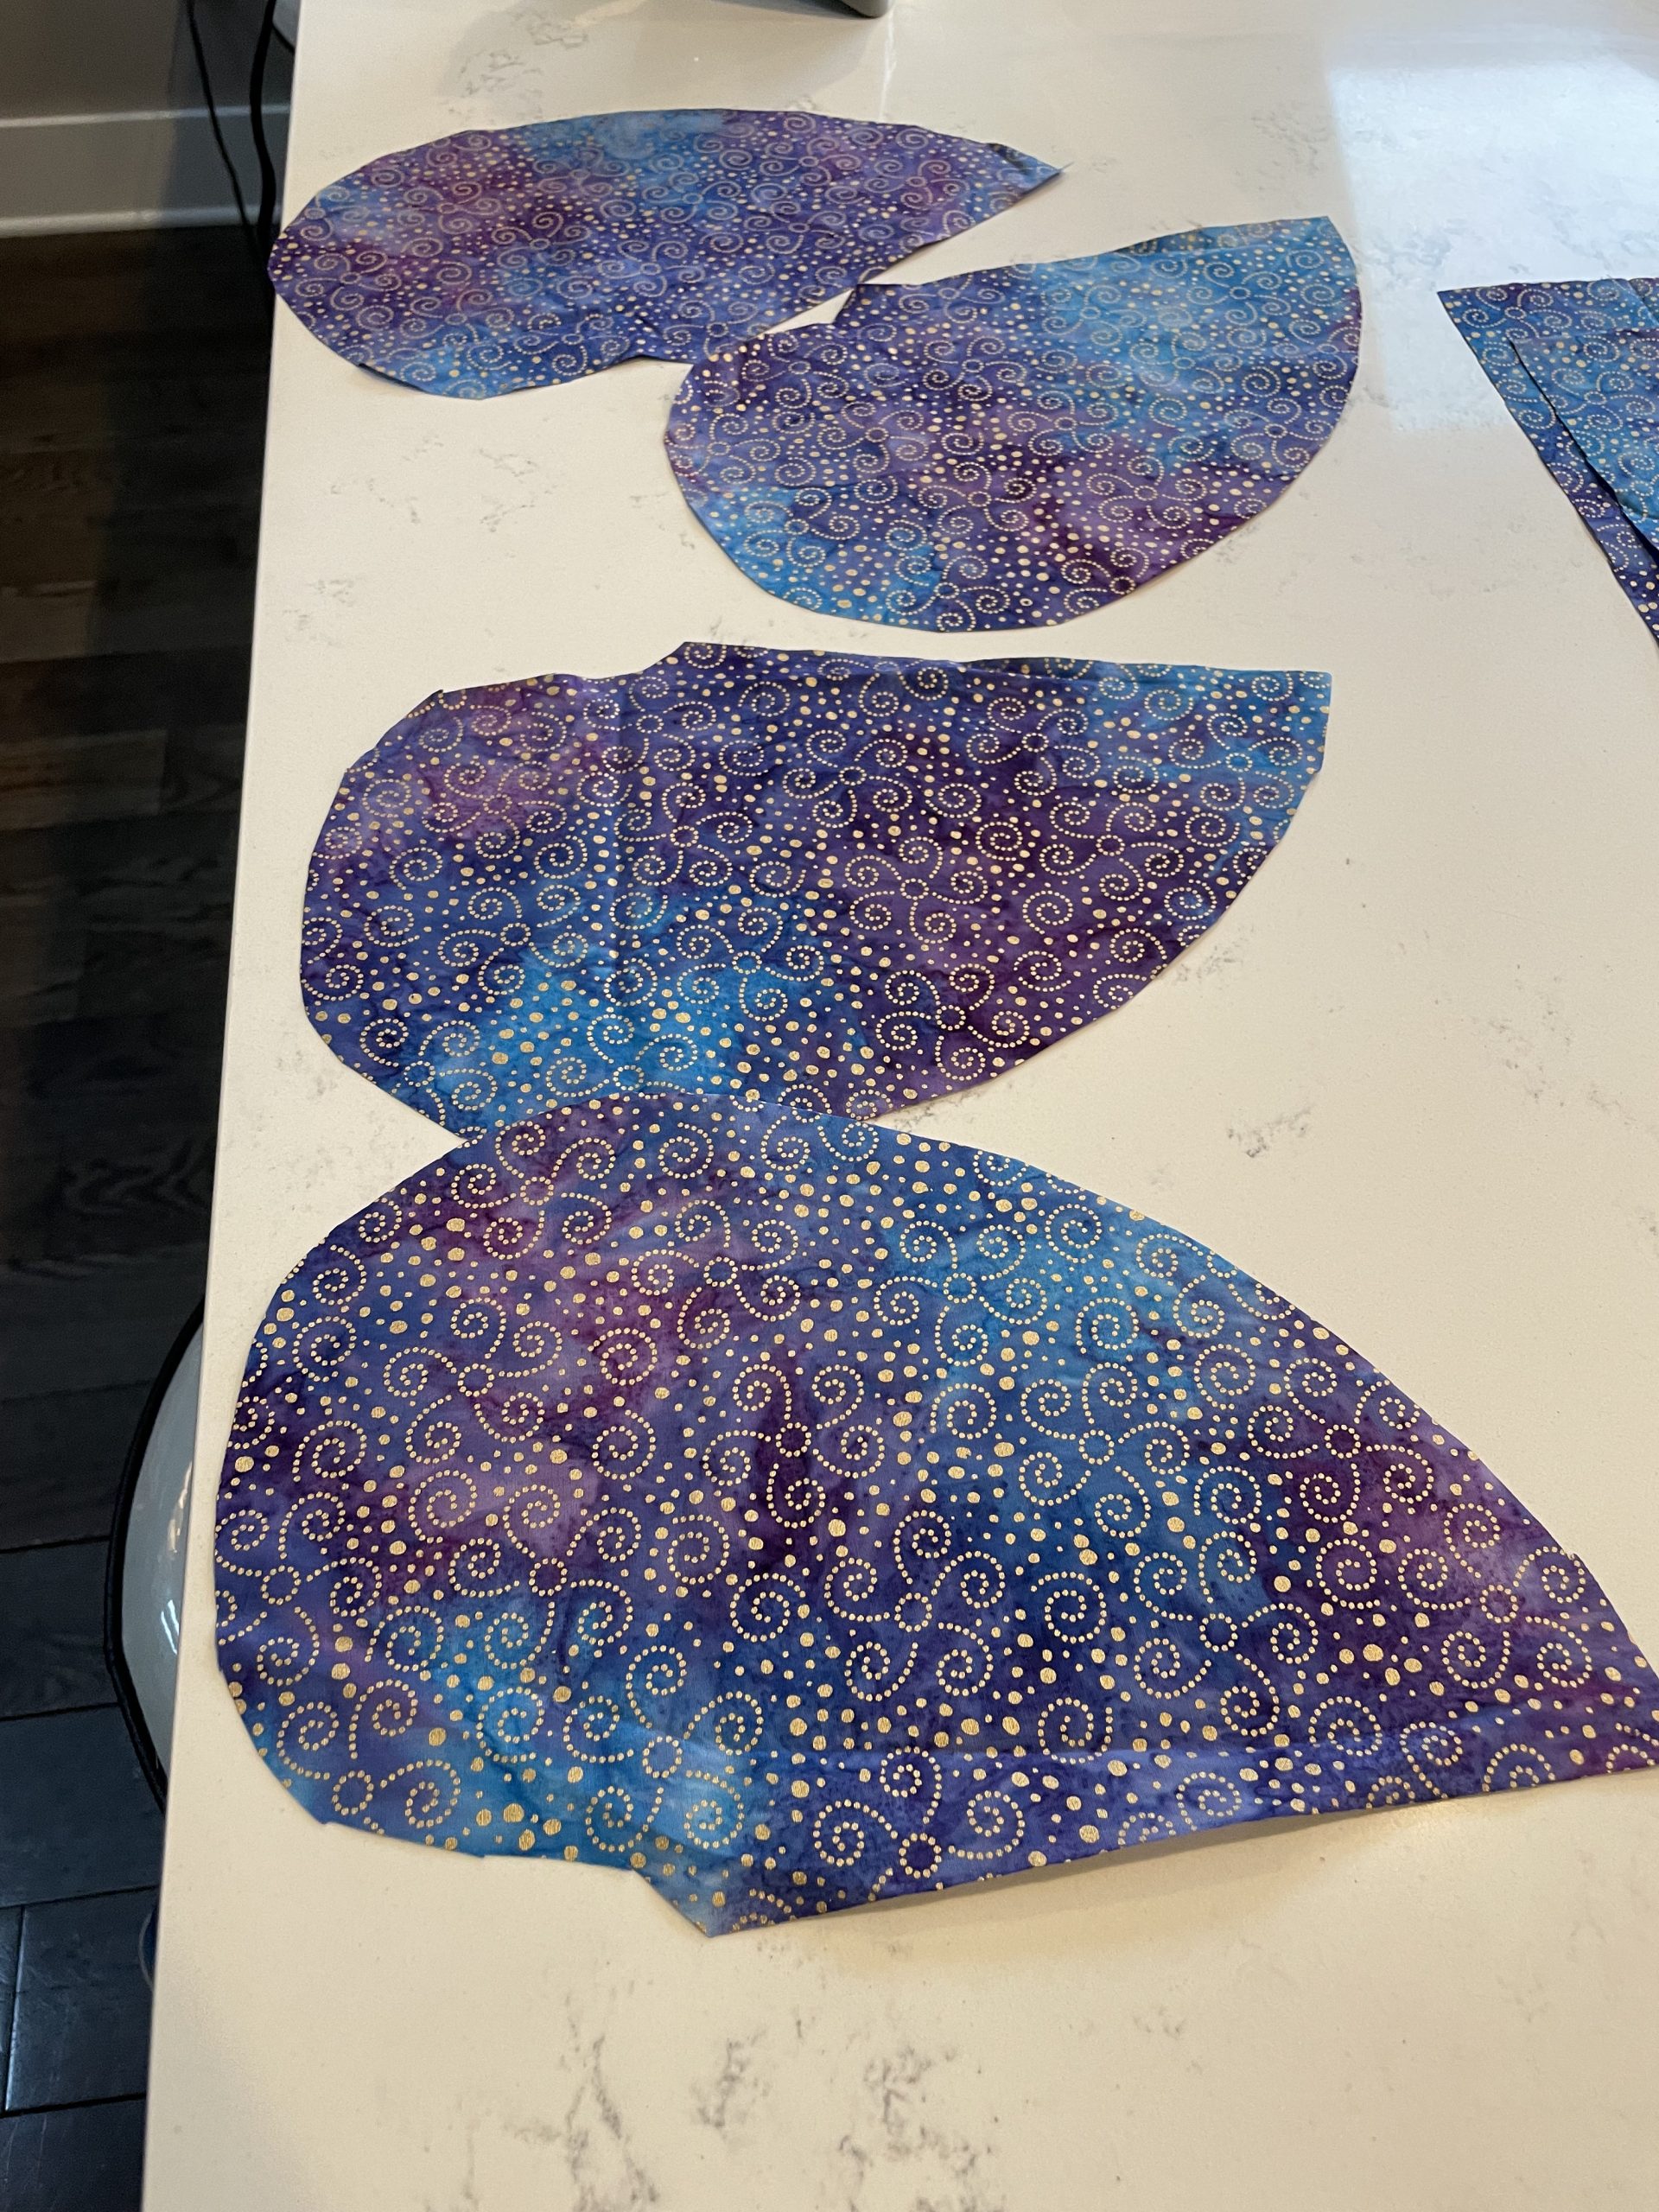
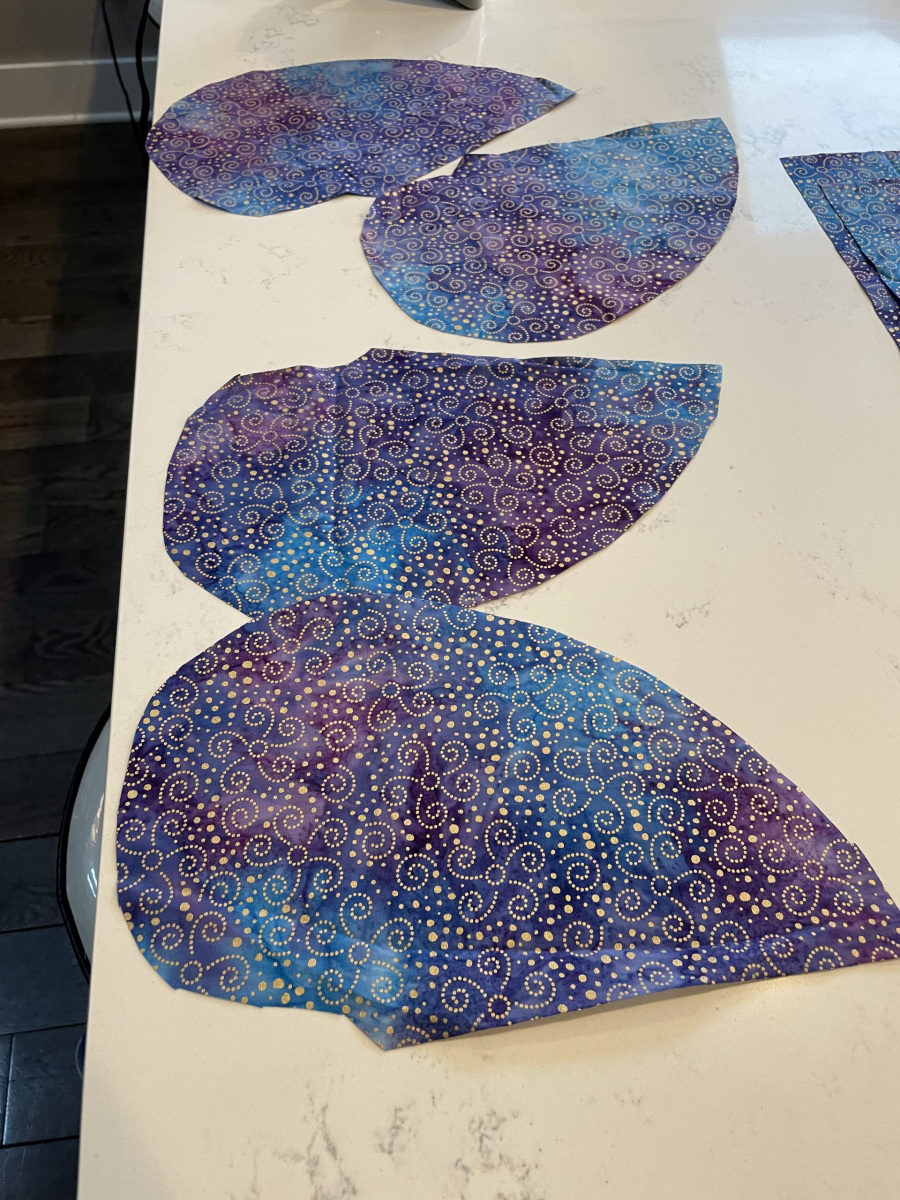
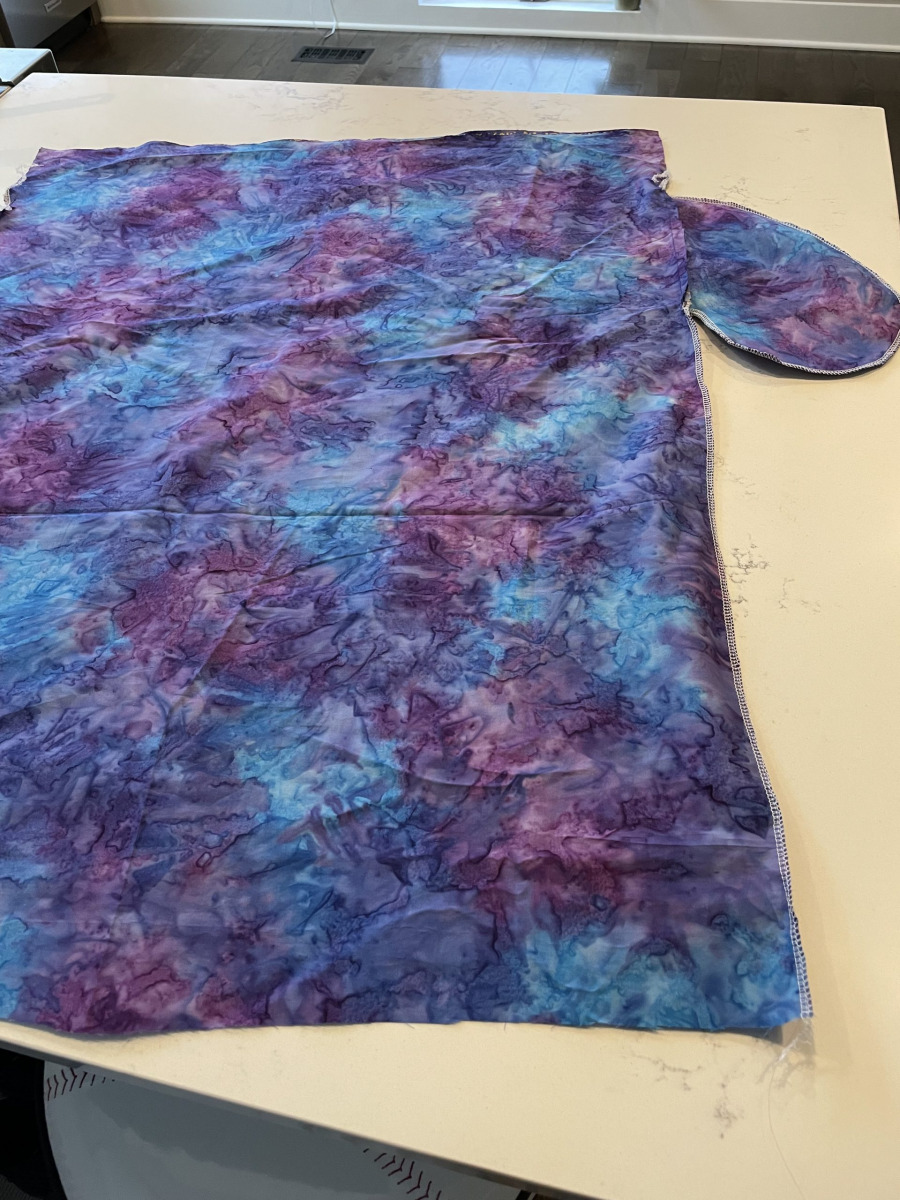
- Cut out 4 pockets
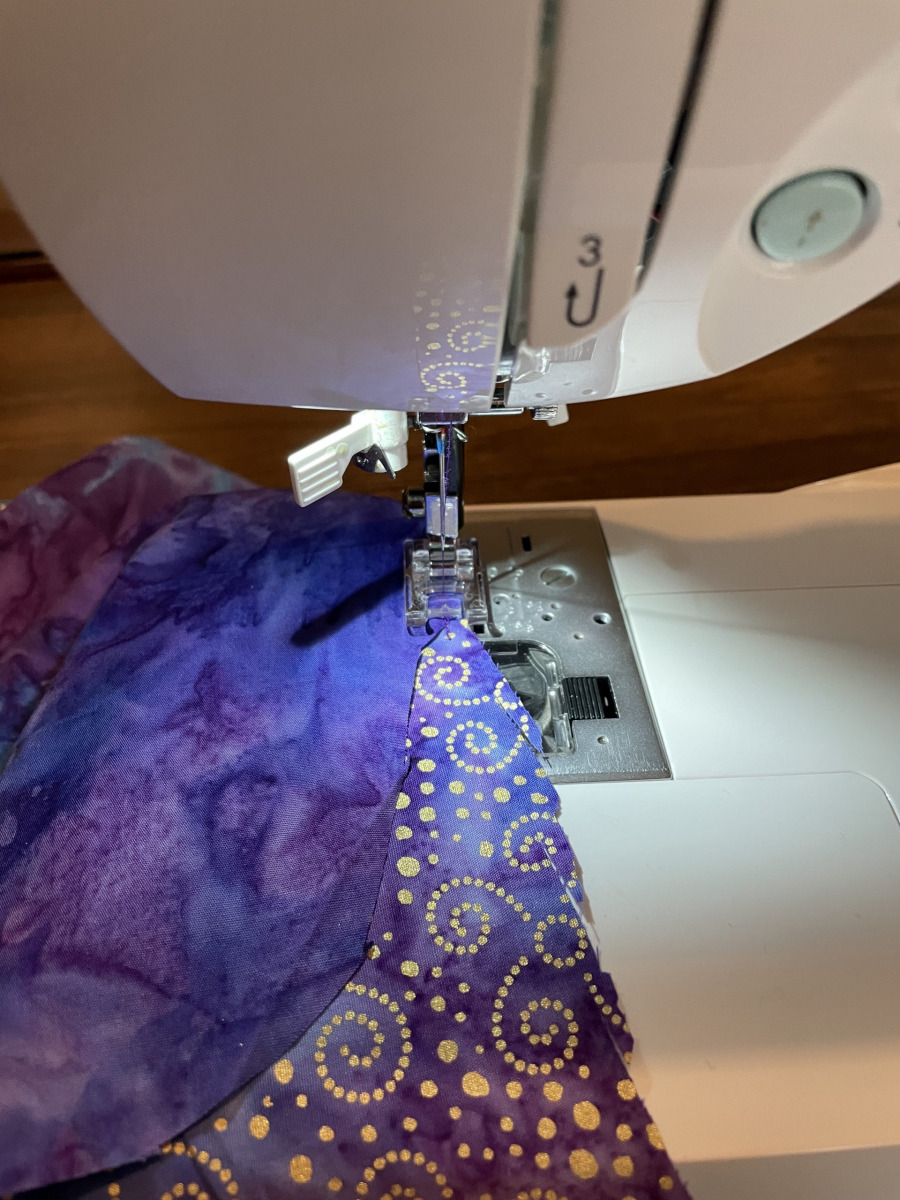
- Sew the pockets to the sides of both panels, right side in, at 5.5 inches from the top. Press open.
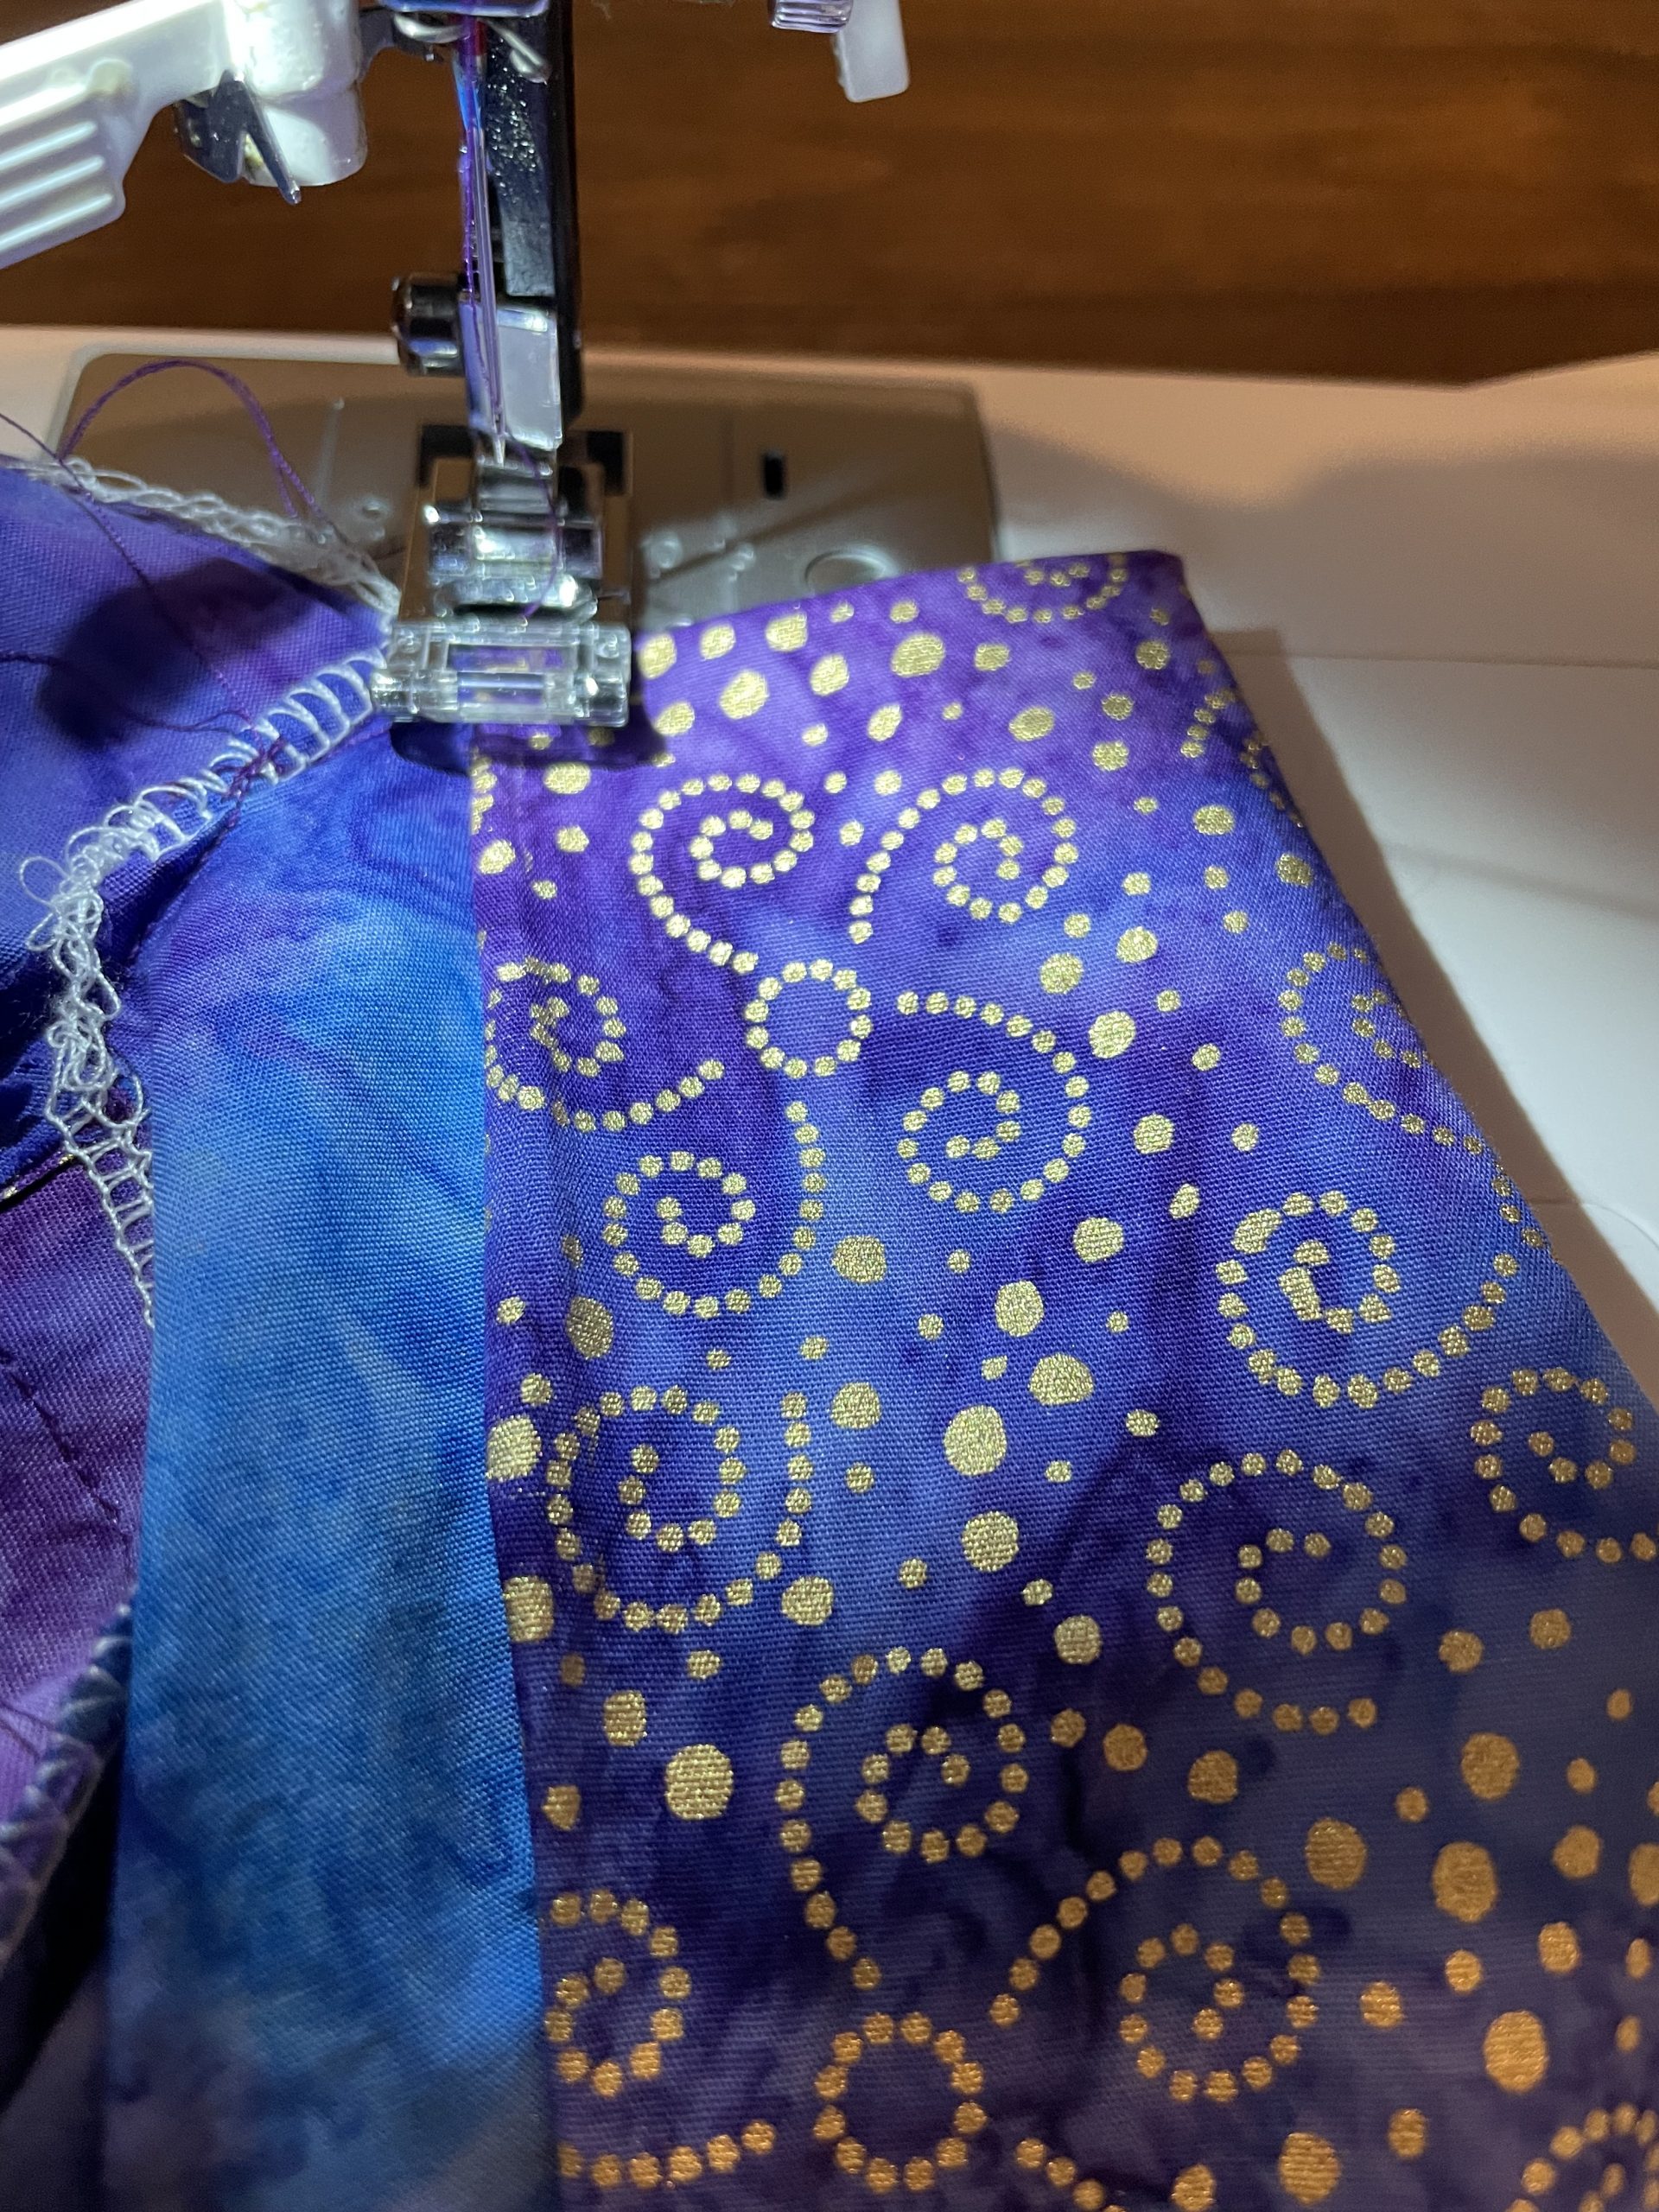
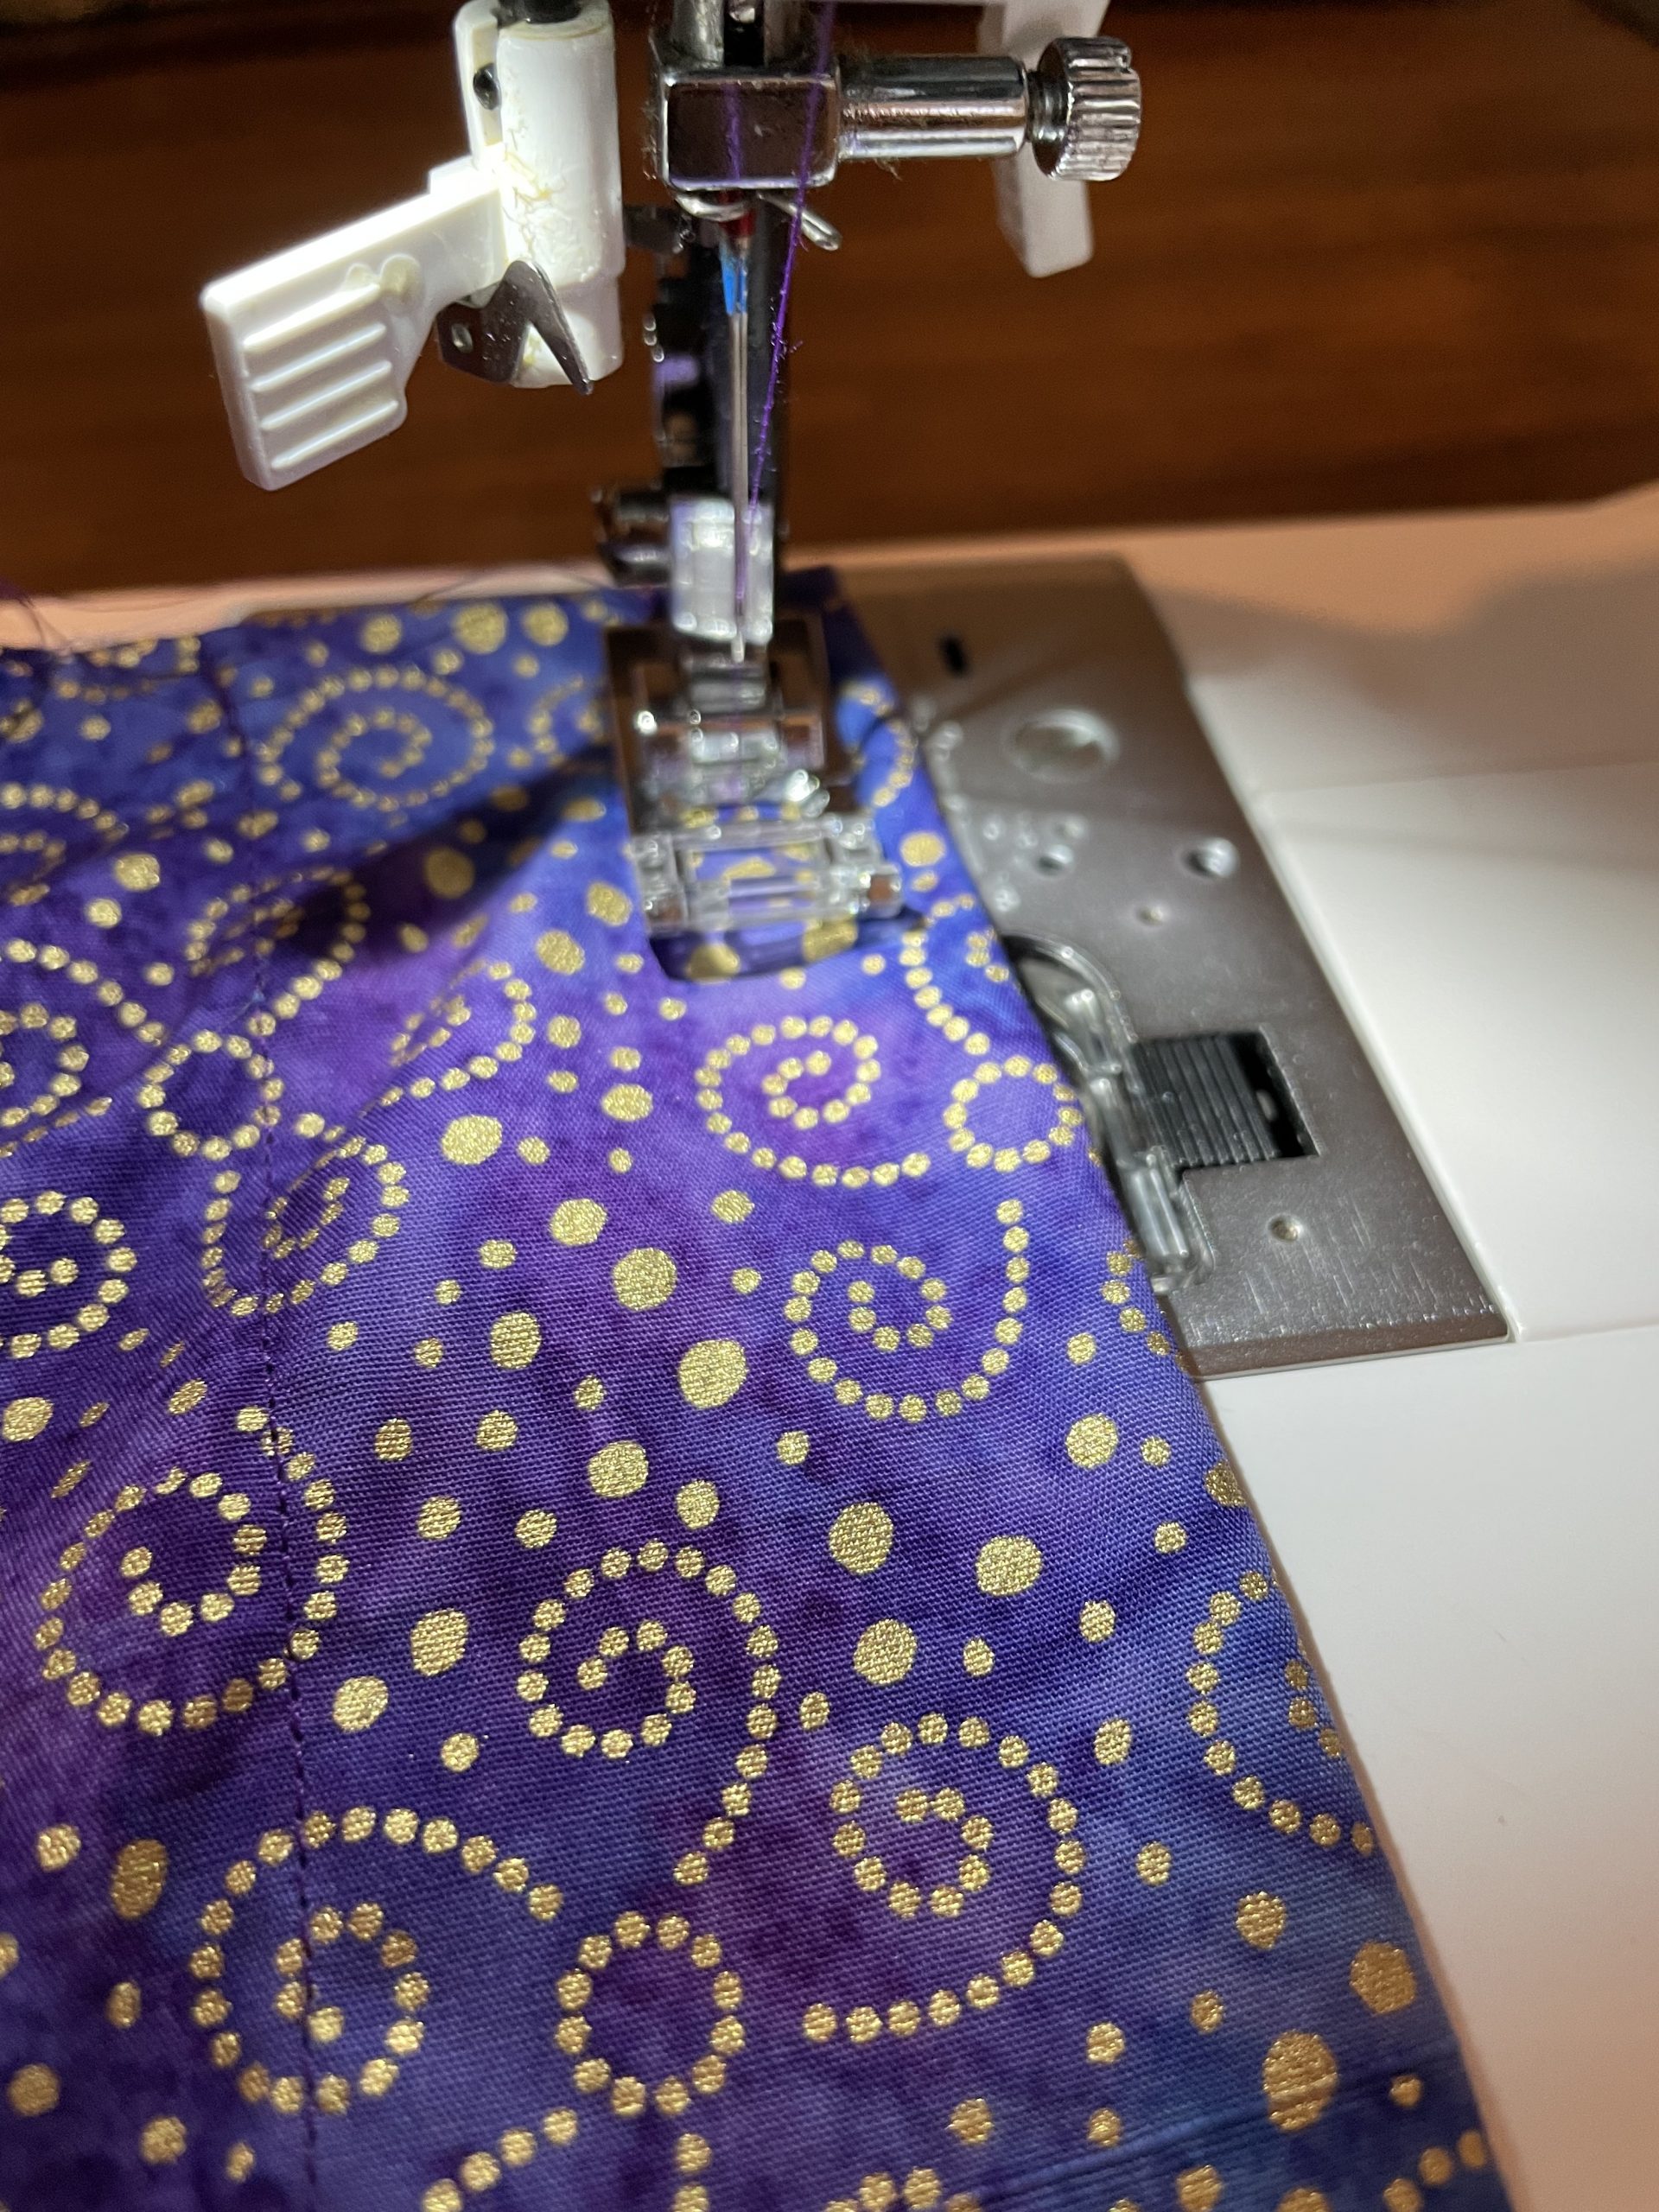
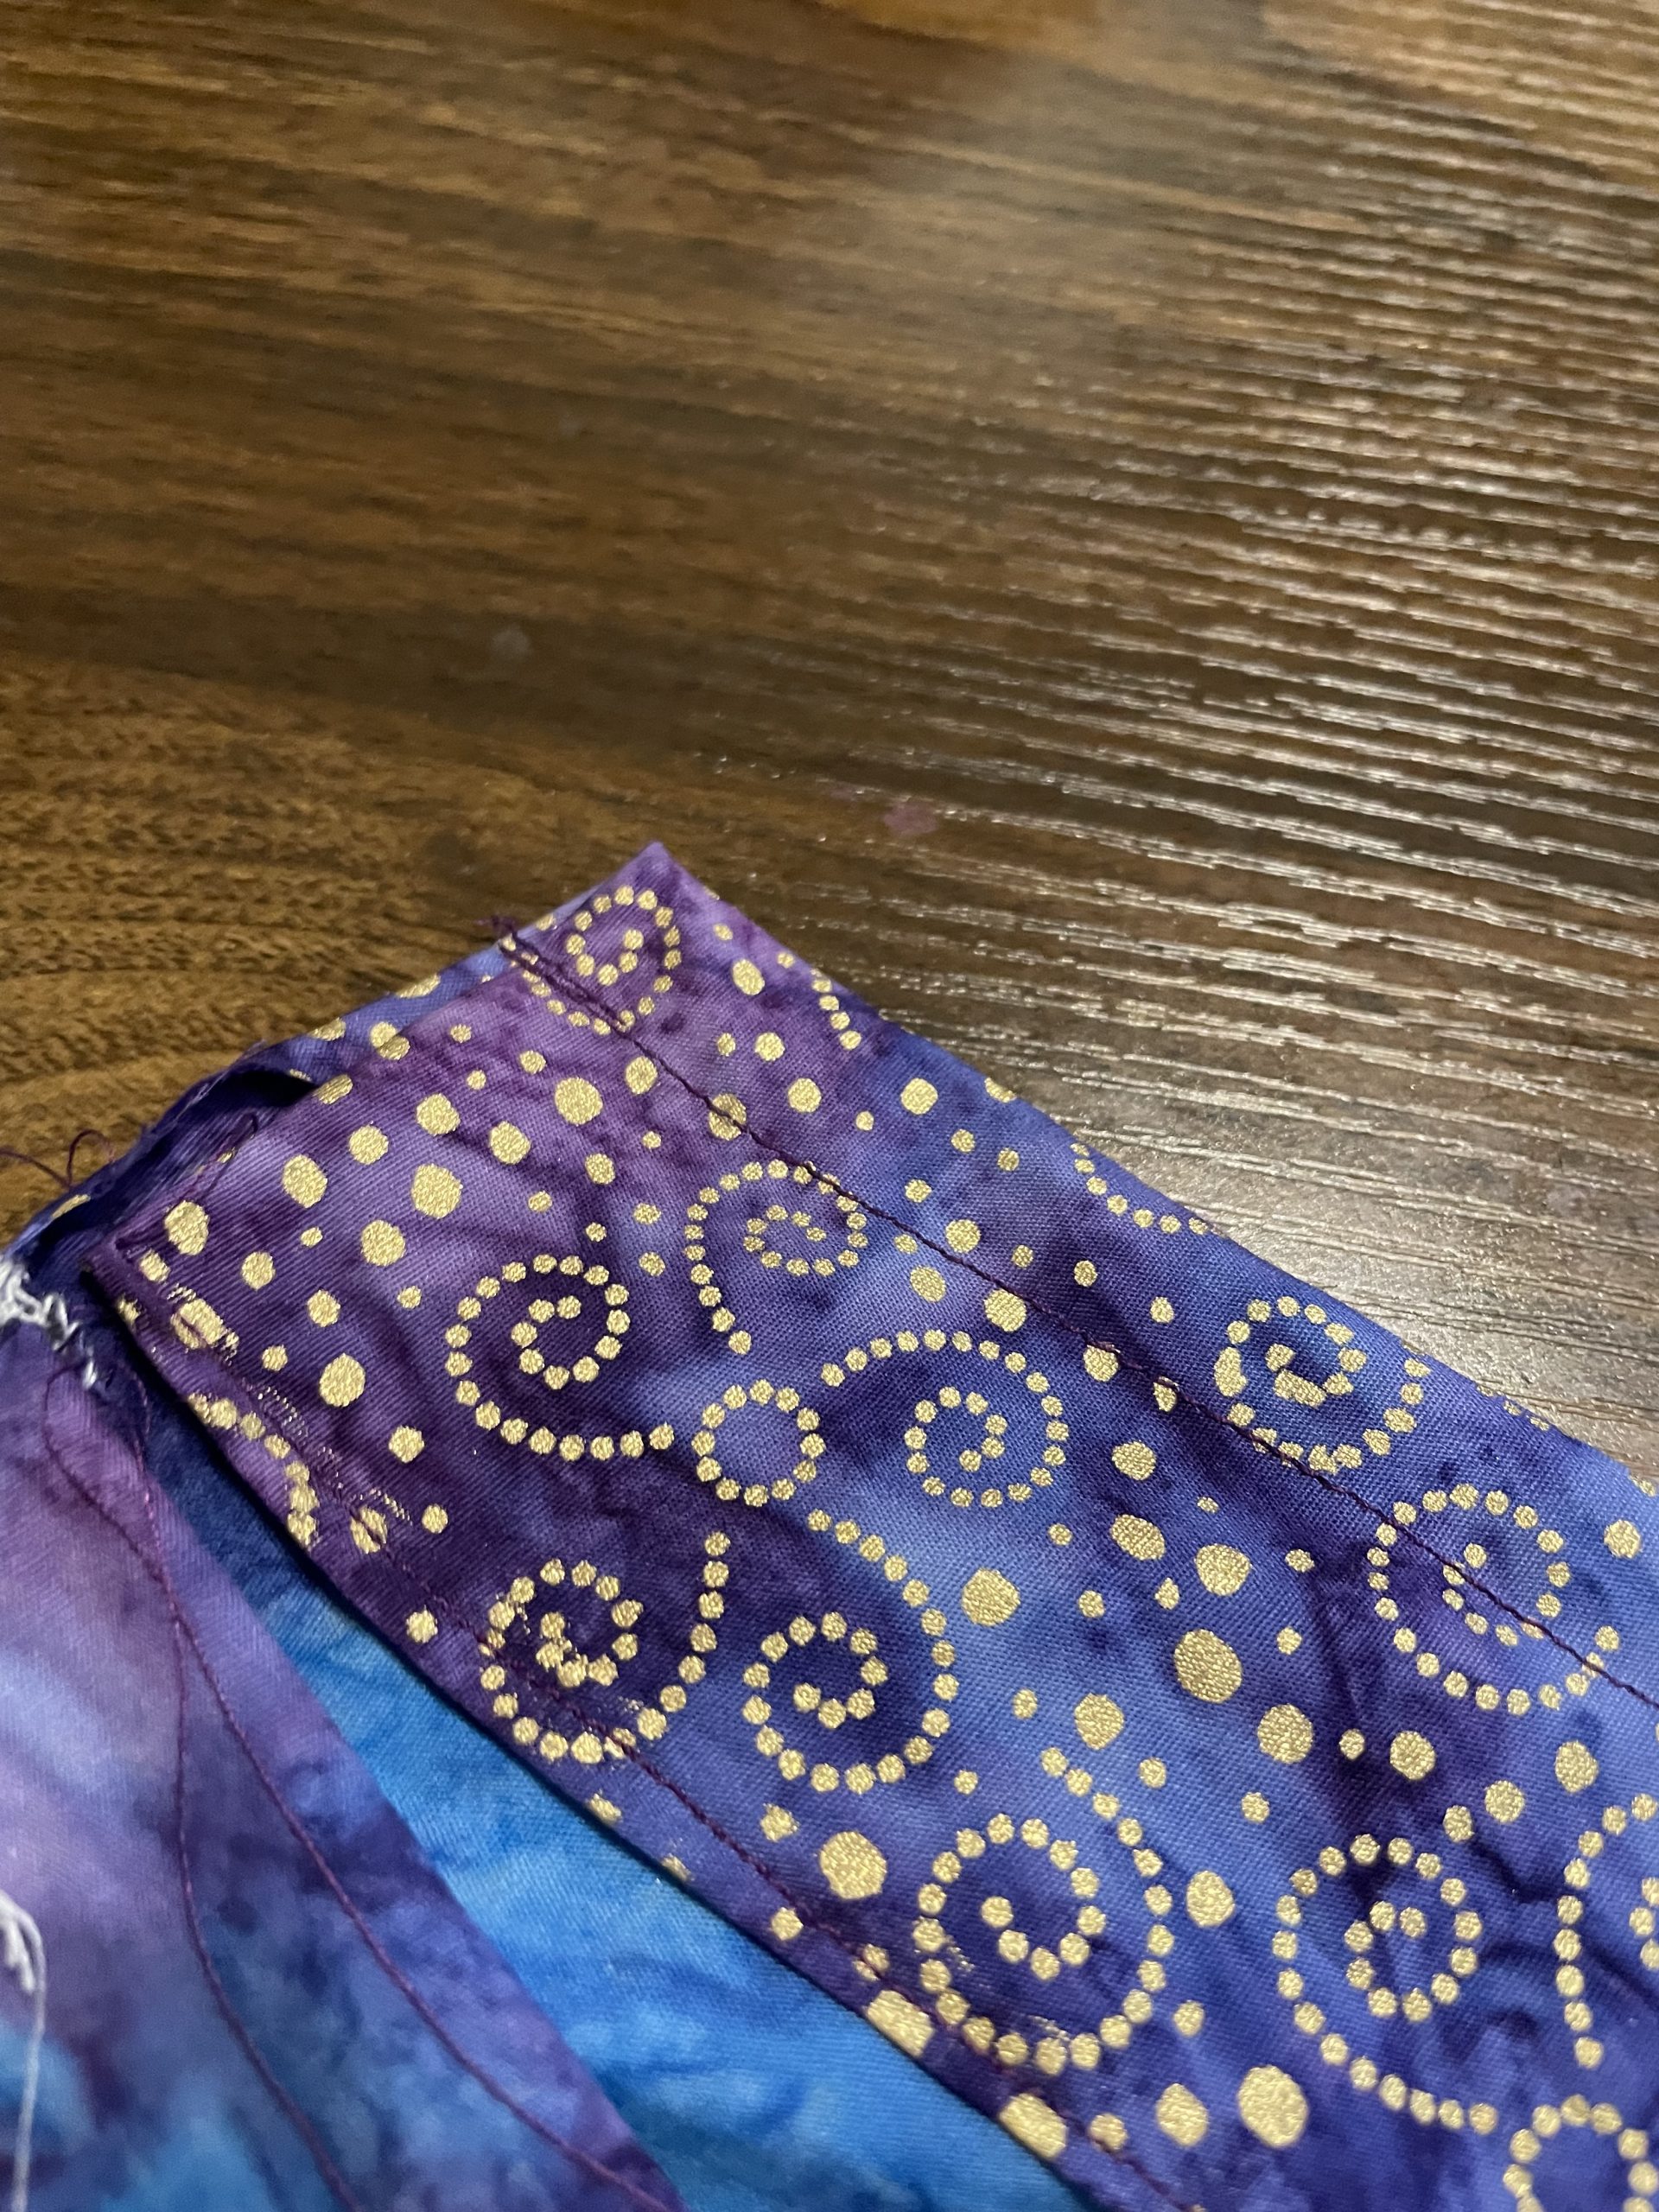
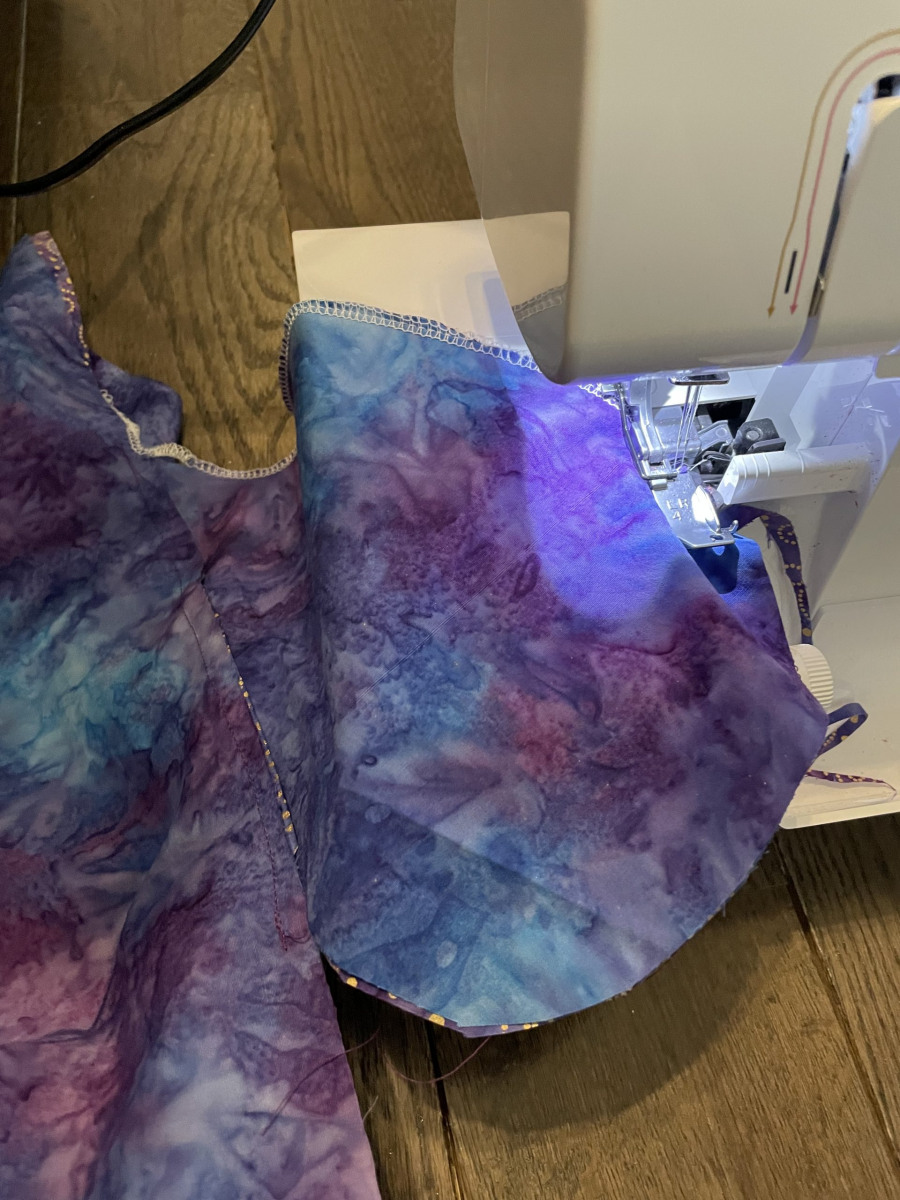
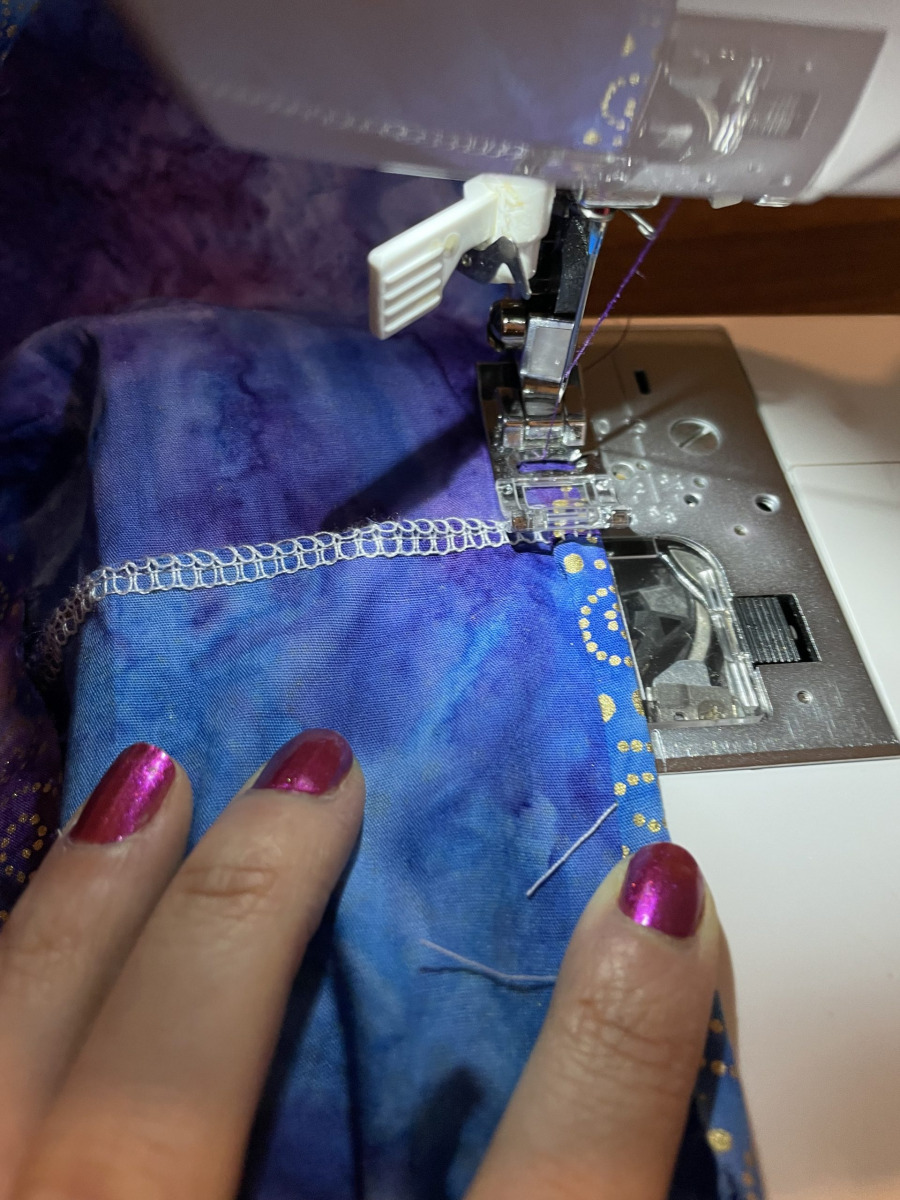
- Lay out the panels, right side facing in. Pin. Sew the sides together with a 5/8 seam allowance (either sew with a straight stitch and then use the serger to serge side seams together – or use the regular machine to straight stitch, with a zigzag to reinforce rough edges). Leave the 5 inches from the top open and not sewn (right above pockets) so you can add the paperboy waist.
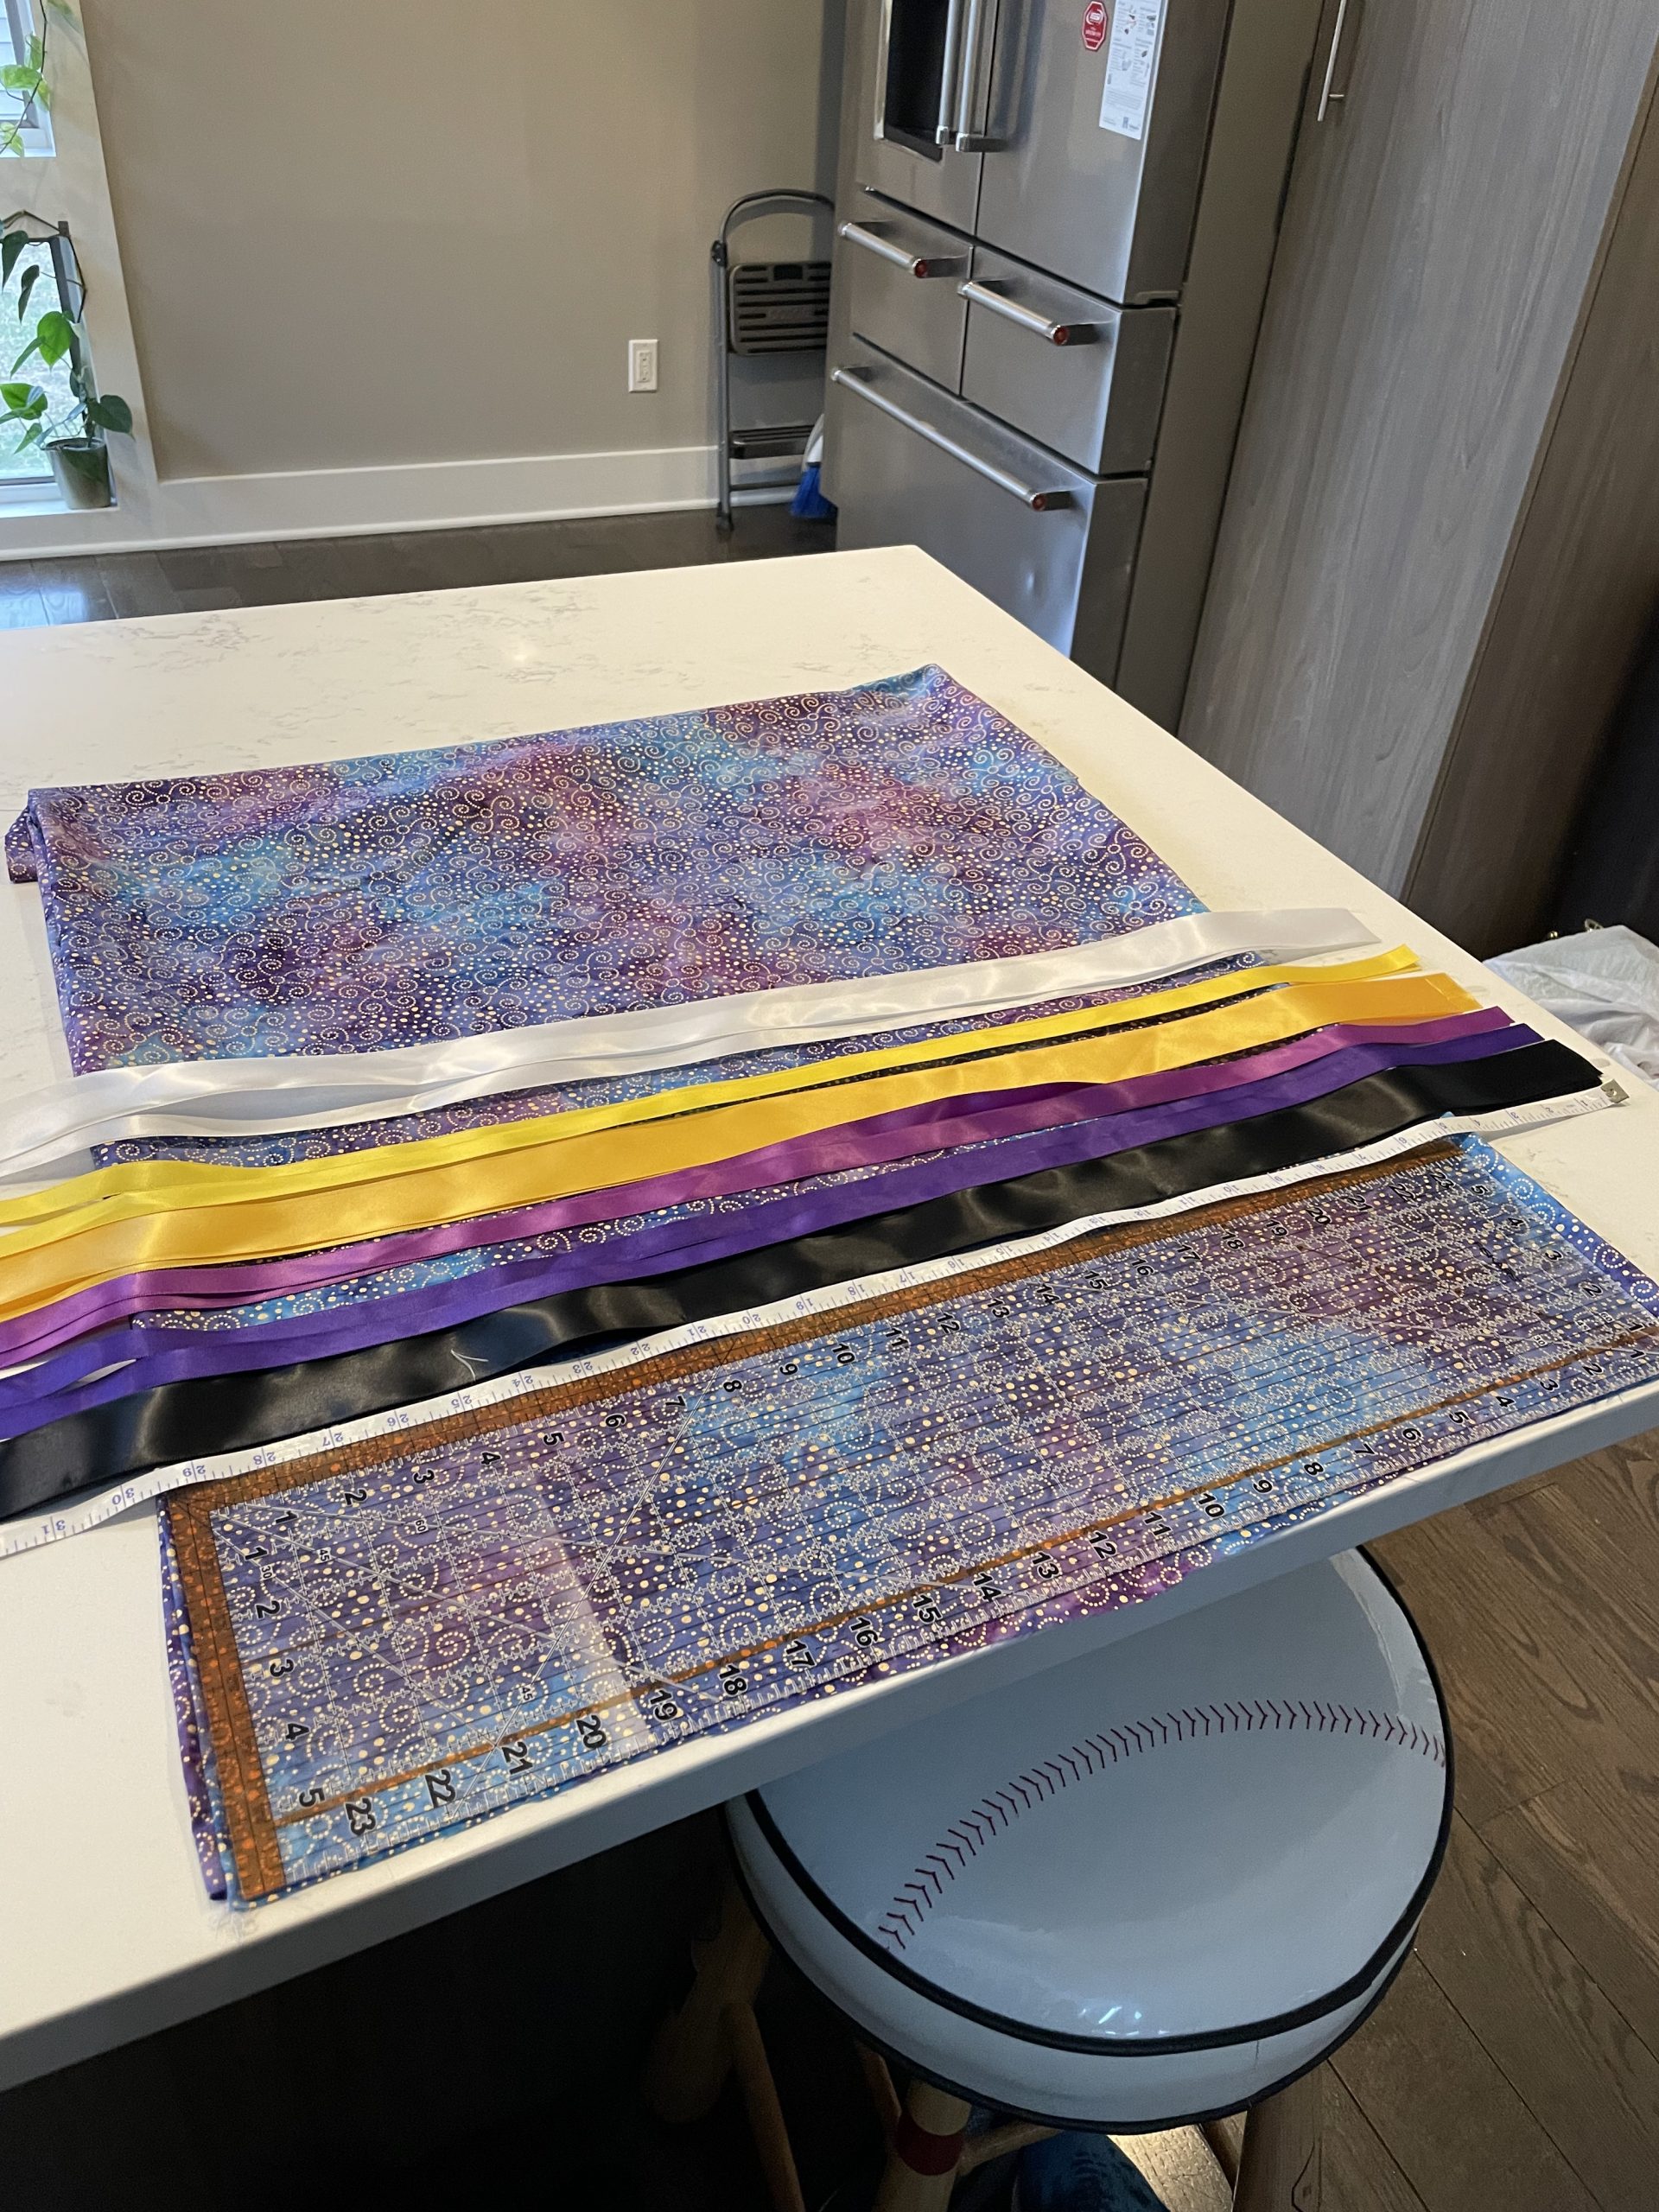
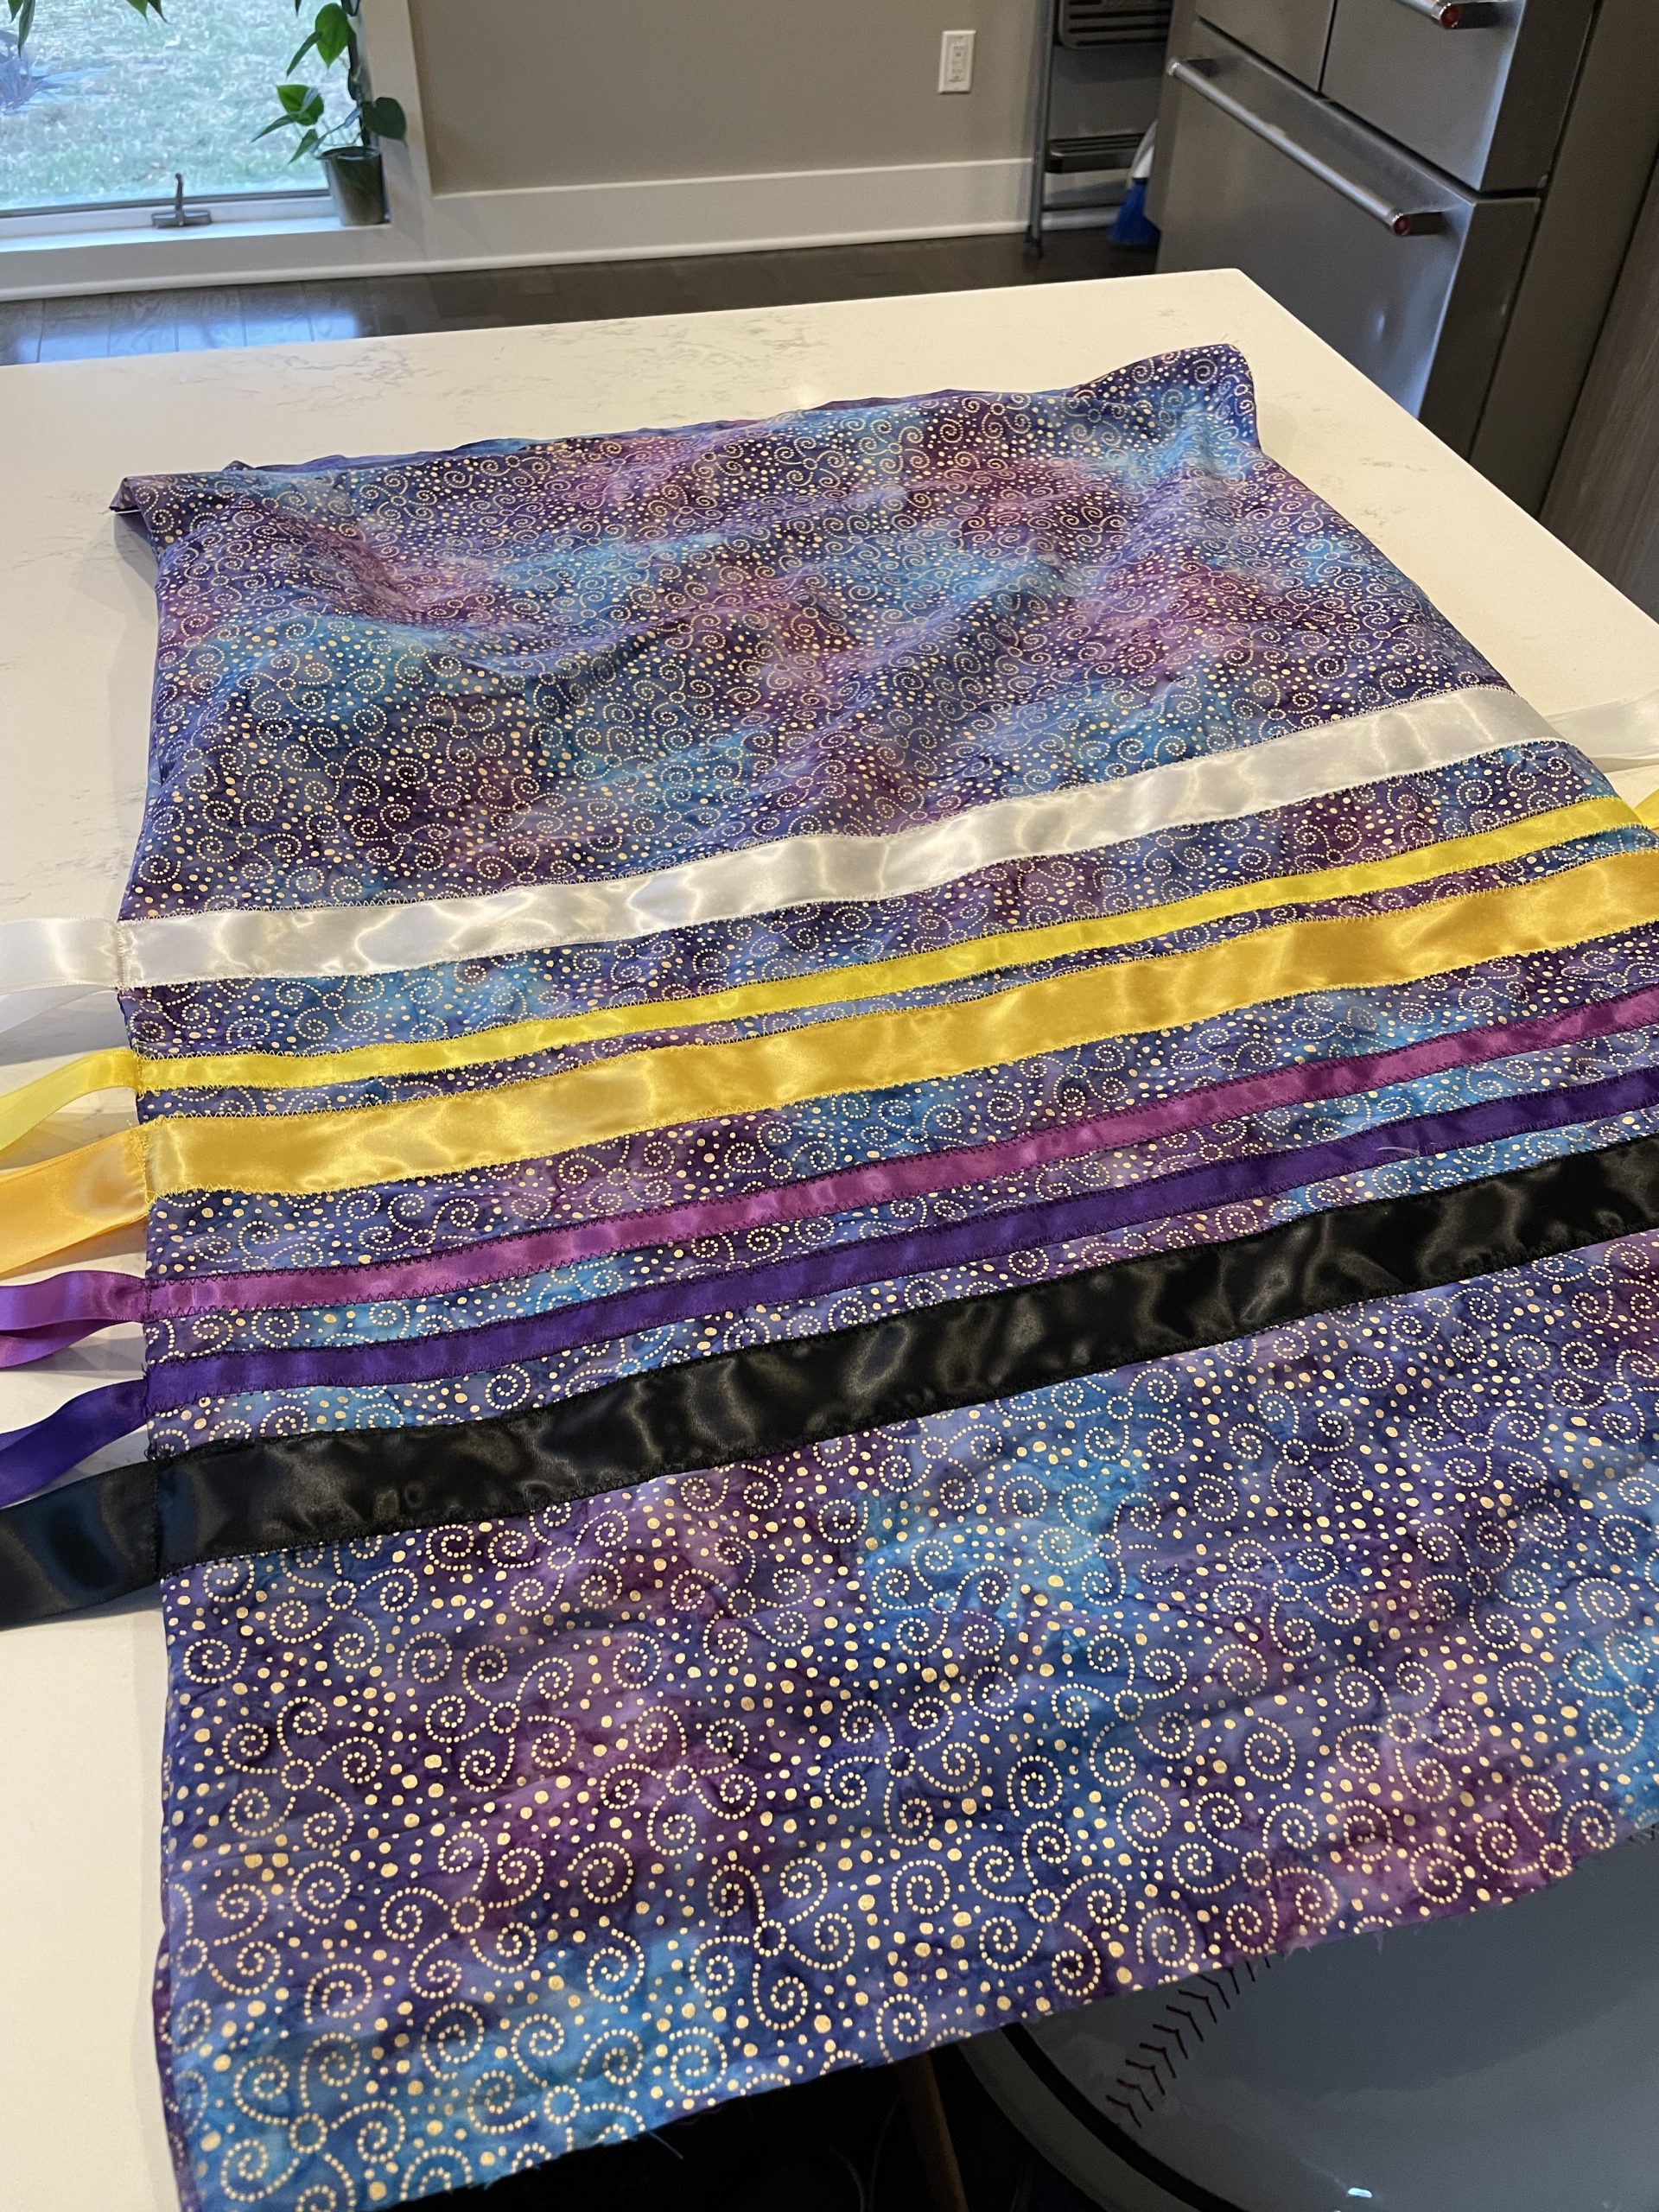
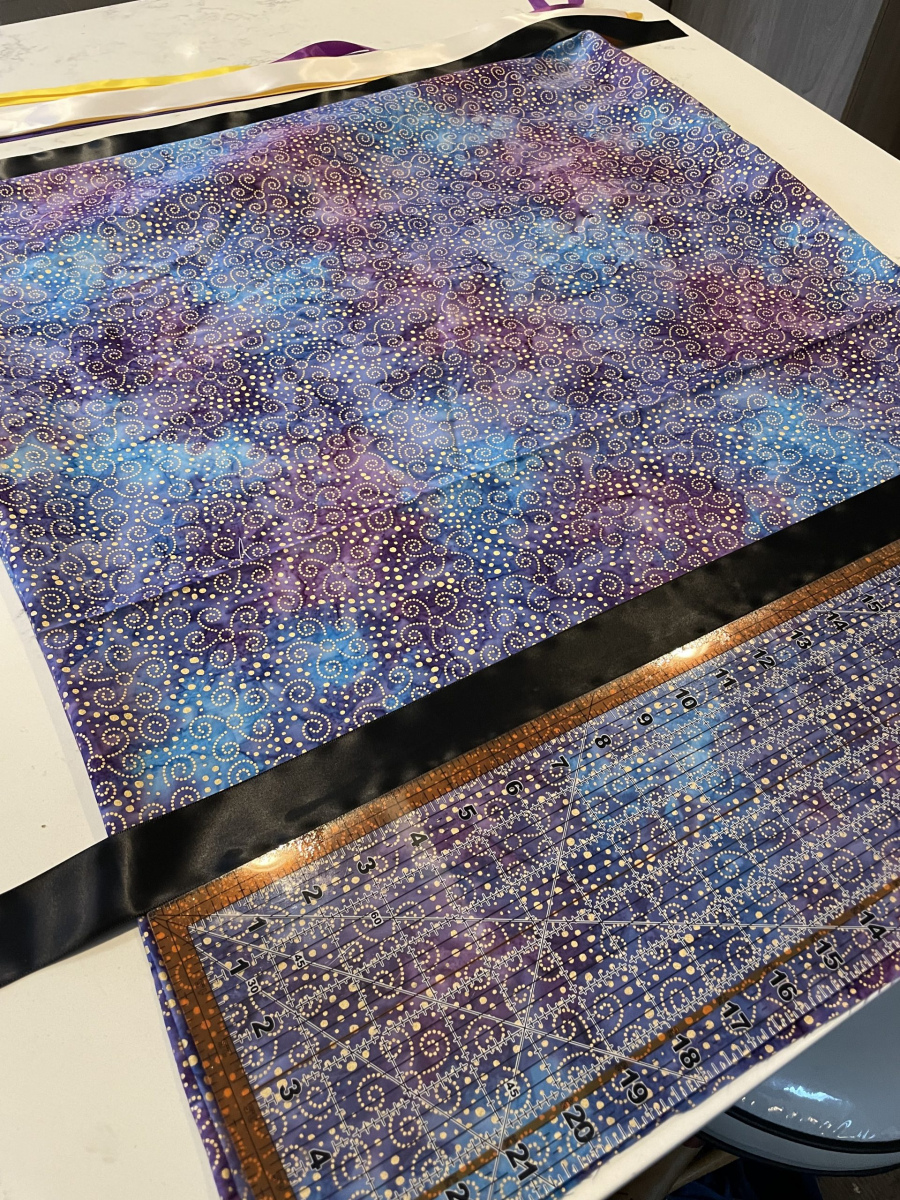
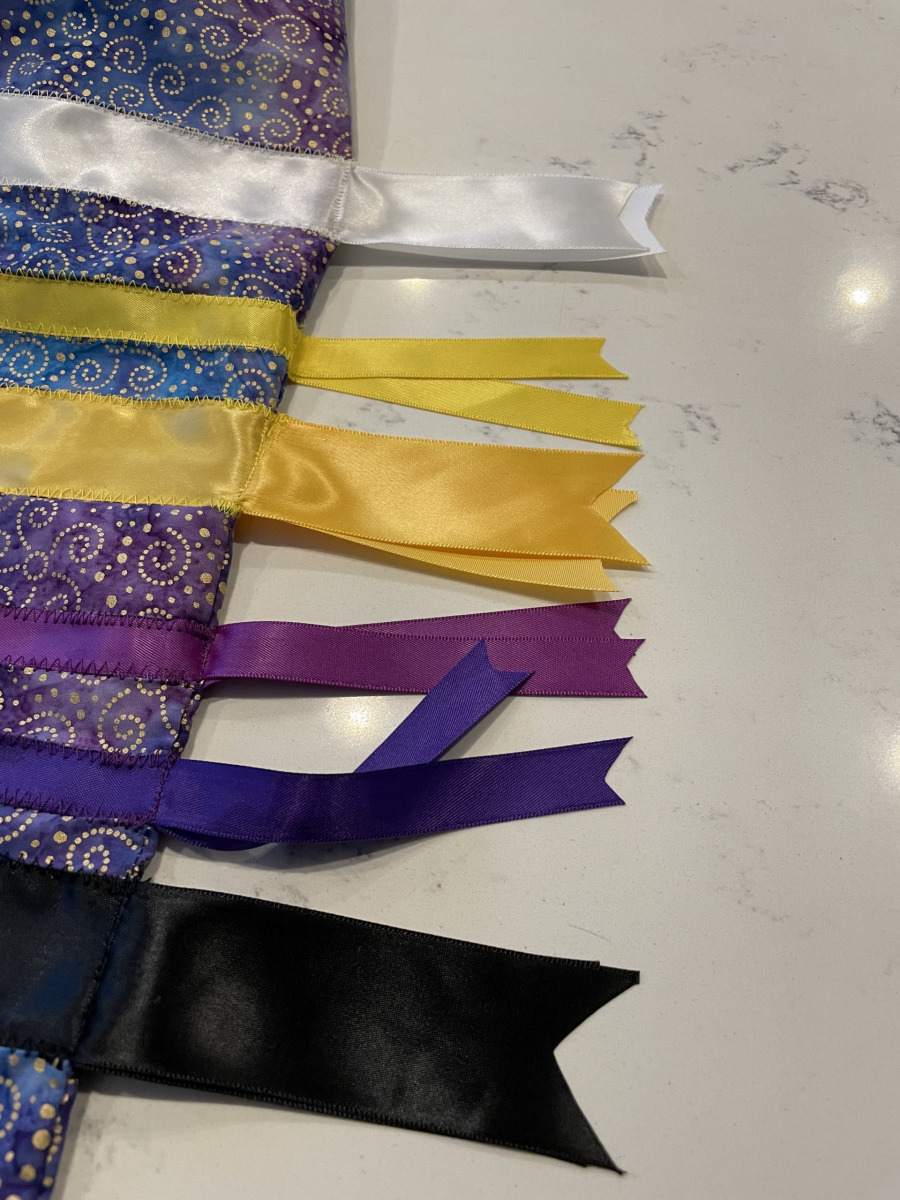
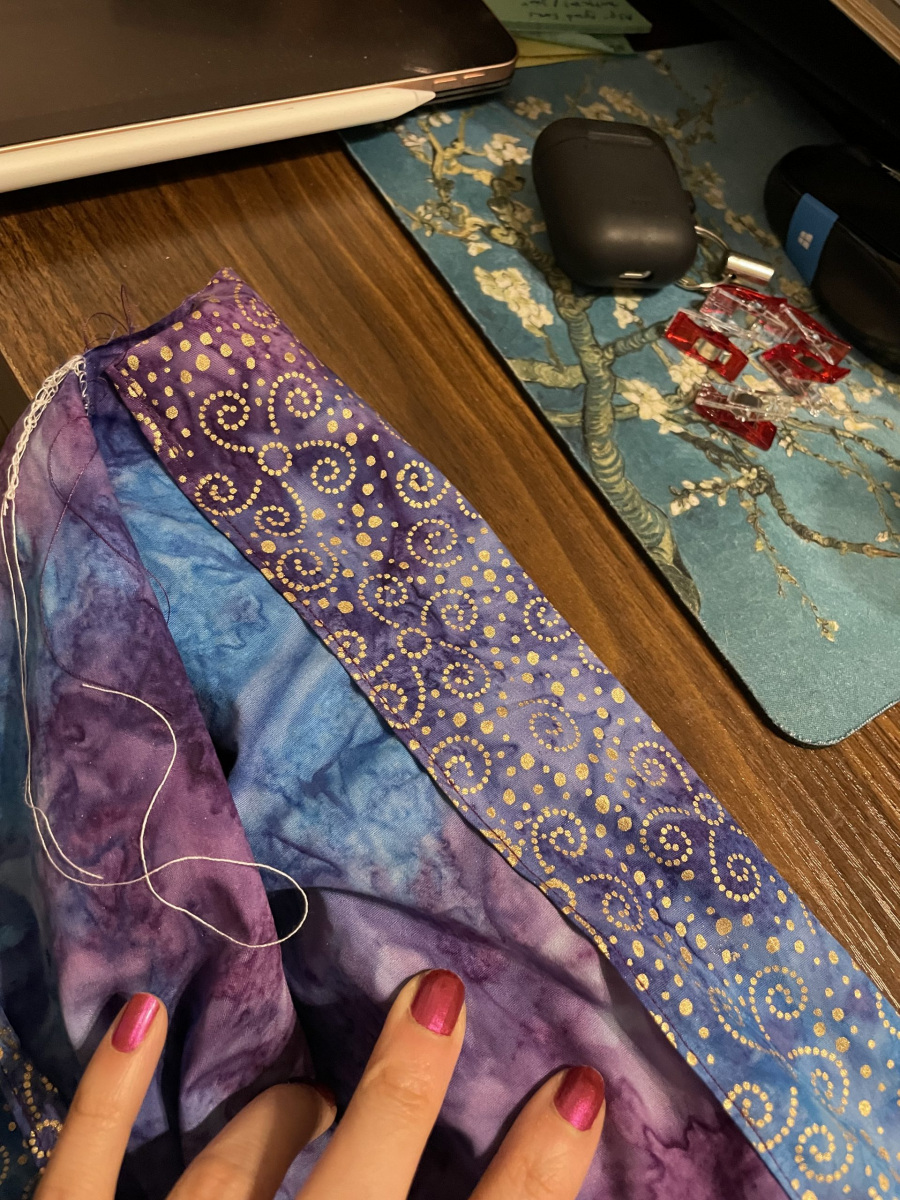
- Turn right side out. Measure where you want ribbons to sit (I like to place the top ribbon no higher than right below the pockets so that the pockets don’t accidentally get sewn to something). You can even mark the horizontal lines with a pen.
- Cut the ribbons to the width of the skirt, plus about 5 inches on either end – you will need 2 ribbons for each color (one for each side)
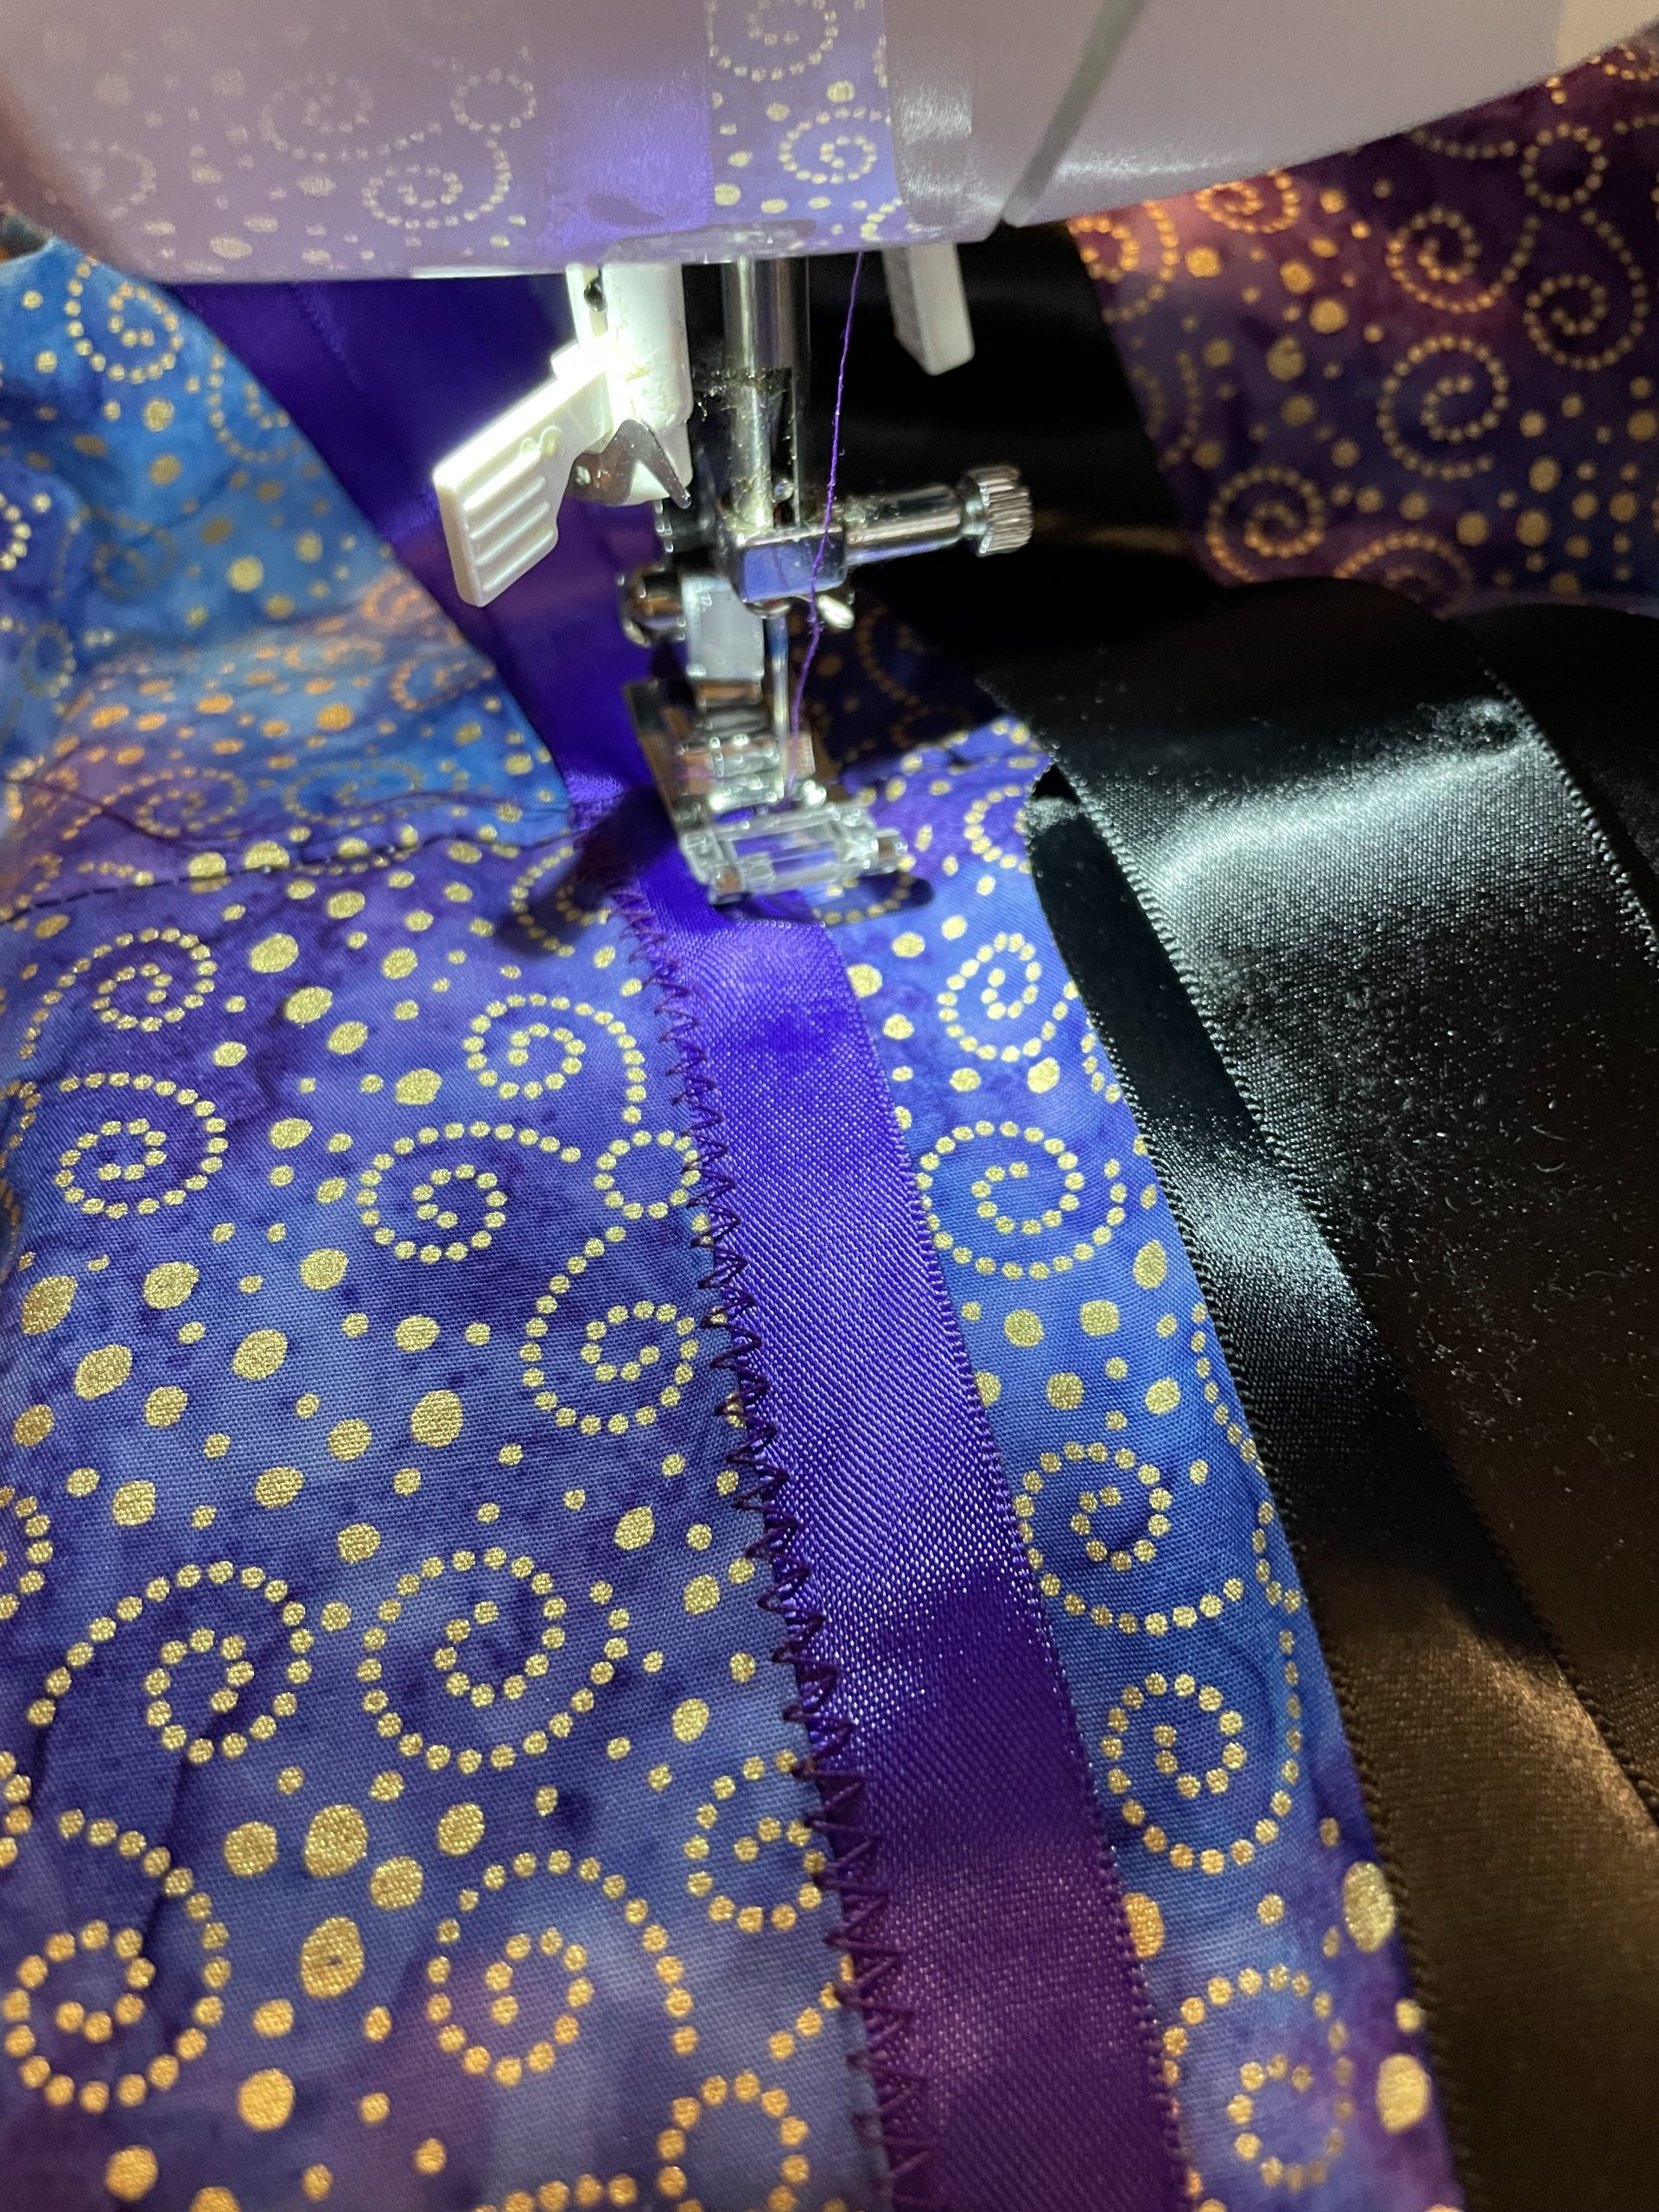
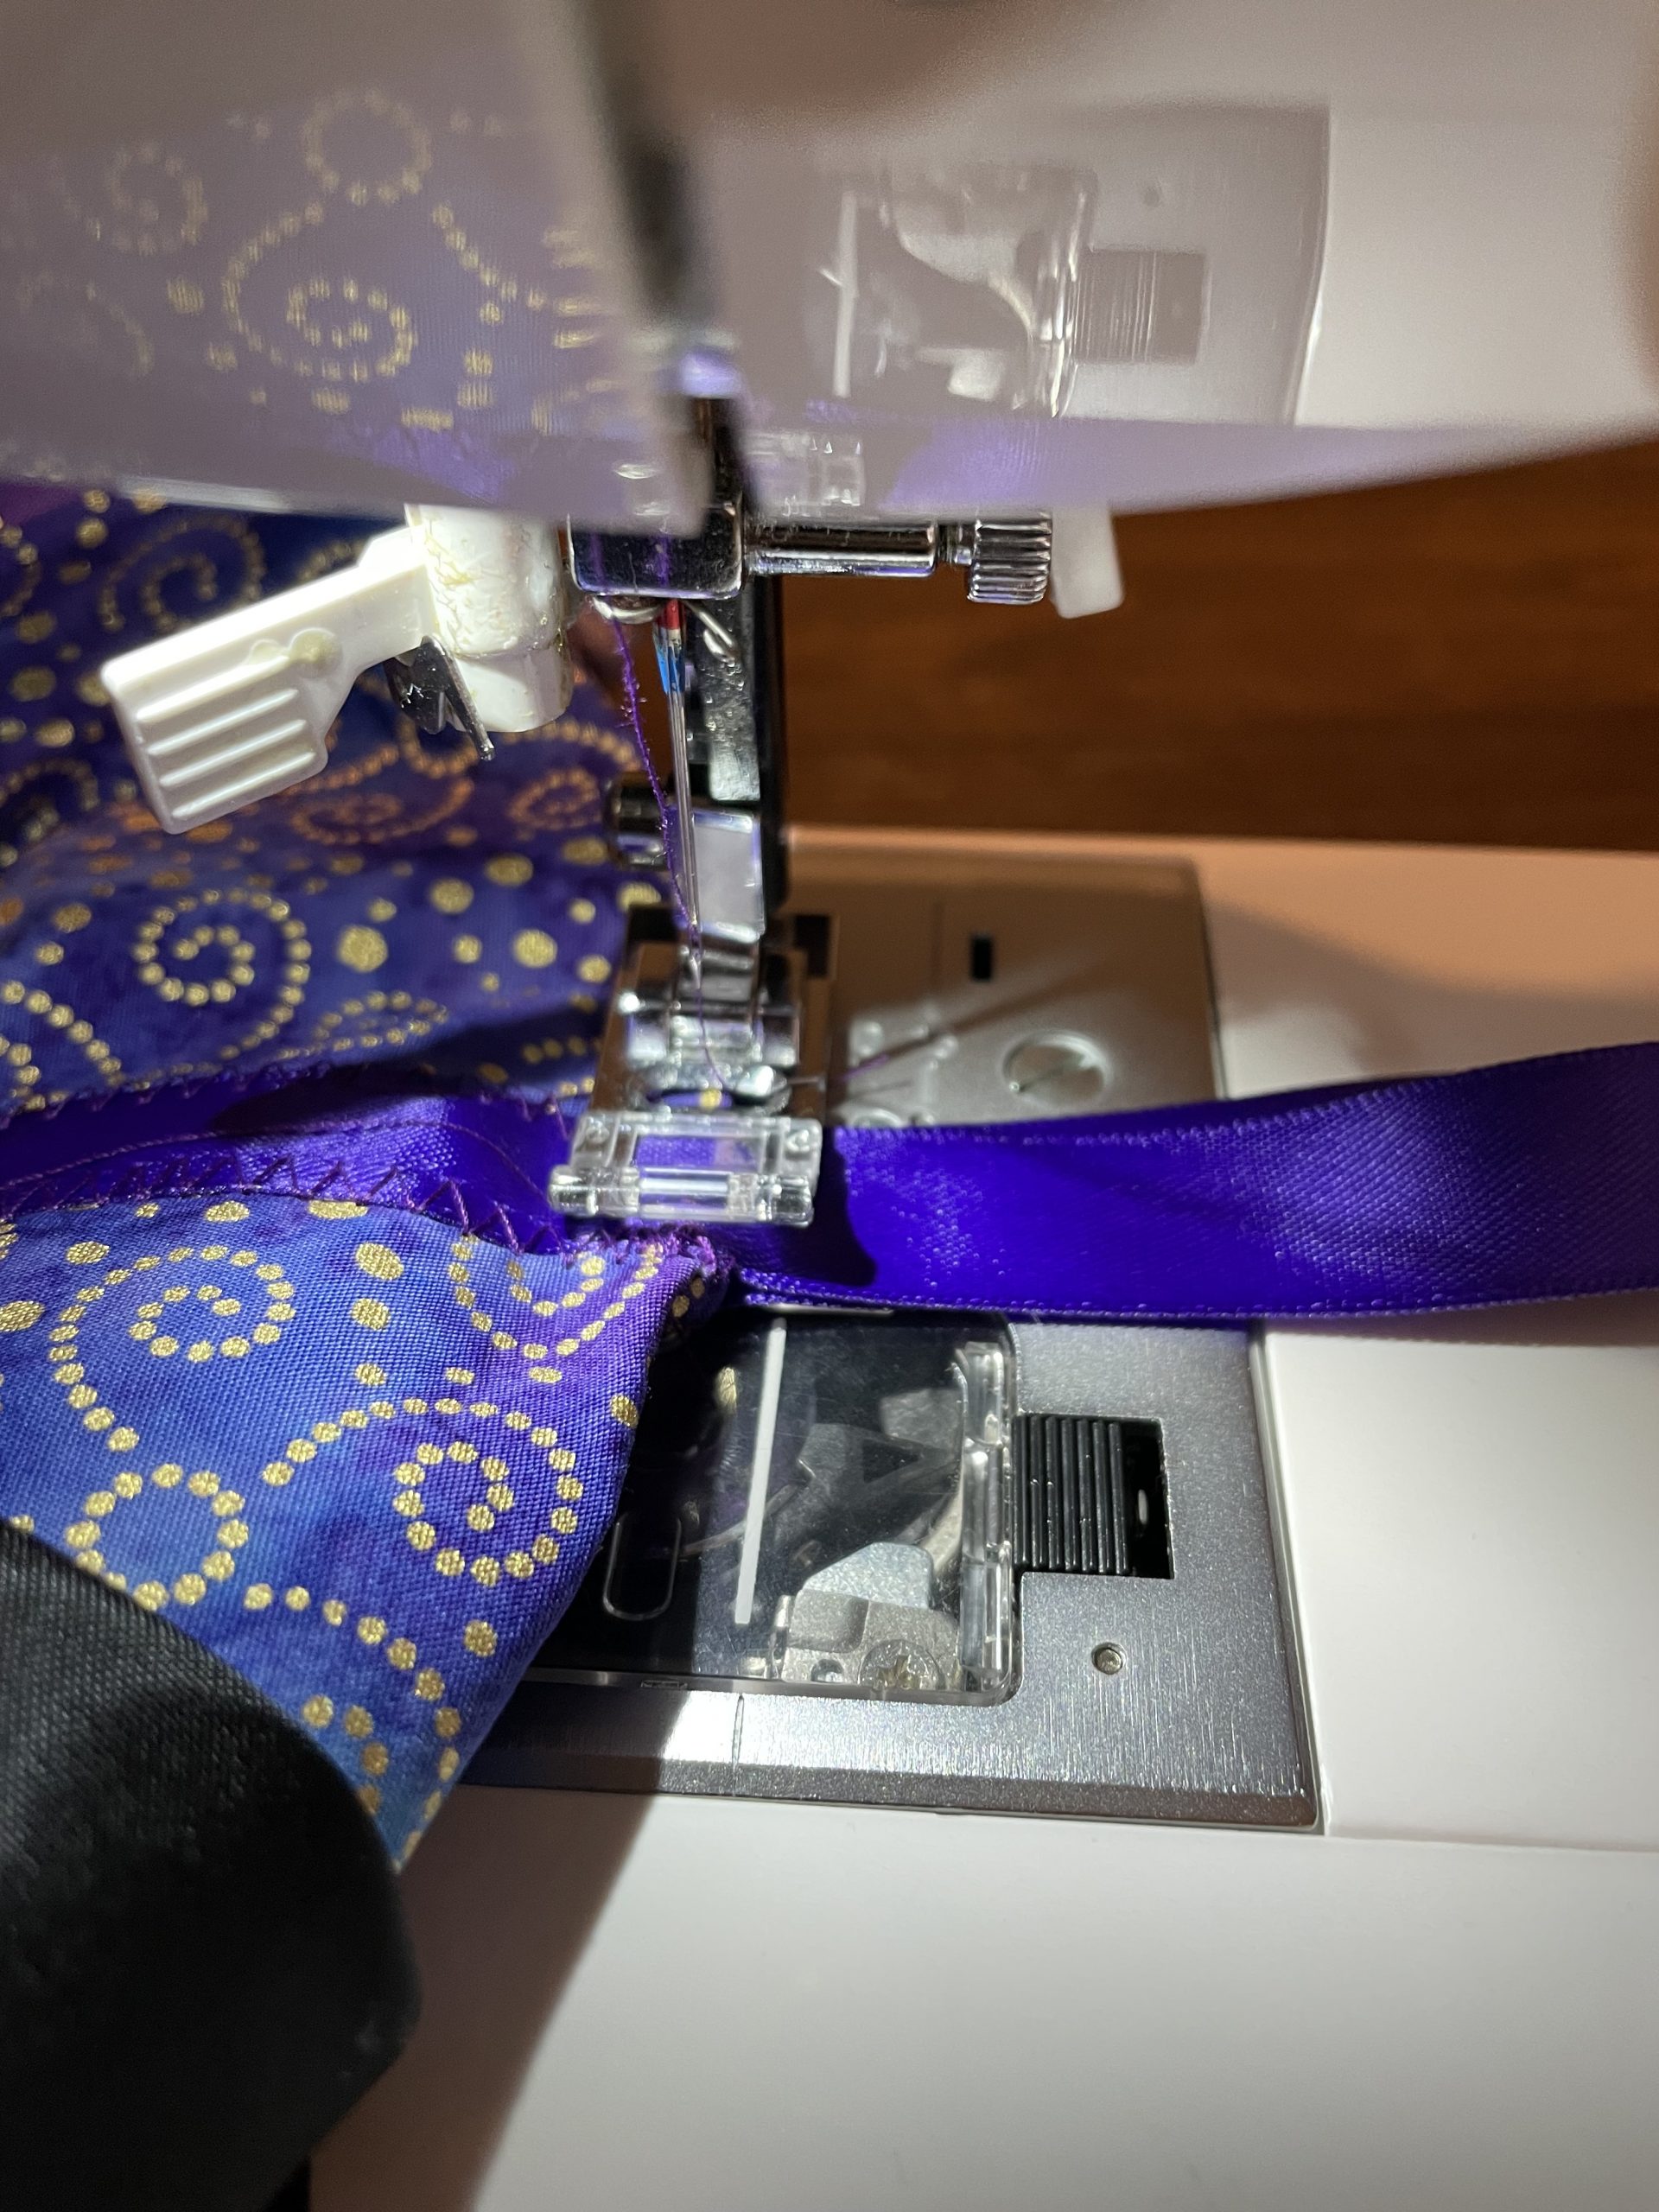
- Spray 505 to hold ribbons in place when sewing (you can spray on the fabric or on the ribbons). Lay the ribbons out, making sure to cover pen marks. [It’s probably best to do steps 10 and 11 one ribbon at a time, otherwise they fall off before you can get them sewn. I usually start with the bottom ribbon closest to the hem.]
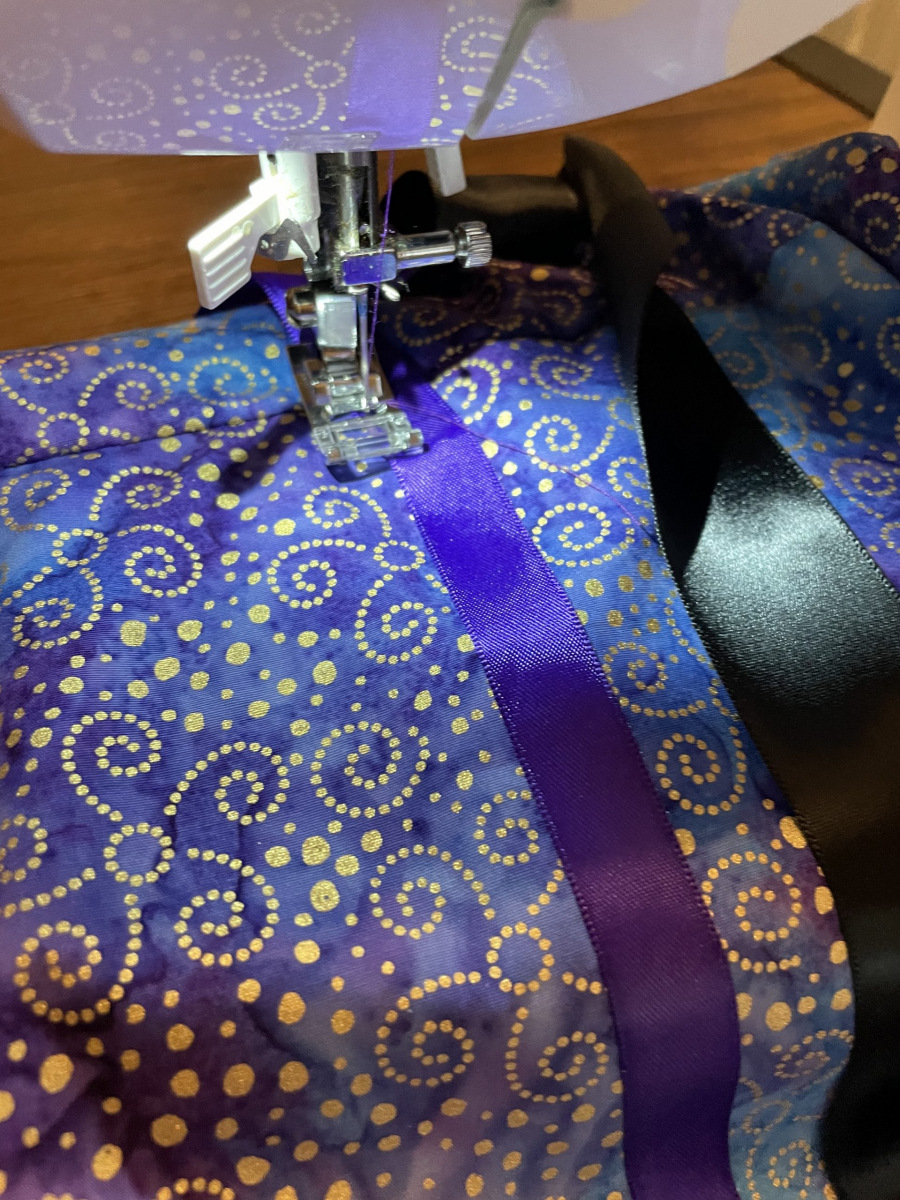
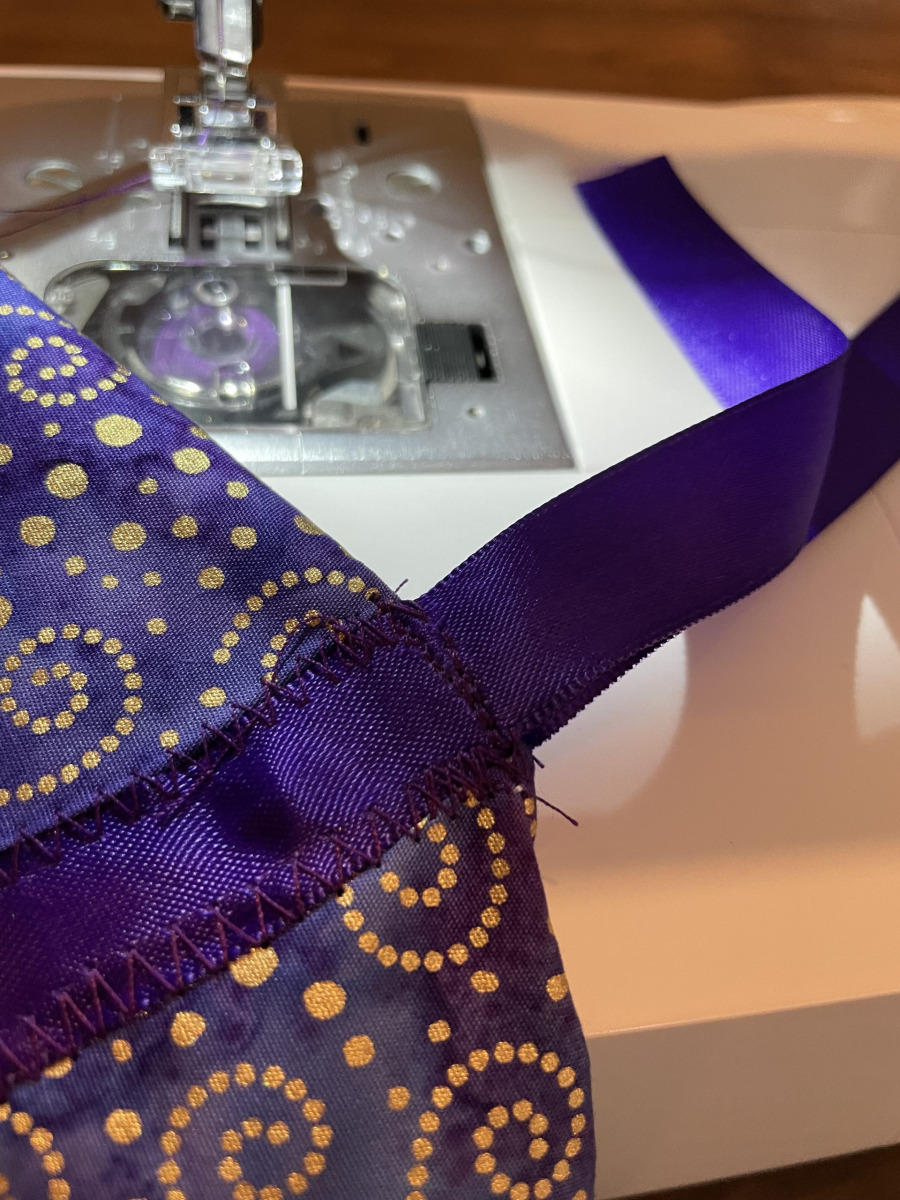
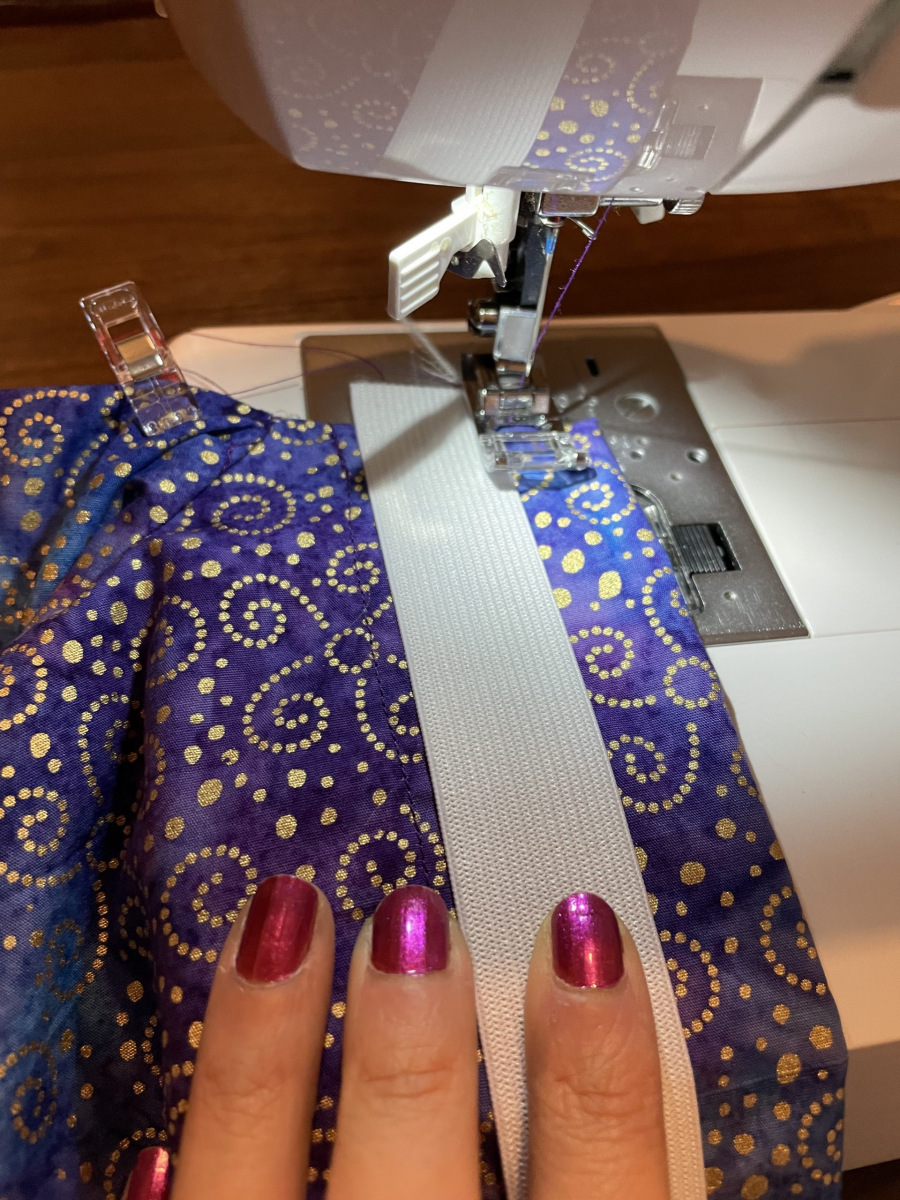
- Sew the ribbons onto the skirt: For each ribbon, stitch with zig zag stitch (use satin foot) – making sure to back tack. [Machine setting 03 is fine at standard setting: 5.0 width and 2.0 length]. Sew the left side of ribbon first (or else you get bumps). It’s best to sew the second ribbon of the same color onto the back side of the skirt, then straight stitch up the side of the two ribbons before you switch thread colors. Snip any hanging threads. Continue until you have all the ribbons you want on both sides.
- Fork the ends of the ribbons.
- Optional: If you have larger appliqué, this is where you would want to add it to the skirt.
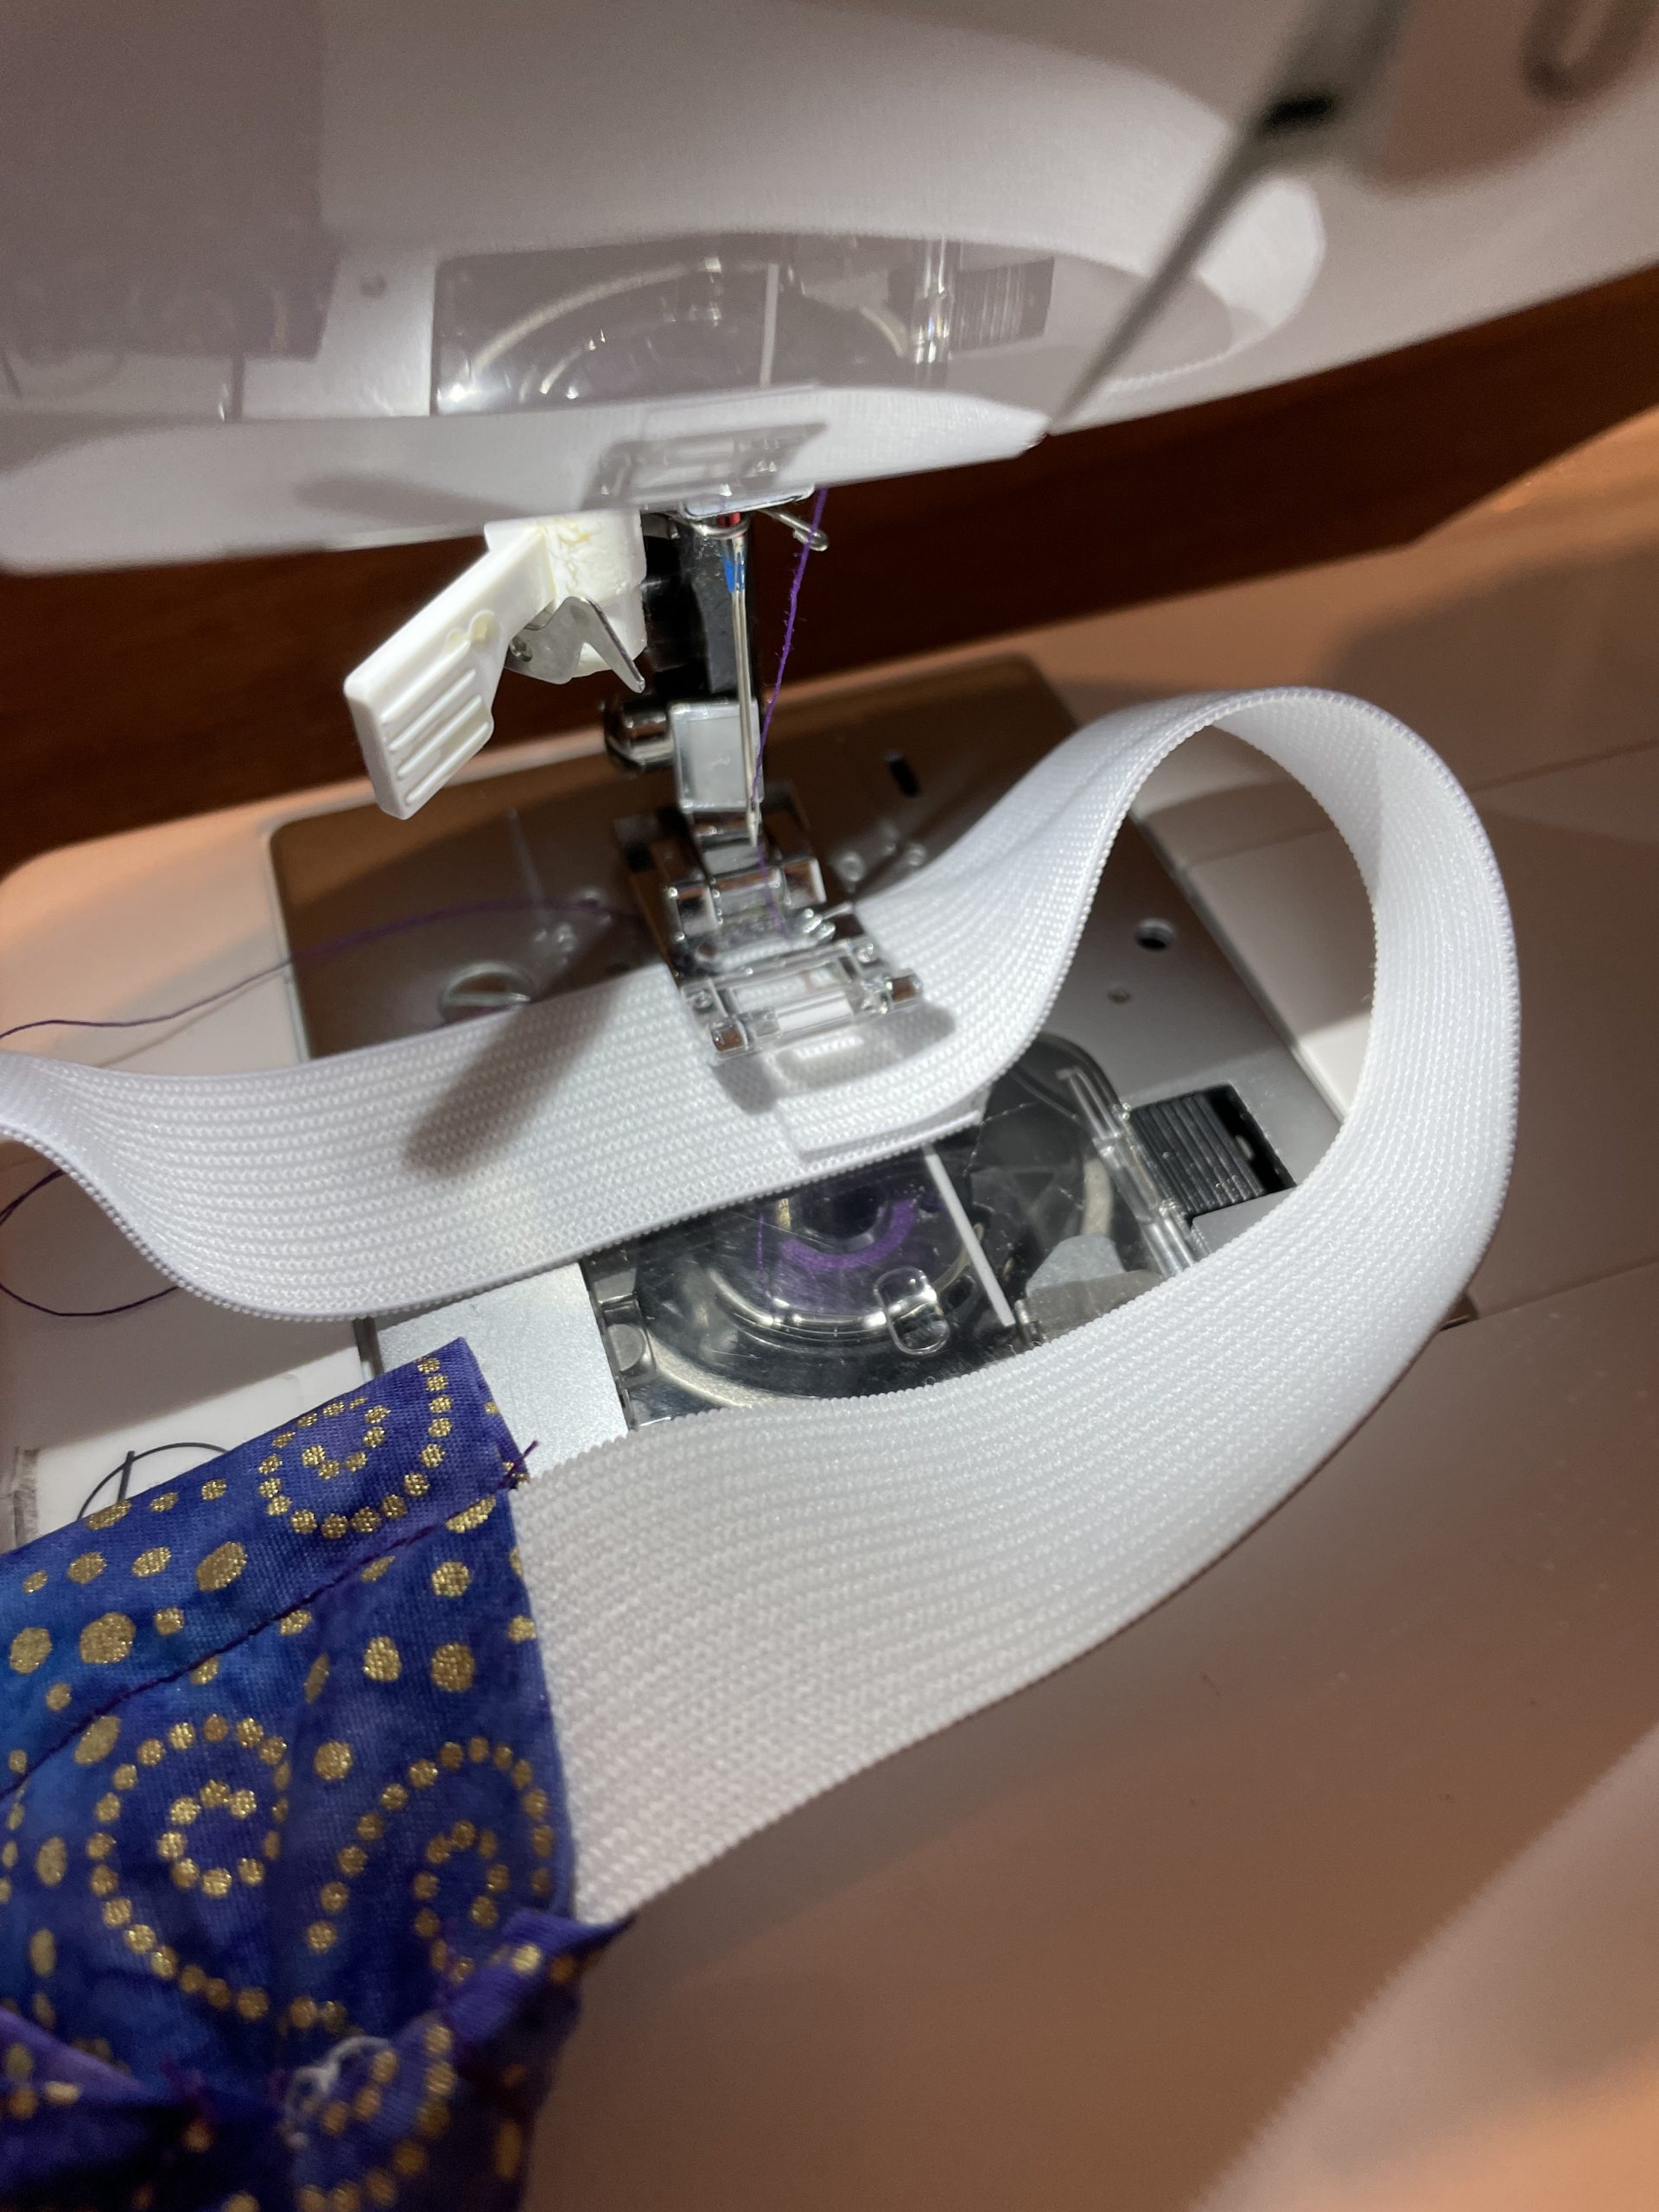
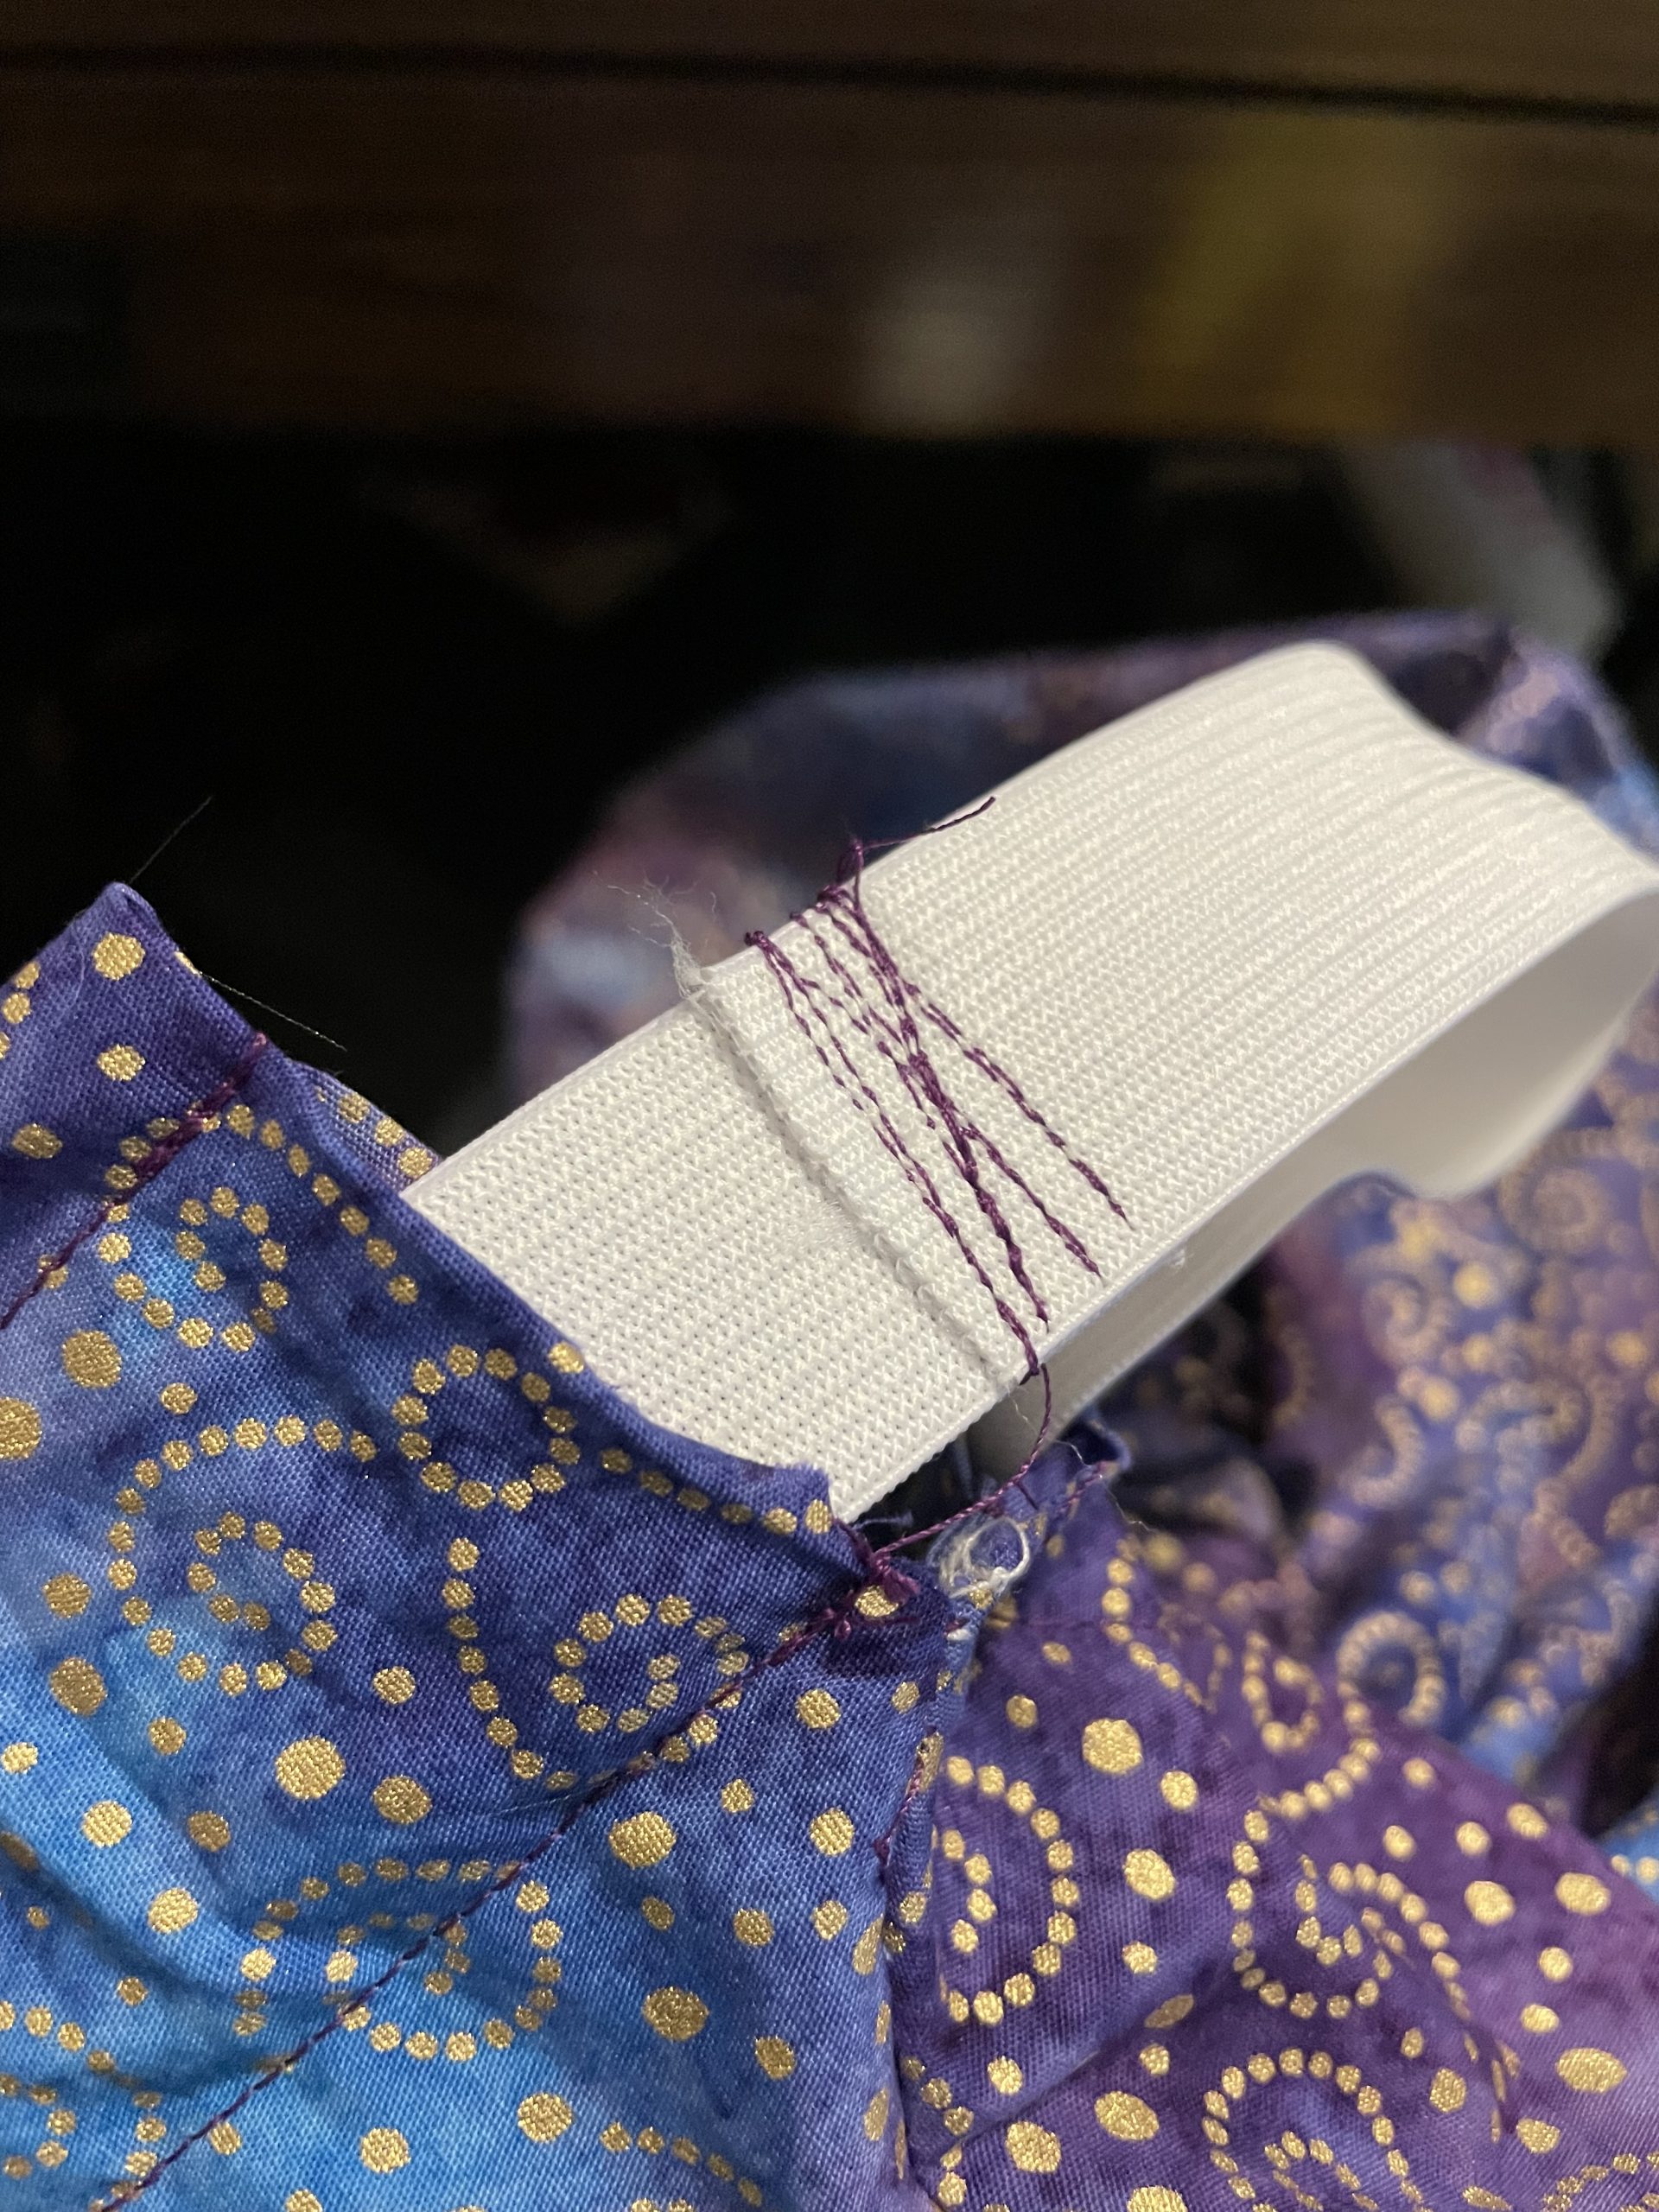
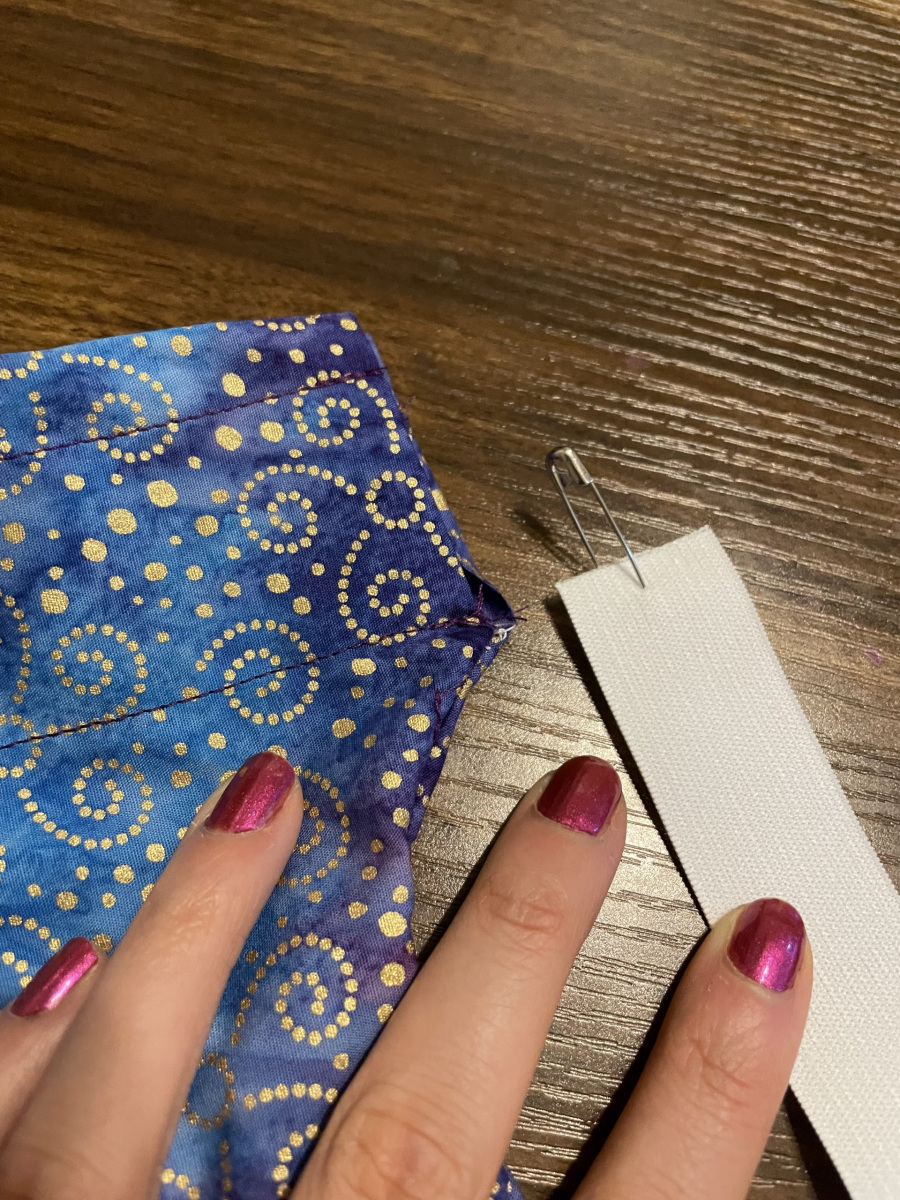
- Cut the elastic piece: Elastic should be a little tight around waist
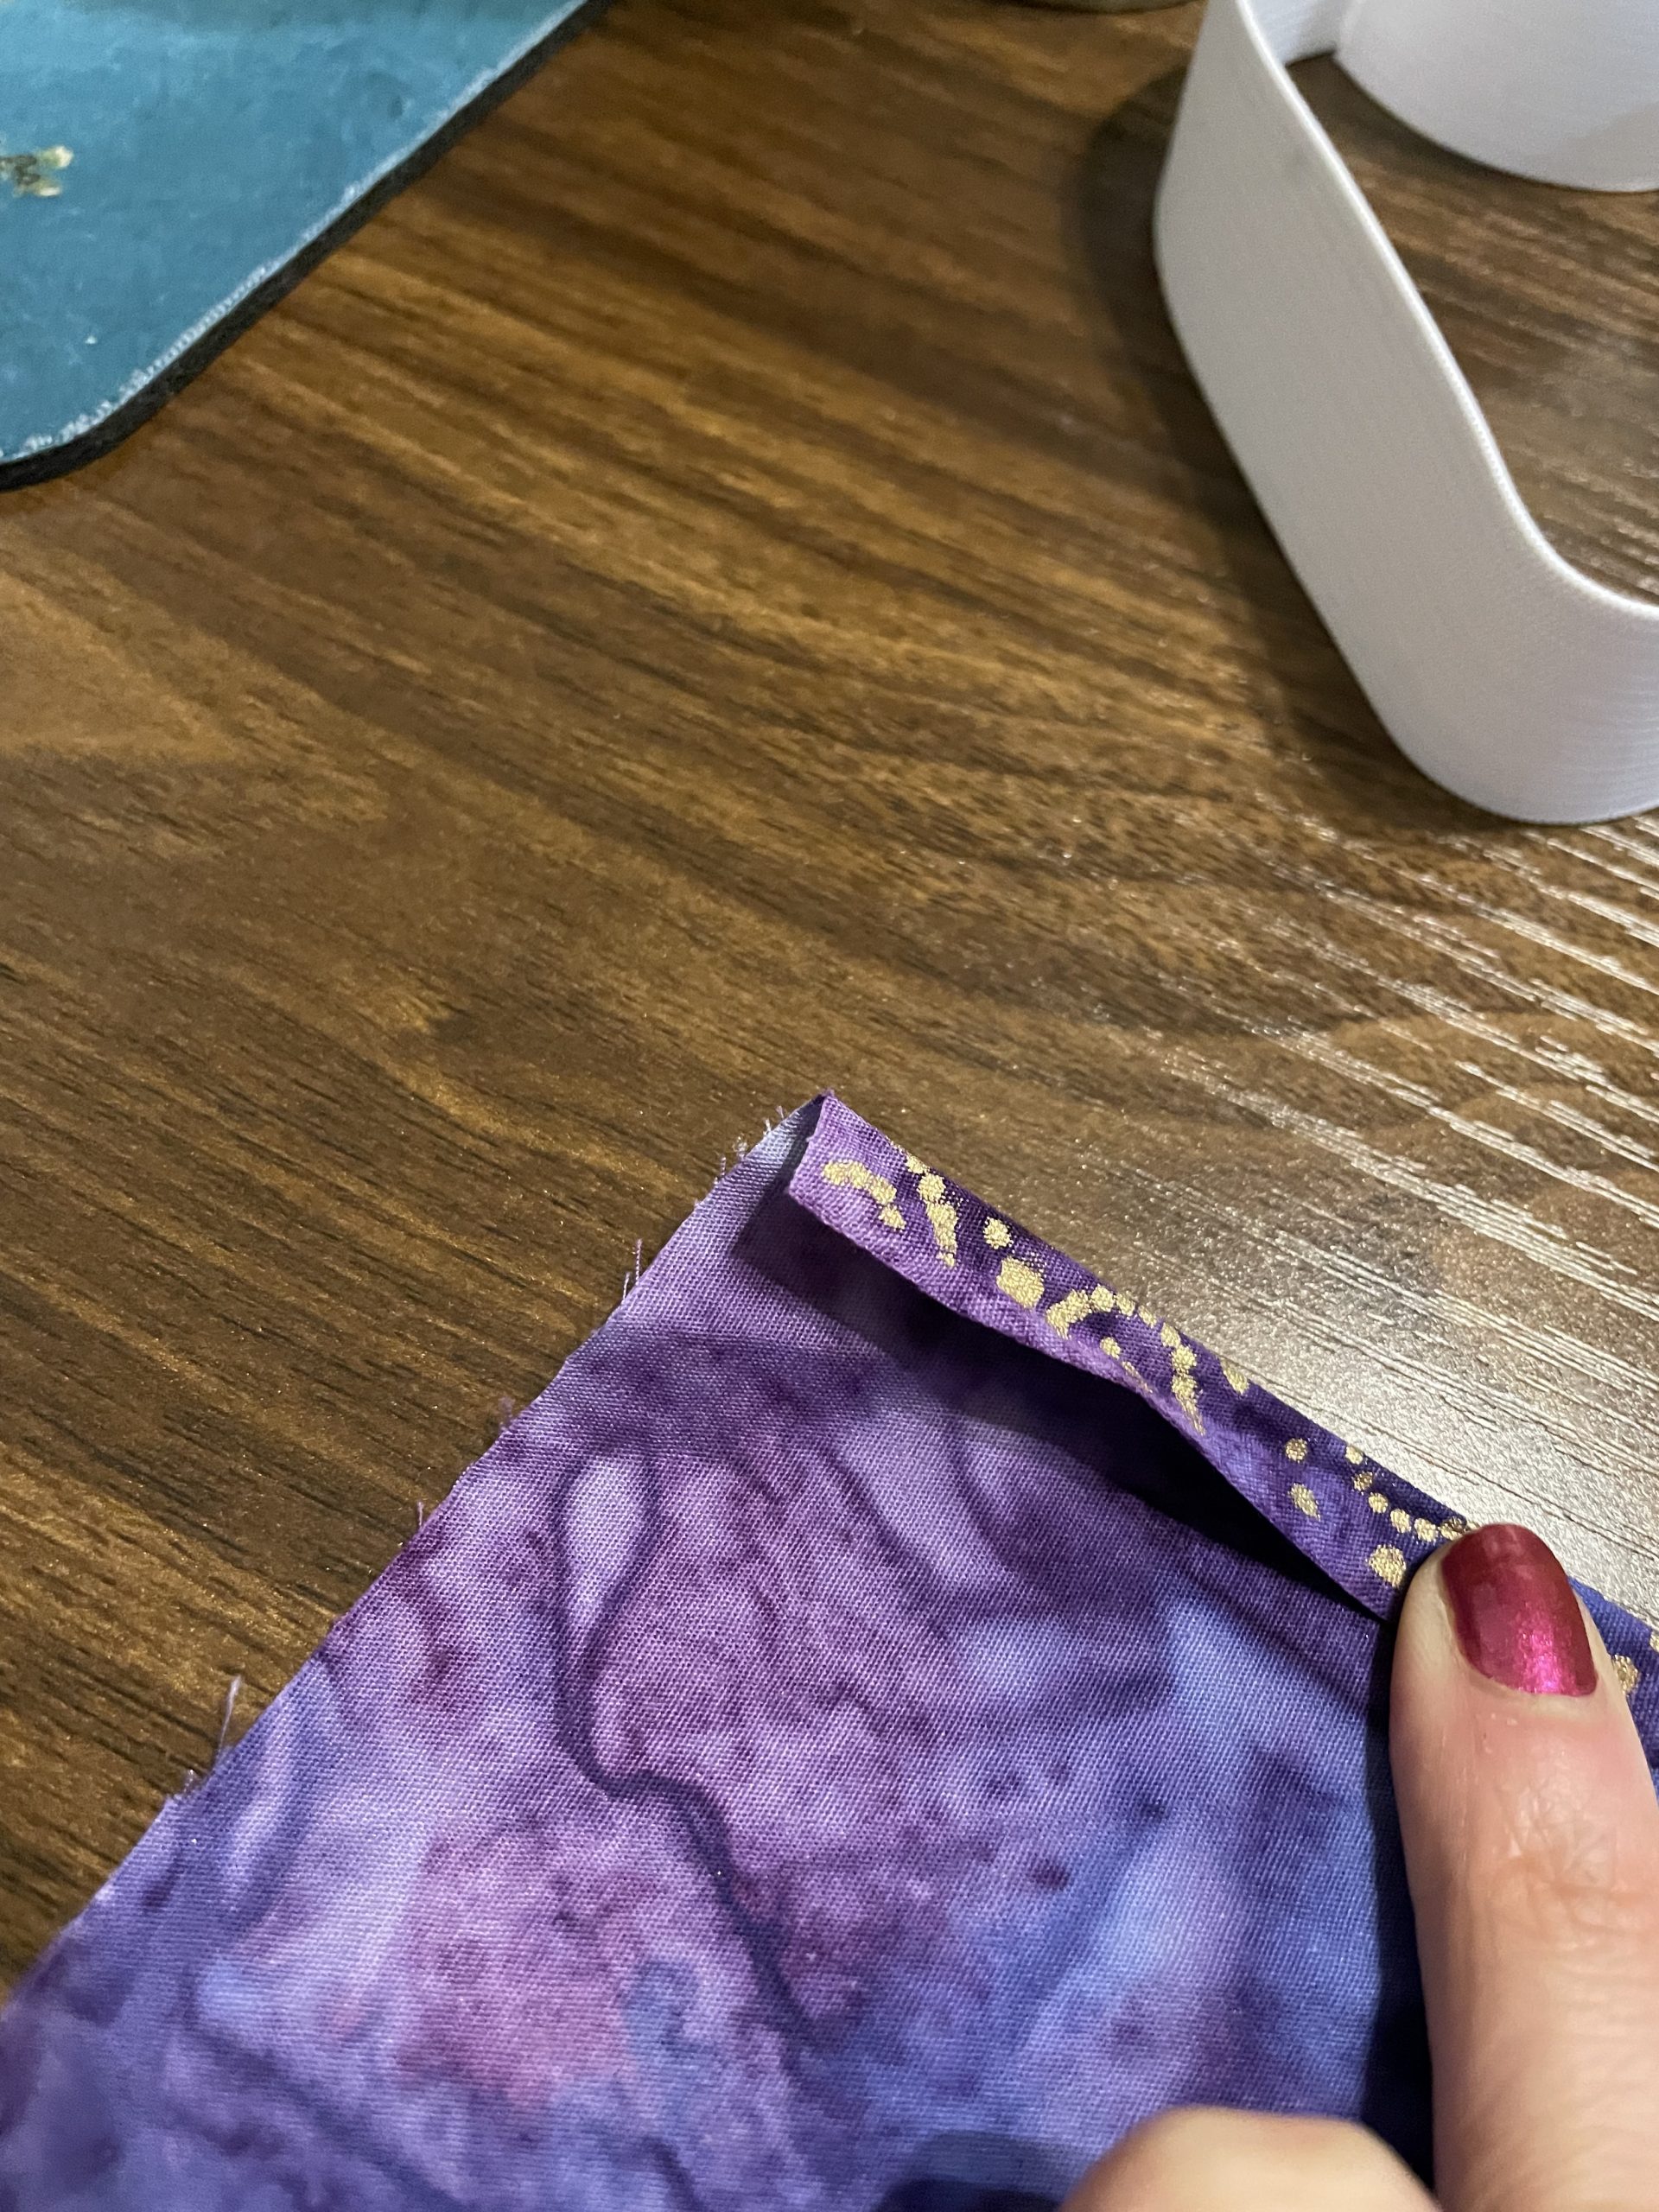
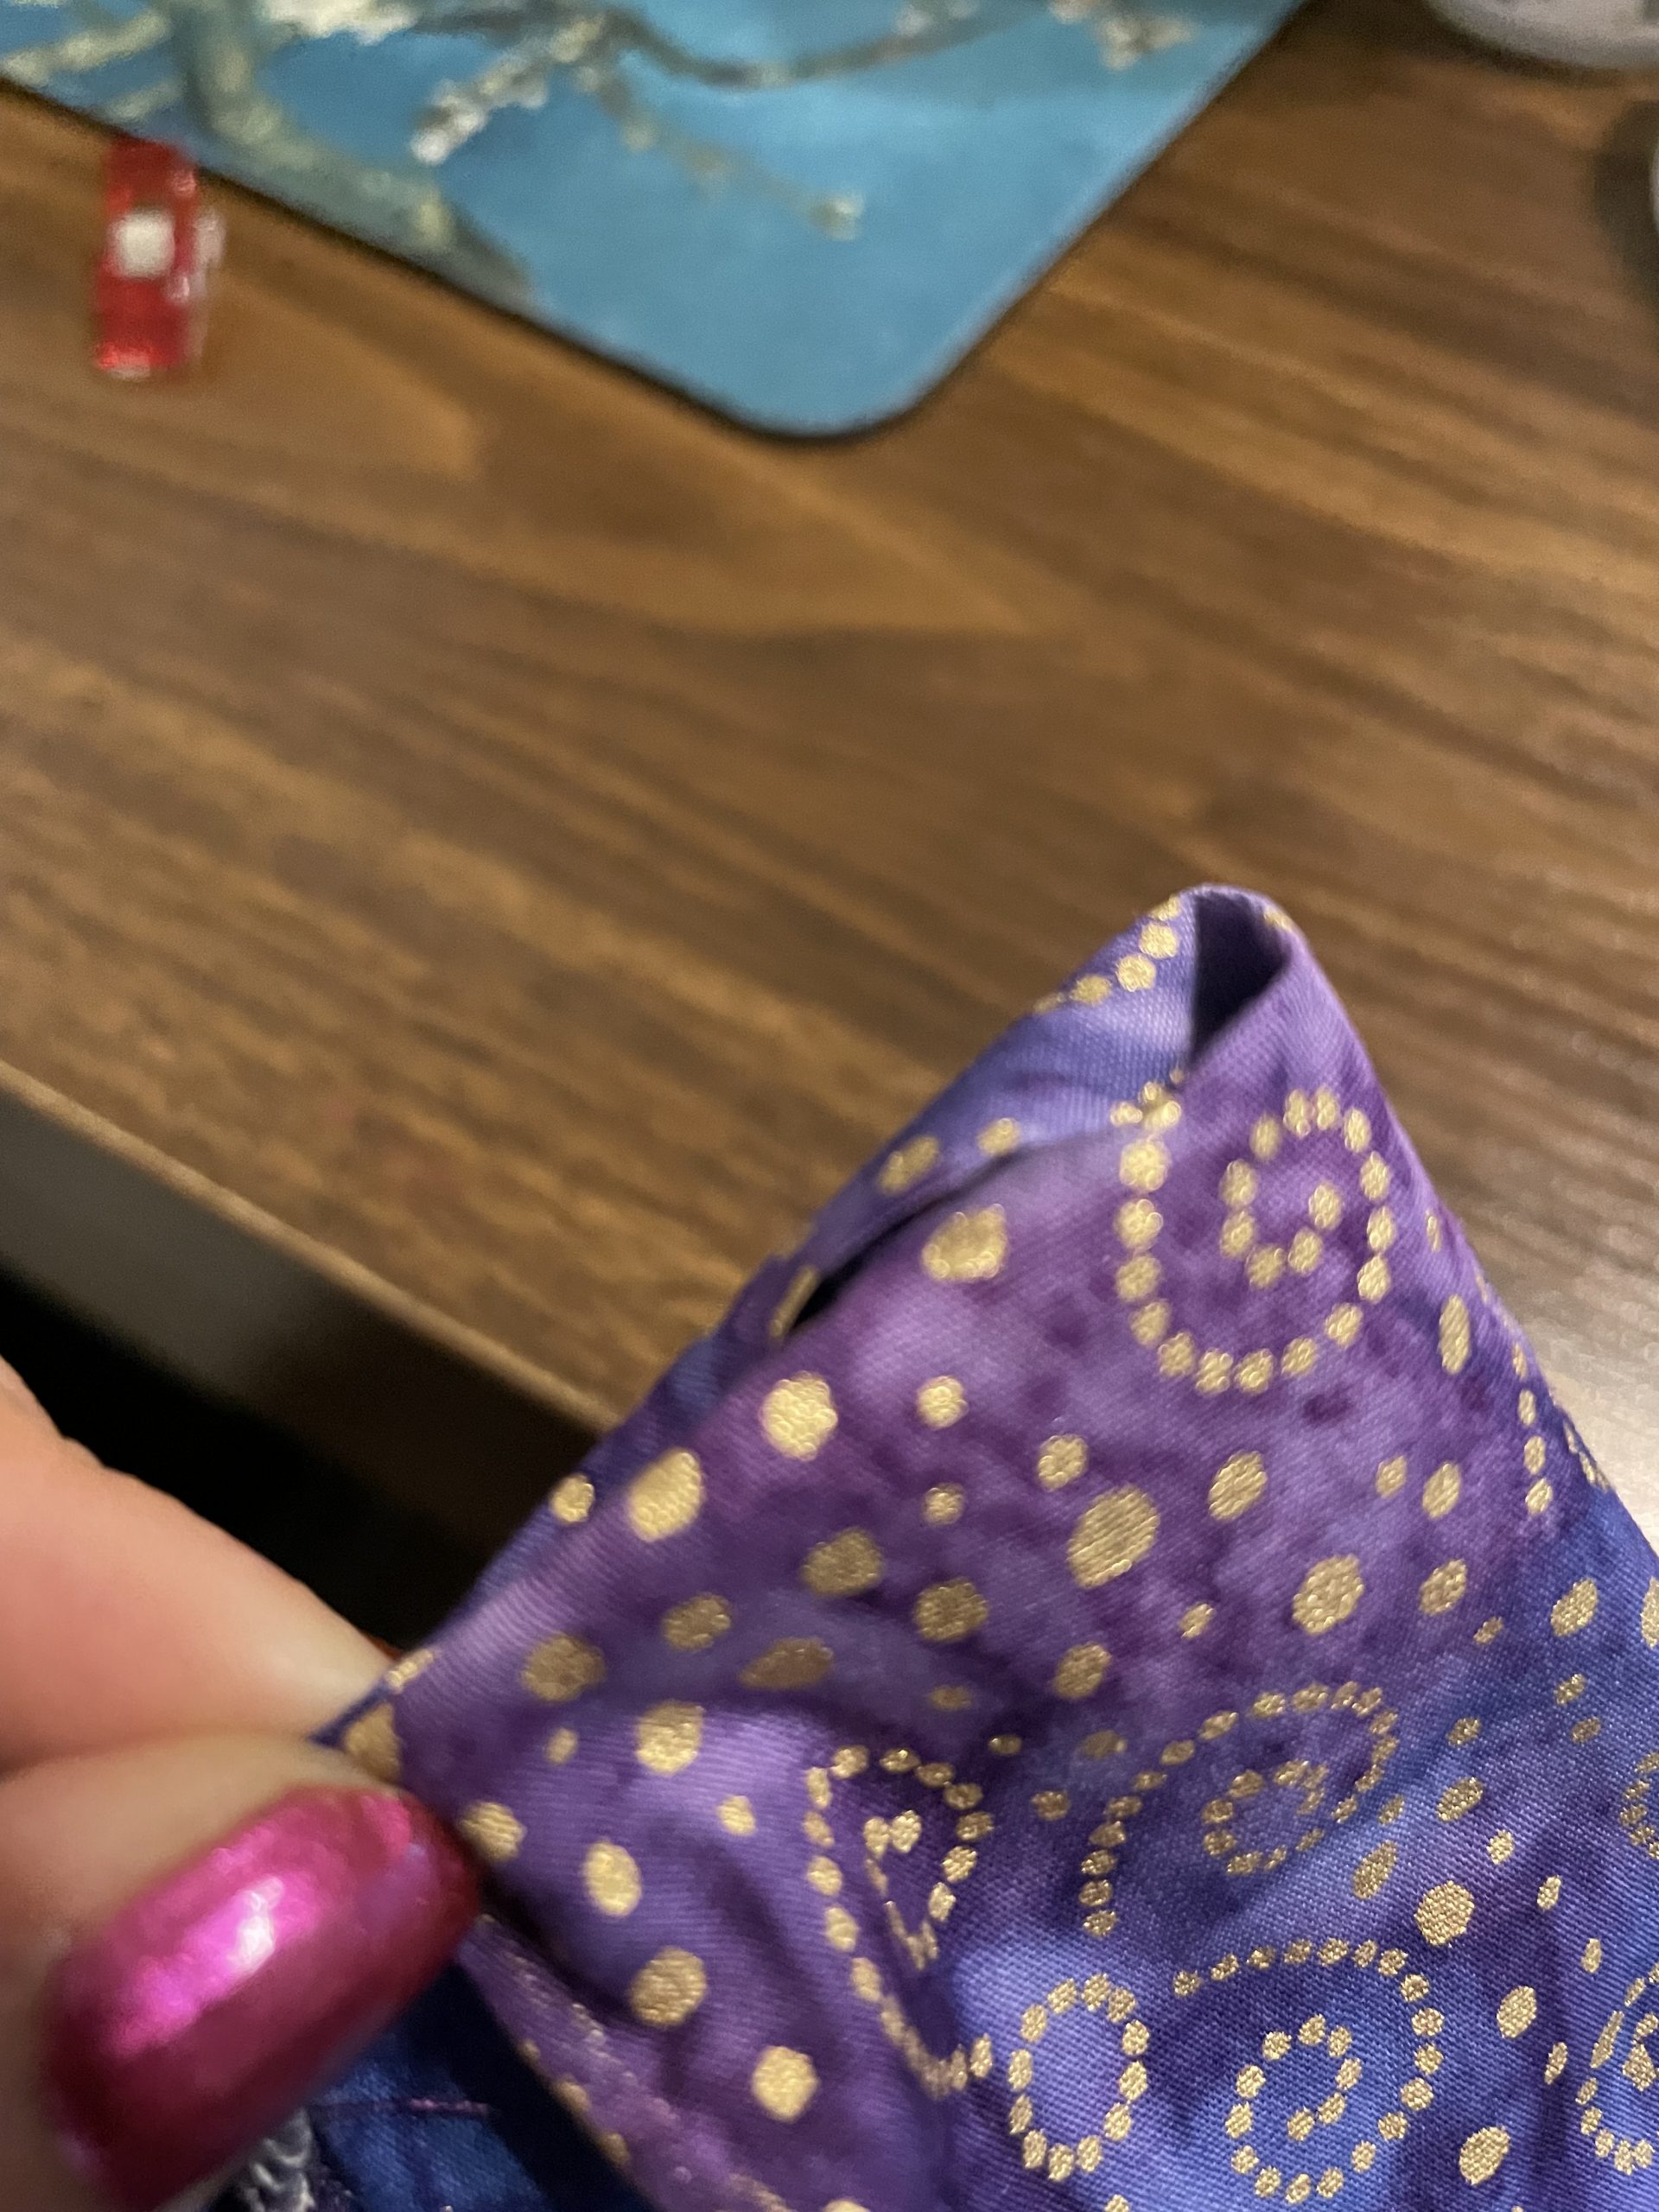
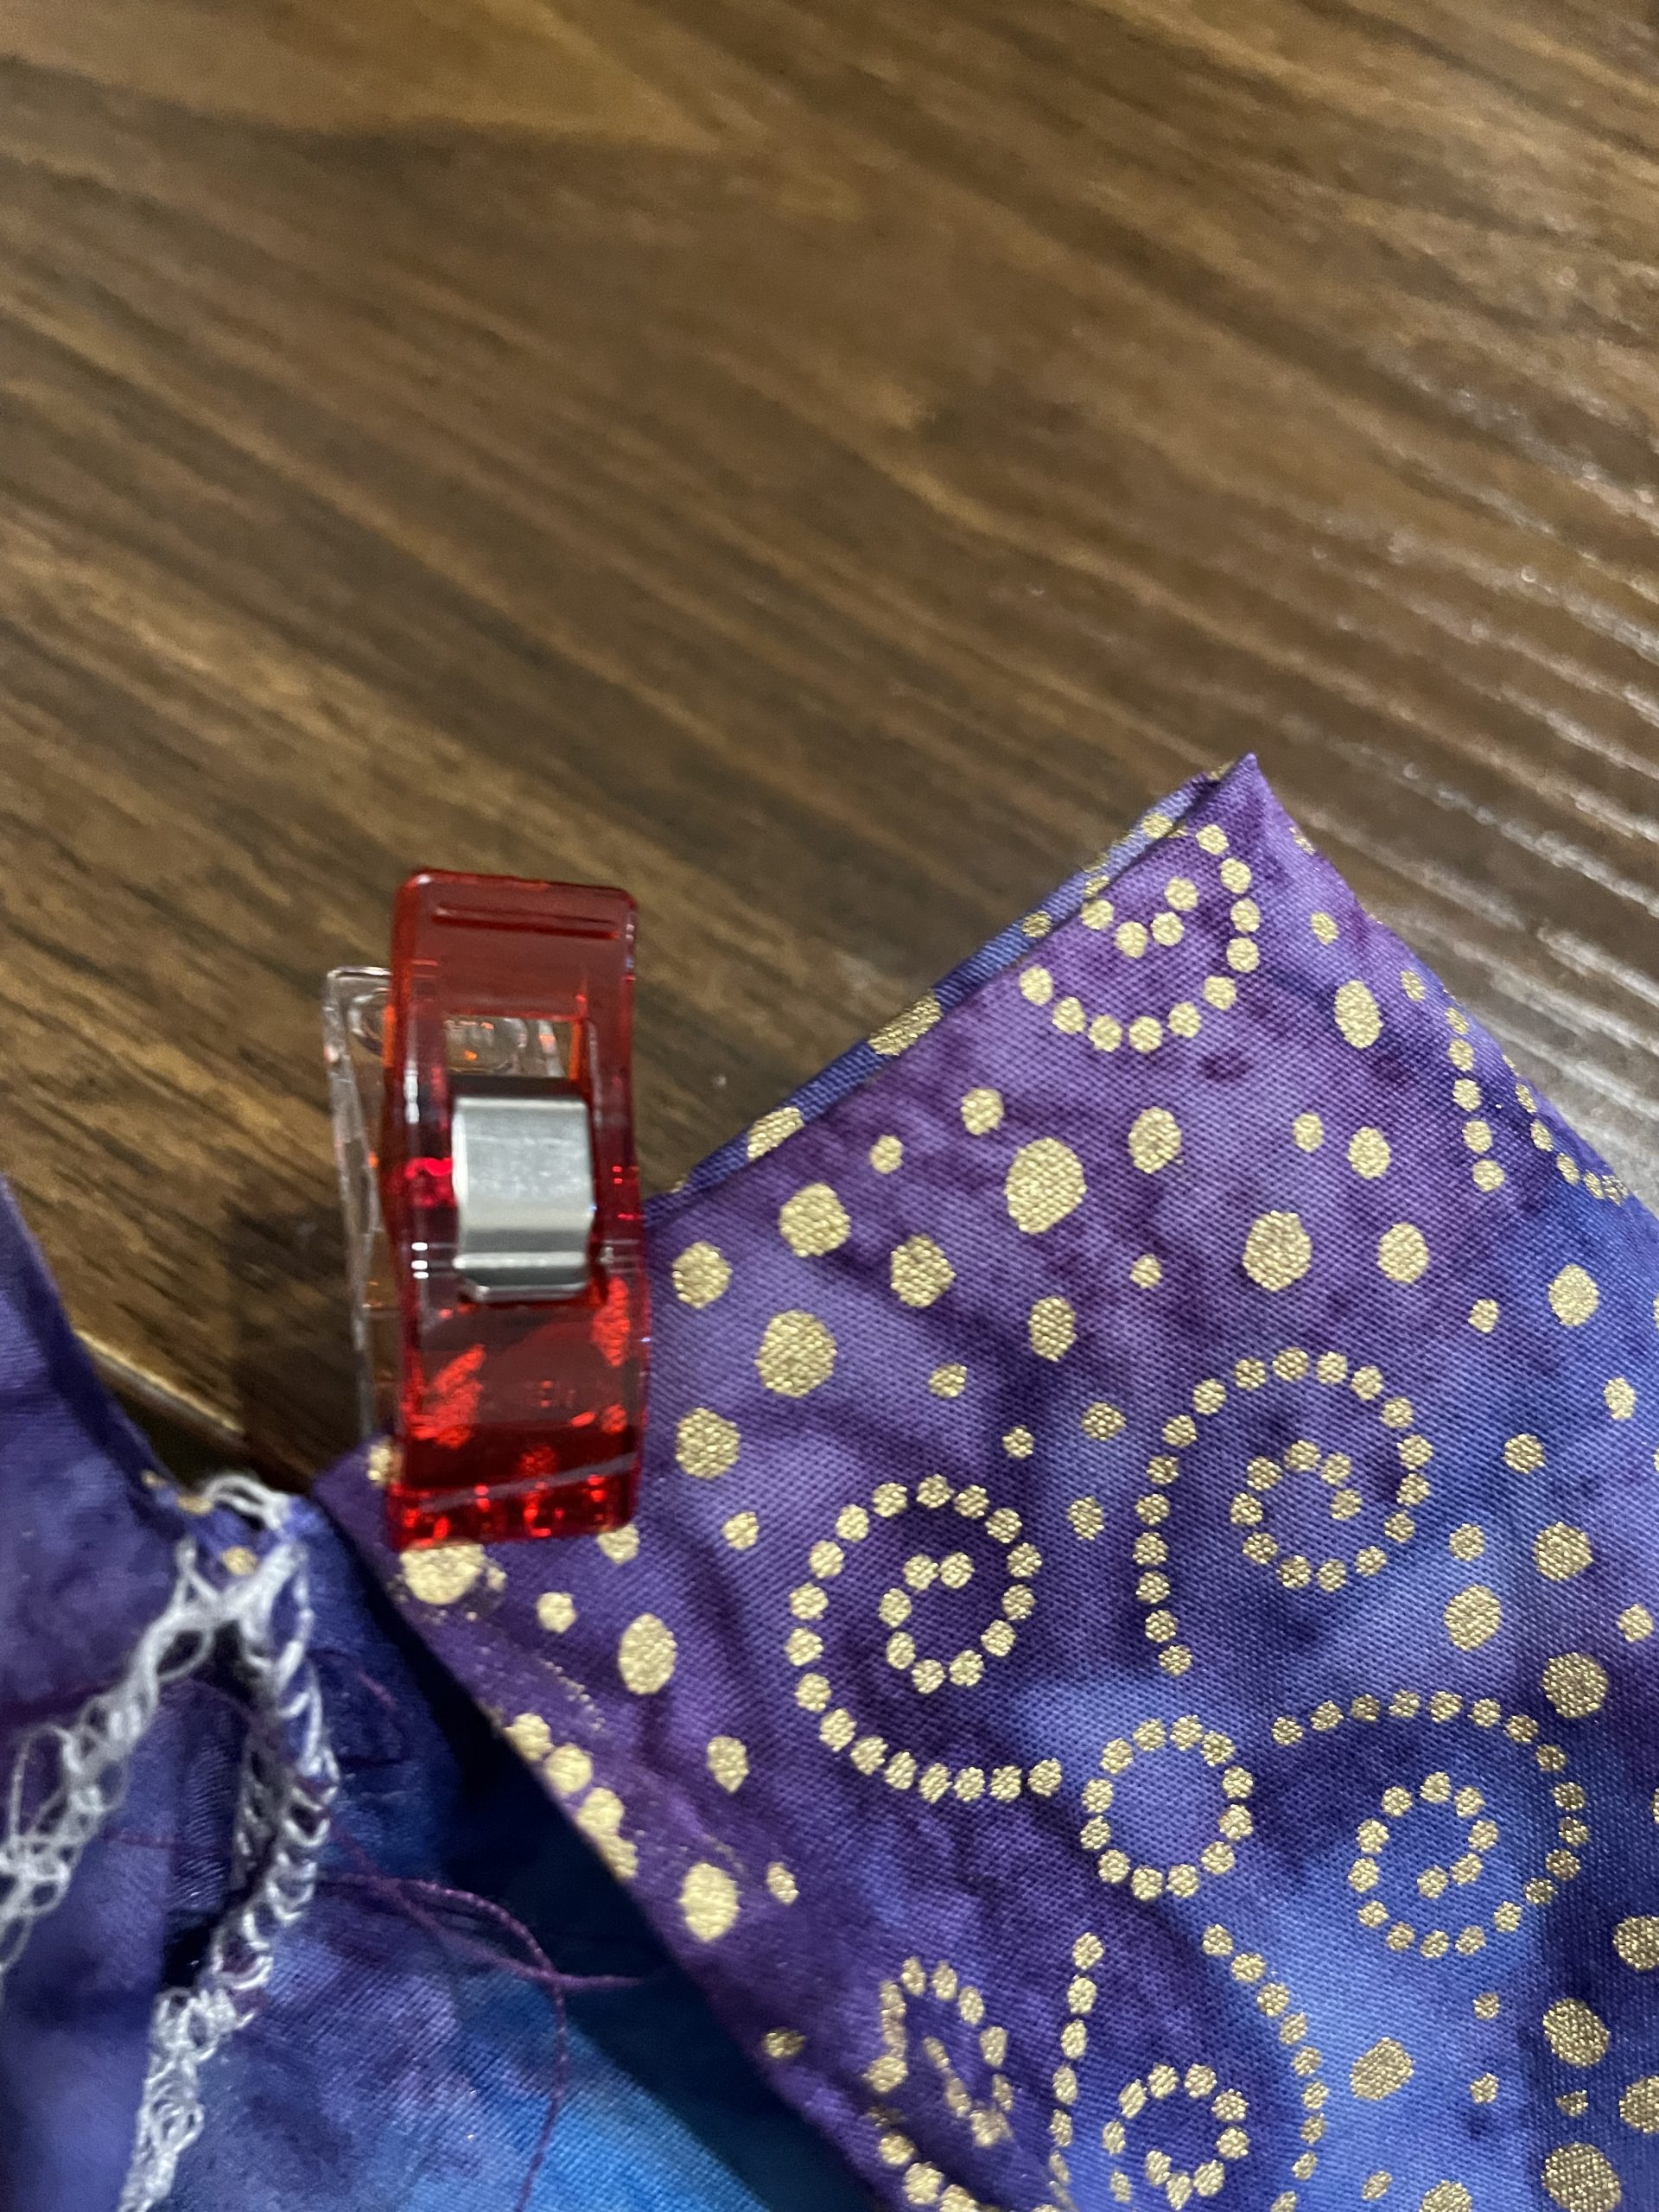
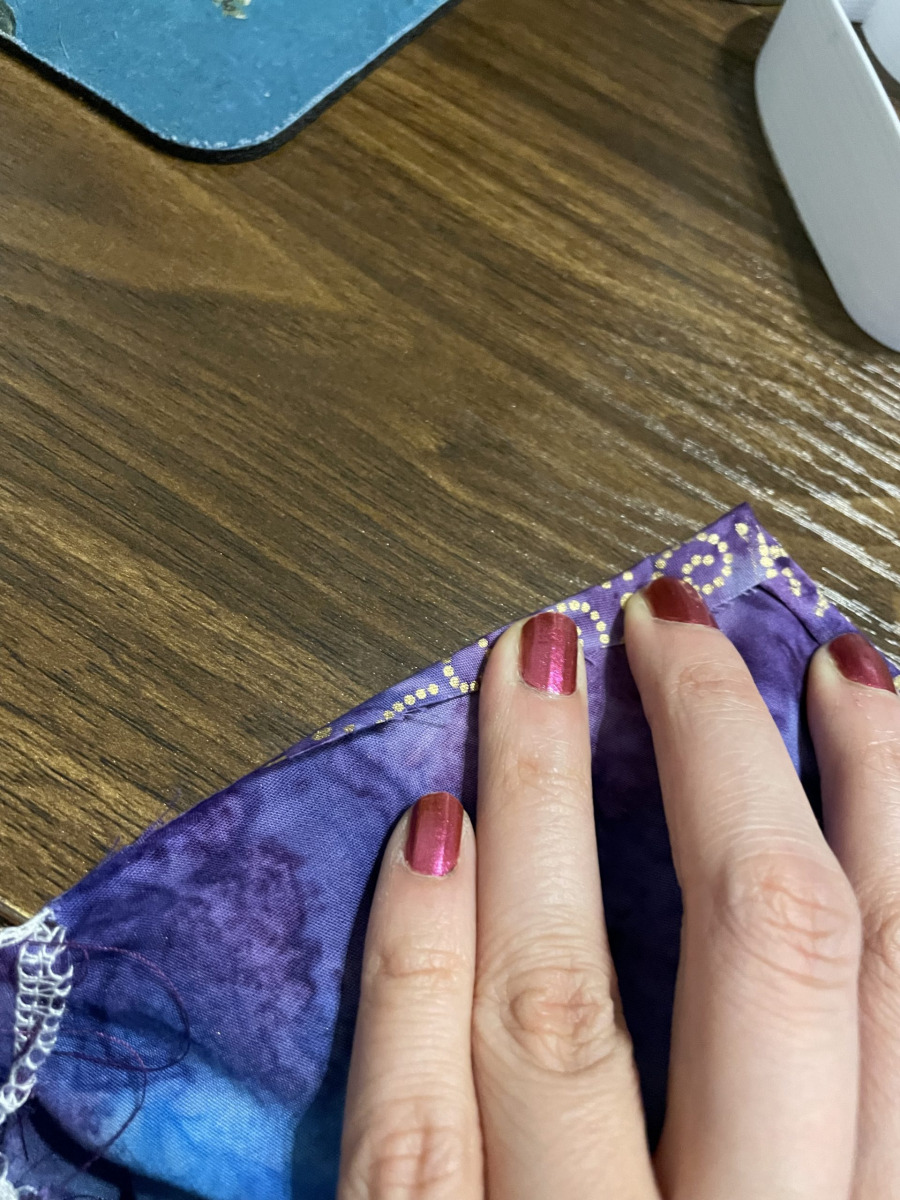
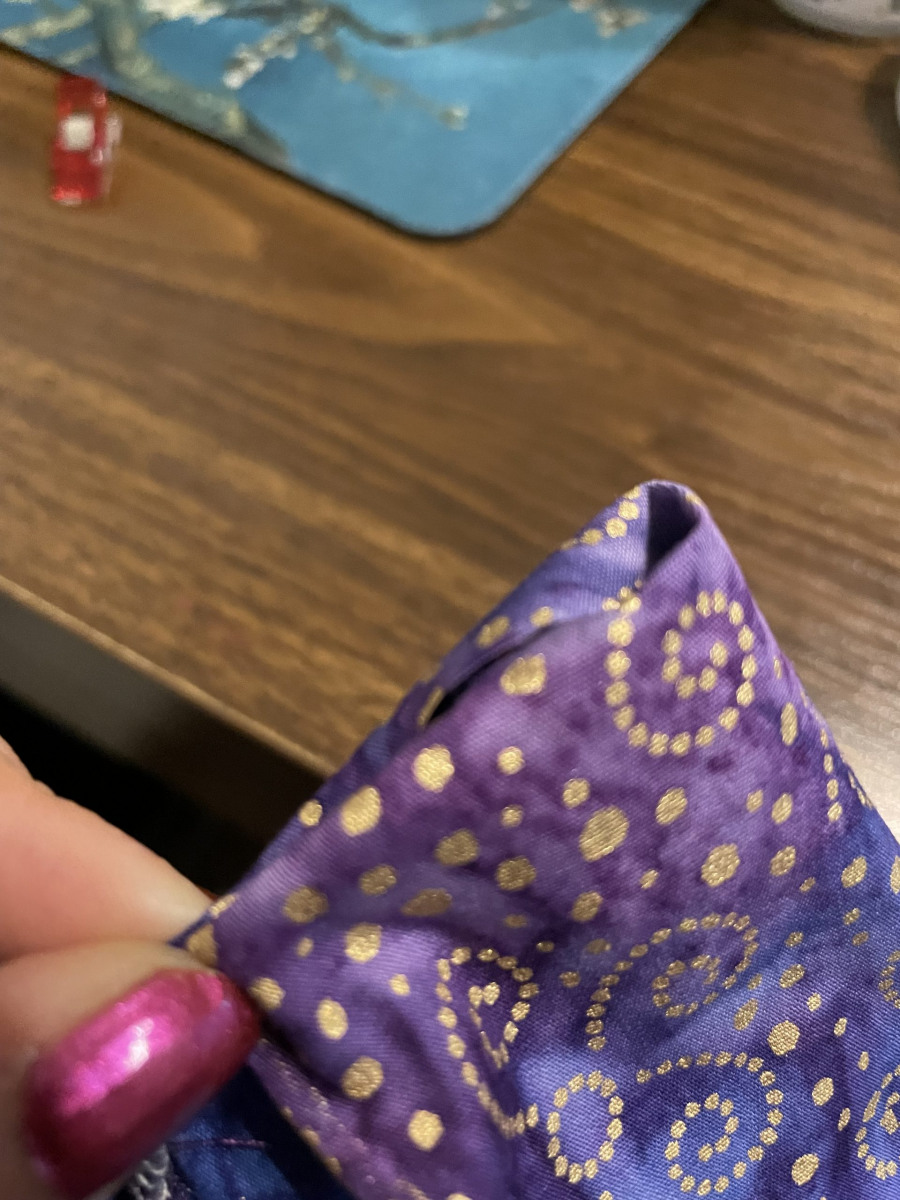
- Create the paper bag waist: From the right side in: (a) Fold top over 1/4 inch; (b) fold over side seam to hide rough edges; (c) fold the top down a song side to meet the side seam. Pin. There should be room to thread elastic through, plus an inch or more at top (depending on how high you want the paper bag seam). Sew below where elastic will be. (This is also where you hide the side seam serger tails). Flip the right side out and sew above where the elastic will be.
- Thread the elastic through the waistband (a safety pin helps!). Sew the ends of elastic together, making sure elastic is lying flat.
- Hem the bottom of the skirt: Cut shorter if desired, then fold the hem over twice and sew baby hem (here’s where you hide the side seam serger tails). (Optional: use bias tape to cover rough edge instead).
- Optional: If you have smaller appliqué, this is where you would add it to the skirt.
- Skirt is done!