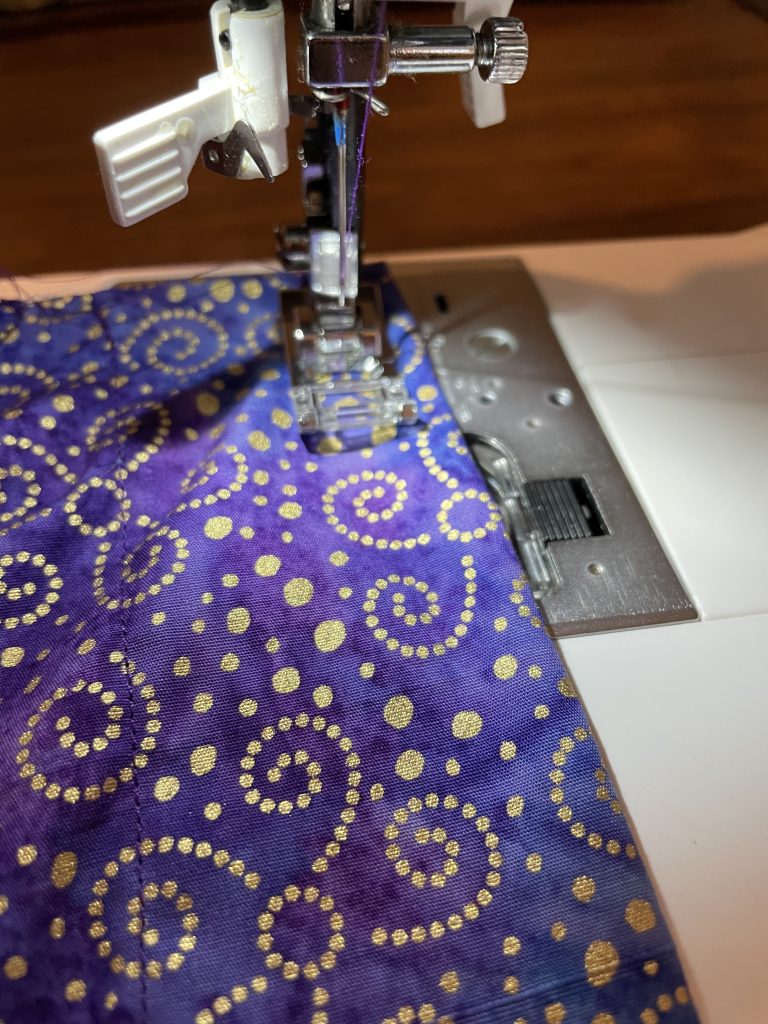
My collection of sewing tips from my trials and errors over the years:
Supplies
- Sewing Machine (optional: serger)
- Iron / Ironing Board
- Pins or Clips (wonder clips or binder clips)
- Snips
- Fabric scissors
- Seam ripper
- Measuring Tape
- Bobbins
- For each project (or buy in bulk)
- Needles
- Pattern
- Fabric
- Thread (cones are best value, or gray thread looks good with almost any color)
- Notions
- Zippers
- Ribbon
- Bias Tape
- Interfacing
- Elastics
- Buttons
- Nice to have
- Medical pattern paper for tracing patterns
- Heatnbond
- Rotary blade and mat
Patterns
- Trace on to parchment or medical paper to save the pattern – you can buy a roll of medical exam table paper that will last forever for like $20
- Make sure to mark name of piece, face up side, how many to cut, and all notches and marks on the traced pattern
- You can iron pattern paper on the lowest heat setting
Cutting Out Fabric
- Wash fabric and then iron everything before you cut
- Hold patterns in place with weights if you don’t want to pin
- Don’t need to cut out triangles – just a small snip where the mark is
- Use rotary cutter for straight edges
Sewing
- Wash and iron all fabric before using.
- Check which foot and needle you’re using for each project
- Needles
- Light-Weight: Type 2020 red shank – 11/80 orange band
- Medium Weight: Type 2020 red shank – 14/90 blue band
- Medium-Heavy: Type 2020 red shank – 16/100 purple band or 18/110 yellow band
- Stitch length – standard is 2.5 Stitch width – standard is 3.5
- For corners, leave the needle in the fabric, lift the foot and turn.
- Seam Allowance – 5/8 is standard seam allowance
- Press Each Seam. You’re not taking up sewing, you’re taking up ironing with some sewing scattered in between.
Serger
- Serge over thread tails to secure stitches
- Remember, you cannot go backward on a serger
